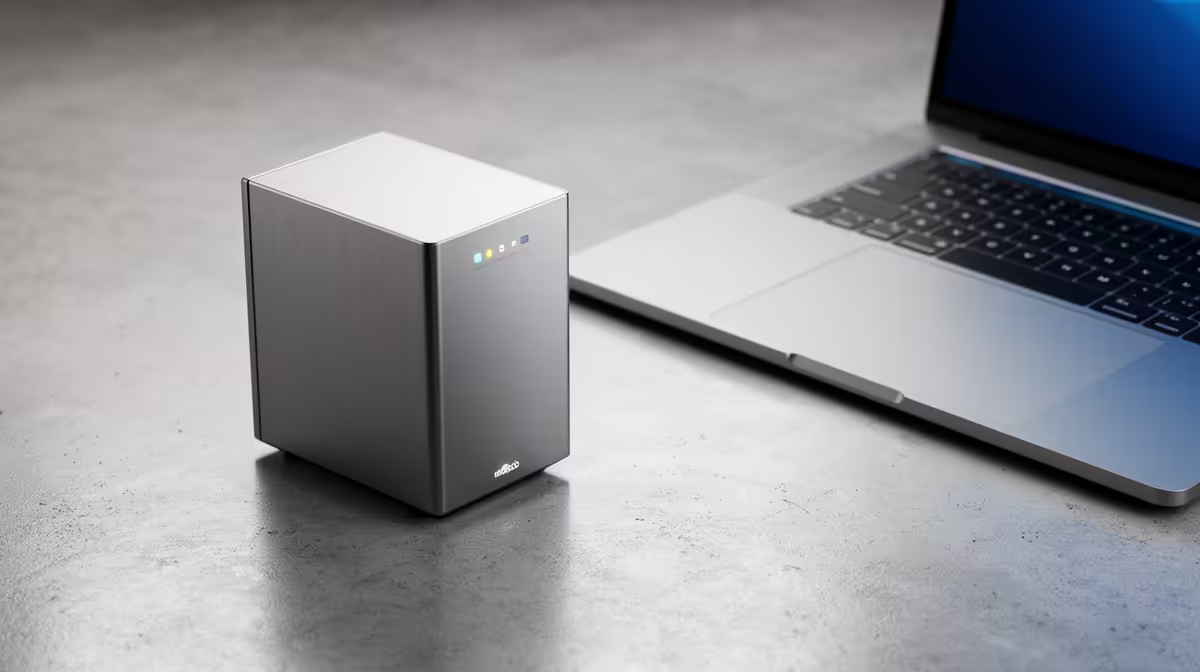
macOS makes reaching a network share genuinely quick once you know the shortcut, and it speaks SMB natively so there is nothing extra to install. Connecting to a NAS shared folder from a Mac takes one keyboard shortcut, one address, and your login, and the share mounts on the desktop within seconds, ready to use like any other volume.
Quick Answer
To connect a Mac to a NAS over SMB, open Finder, press Cmd+K, type smb://NAS-IP-address into the Connect to Server box, and authenticate with your NAS account. The share mounts on the desktop and appears in the Finder sidebar almost immediately. Add it to Login Items and it reconnects automatically every time you start up.
What You Need First
Have your NAS IP address and the credentials for an account that can access the share. You can find the IP in the NAS admin interface or your router's connected-device list. macOS includes SMB support out of the box, and current Macs negotiate SMB 2 or SMB 3 with any modern NAS, so there is no protocol to configure. If your storage setup is still taking shape, the diskless NAS and storage range at Evetech covers the hardware side.
Step-by-Step: Mounting the Share
- Open Finder and press Cmd+K. With Finder active, the Cmd+K shortcut opens the Connect to Server window. You can also reach it from the Go menu by choosing Connect to Server.
- Enter the SMB address. Type smb:// followed by your NAS IP address, for example smb://192.168.1.50. If you already know the exact share name, you can append it as smb://192.168.1.50/sharename to go straight to that folder.
- Click Connect. macOS reaches out to the NAS over SMB. If the server is found, a login prompt appears asking how you want to authenticate.
- Choose Registered User and enter credentials. Select Registered User, then type your NAS account username and password. Avoid the Guest option unless the share is specifically configured for anonymous access.
- Tick Remember this password in my keychain. Checking this saves your credentials securely in the Keychain so you are not asked again on future connections.
- Select the share and click OK. If the NAS offers several shared folders, pick the one you want. It mounts immediately, appearing on the desktop and in the Finder sidebar under Locations.
Keeping It Mounted After Reboot
A mounted share drops off when you restart unless you tell macOS to remount it. Open System Settings, go to General and then Login Items, and add the mounted share to the list of items that open at login. The simplest way is to drag the mounted volume from Finder into the Login Items list while it is connected. From then on, the share reconnects automatically each time you sign in. If you are scaling storage capacity for the NAS itself, the drives in the SSD best sellers are a sensible reference point.
Troubleshooting Common SMB Issues
Even a correctly configured connection can behave oddly on macOS. Here are the situations that come up most often.
The share mounts but disconnects after sleep
macOS can drop SMB connections when the Mac goes to sleep or switches between Wi-Fi and ethernet. If you see the share fall off regularly, create or edit the file /etc/nsmb.conf and add the line notify_off=yes under a [default] header. This disables the change-notification mechanism that can cause early disconnects on some NAS firmware. If the problem persists, a lightweight utility like Automounter can watch for network changes and remount shares automatically, which is more reliable than Login Items alone for laptops that move between networks.
Slow transfer speeds over SMB
Transfers that feel sluggish are often caused by opportunistic locking or signing overhead rather than actual network bandwidth. On macOS, disabling opportunistic locking in the nsmb.conf file can help on older NAS firmware. More commonly, speeds improve by connecting the Mac by ethernet rather than Wi-Fi, especially when moving large files like video projects or backups. SMB 3 negotiated over a gigabit ethernet connection saturates at close to the theoretical maximum; Wi-Fi introduces inconsistency.
Authentication fails despite correct credentials
If the username and password are definitely right but the connection refuses to authenticate, try two things. First, open Keychain Access and search for the NAS IP address to see whether a stale or incorrect entry is being offered silently. Delete it and reconnect fresh. Second, macOS sometimes struggles when the NAS username contains only lowercase letters; capitalising the first character of the username has resolved authentication failures on several NAS platforms.
Frequently Asked Questions
What address format does the Mac need?
Use smb:// followed by the NAS IP address, such as smb://192.168.1.50. You can add the share name after a slash to jump straight to a specific folder. macOS uses this same Connect to Server box for SMB shares across all current versions.
Why does the share unmount when I restart?
macOS does not remount network shares automatically by default. Add the mounted share to Login Items in System Settings under General, and it will reconnect each time you log in. Saving the password to Keychain ensures it connects without prompting.
Should I connect as a Guest or a Registered User?
Choose Registered User and enter your NAS account credentials in nearly all cases. Guest access only works if the share is explicitly set up for anonymous use, which is uncommon and less secure for a home NAS holding personal files.
The Mac cannot find my NAS. What now?
Confirm the NAS IP address is correct and that both devices are on the same network. Check that SMB file sharing is enabled in the NAS settings. If the name does not resolve, use the numeric IP address directly in the smb:// path rather than a device name.
A few seconds is all it takes to put your NAS on the desktop. Follow the steps above, and if you are still sizing up the storage hardware, explore the diskless NAS and storage range at Evetech to build it right.