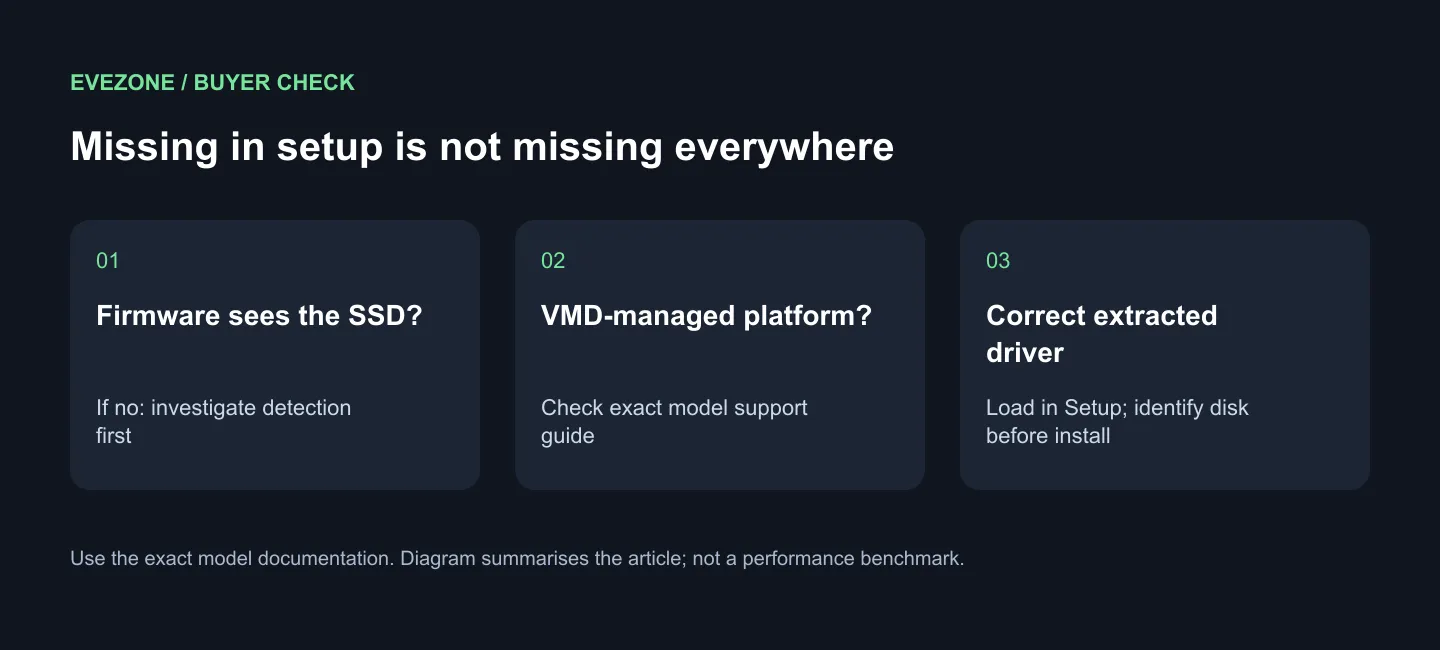
An empty disk list can derail a fresh Windows installation even when the SSD is still visible in firmware. With an NVMe SSD not showing in Windows installer, the first job is to separate a drive-detection fault from a missing storage-controller driver. That distinction can save both the cost of a replacement and an unnecessary change to a working storage setup.
Quick Answer
If firmware detects the SSD and the computer uses Intel VMD, obtain the storage driver for the exact PC or motherboard model, extract it to USB and use Load driver in Windows Setup. Start with R0 in replacement hardware. Evetech listed the KingSpec NXM 1TB M.2 2242 NVMe at R2,599 on 17 September 2026; that short drive is a price reference, not a universal replacement recommendation.
🧭 Establish where the drive disappears
Look in the firmware's storage information, not only its boot-priority list. Record the SSD model and capacity if they appear. A disk containing no bootable installation may not present the boot choice you expect, so keep hardware detection and boot selection as separate observations.
If the SSD is absent from the relevant storage information too, stop treating this as merely a Windows Setup driver issue. Follow the computer's hardware support process before buying anything or changing partitions. If firmware does identify the drive, move on to the controller and installation-media checks.
💾 Load the driver for the actual machine
ASUS documents a model-specific IRST workflow: download the correct package, extract it onto USB, then use Load driver and Browse at the Windows disk-selection screen. On the relevant configuration, choose the Intel RST VMD Controller from the extracted files. Intel's guidance likewise explains why VMD-managed storage can require that driver during installation.
Do not copy a package solely because its filename resembles one in a tutorial. The model, supported operating system and storage configuration determine the appropriate download. Prepare it while you still have access to another working computer or the existing installation.
This is not a universal instruction for every Intel machine. ASUS distinguishes newer native-NVMe platforms from configurations that need the manual IRST step. Read the guidance for your exact model, including any newer instructions, before applying an older walkthrough.
🛡️ Protect the existing storage arrangement
Some guides offer disabling VMD as an alternative. That changes the storage configuration, and ASUS warns that disabling it removes the ability to use the RAID array. Do not make that change casually on a working installation or a machine containing data you need.
Back up important files before reinstalling, and identify the intended target disk by model and capacity before choosing any operation that erases it. Loading a driver and seeing the disk is the diagnostic milestone; it is not permission to delete every partition shown afterwards.
If a physical replacement really is needed, compare SSD options against the machine's supported form factor and interface. The R2,599 KingSpec example is M.2 2242, so its dimensions matter as much as its capacity. For a desktop rebuild, match the storage plan to the exact Intel motherboard documentation.
Frequently Asked Questions
Is a blank installer list enough reason to return the SSD?
No. A detected drive behind a controller that Setup cannot yet use may need its driver. Establish the firmware and controller evidence first.
Does the USB need only the downloaded installer file?
The Windows Setup workflow needs the extracted driver files it can browse and load. Follow the manufacturer's extraction steps rather than copying only the package launcher.
What should I give support if it still fails?
Provide the exact PC model, SSD model, firmware detection result and driver package used. Those details let support investigate the actual configuration without guessing.
Confirm the controller before replacing the drive. Once the fault is clear, choose compatible Evetech storage for the machine and keep the existing data protected throughout the installation.