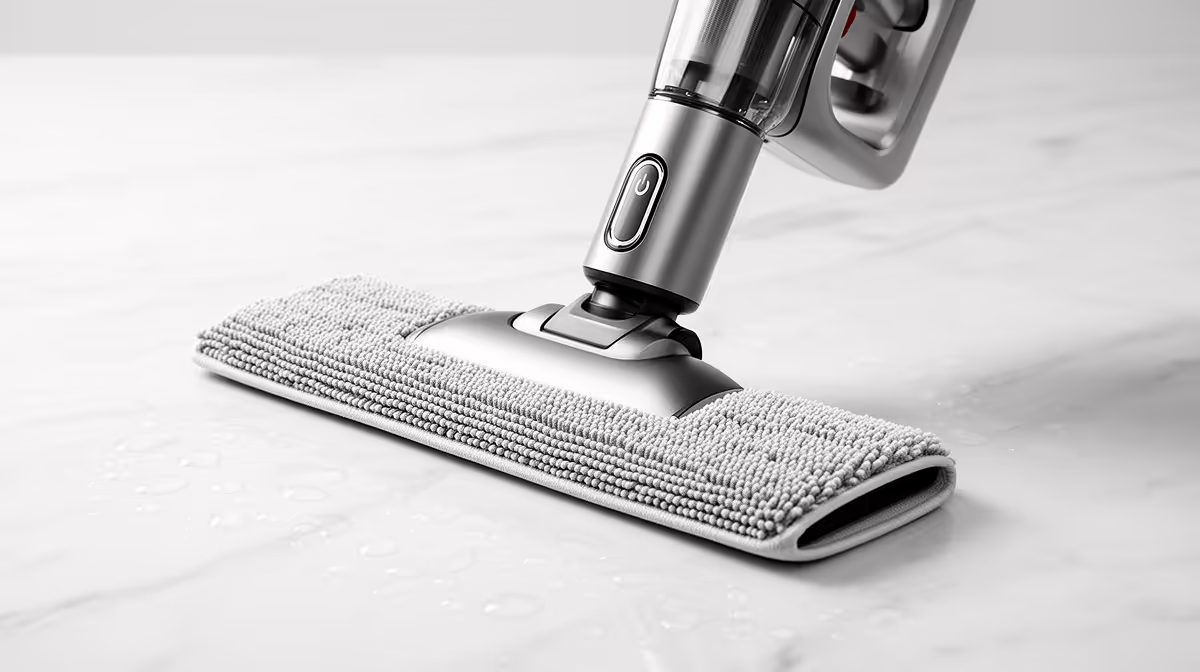
A robot vacuum that mops your tiles is brilliant right up until it drags a wet pad across your living room rug. The fix is not luck, it is setup. Carpet detection on a mop-lifting robot tells the machine to raise its mop pad the moment it senses a rug, so your hard floors get a proper damp wipe while your carpets stay bone dry. Add a couple of virtual safeguards and the problem disappears entirely. Here is how to configure it properly.
Quick Answer
Enable carpet detection so the robot lifts its mop pad (commonly by around 20mm on capable models) when it crosses onto a rug, keeping tiles and laminate damp while carpet stays dry. Then draw virtual no-go zones around any rugs the sensors might miss, as a reliable second layer of protection. Together these two settings let one robot mop and protect carpet on the same run.
What carpet detection actually does
A mop-lifting robot has two jobs that conflict: it needs the mop pad pressed down to clean hard floors, and lifted clear to spare carpet. Carpet detection resolves the conflict automatically. As the robot moves, its sensors read the surface underneath, and when it detects the pile of a carpet or rug, it raises the mop pad so it no longer touches the floor. Cross back onto tile and the pad drops again.
The lift height matters. On capable models, the pad rises by around 20mm, which is enough to clear most low and medium-pile rugs without dampening them. Before you rely on it, browse the smart home and robot vacuum range at Evetech and check the lift height on the specific model, because a small lift will not clear a thick, deep-pile rug.
Step by step: setting it up properly
Step 1: Confirm your robot supports mop lifting
Not every mopping robot lifts its pad. Some only retract slightly, and budget models may not lift at all. Check the specification for mop-lifting and the stated lift height. If the model cannot raise the pad meaningfully, no software setting will keep your rugs dry, so this is the first thing to verify.
Step 2: Run a full mapping pass first
Let the robot map your home before you mop. A clean, complete map is what every other setting depends on, because no-go zones and carpet behaviour are all drawn onto that map. Run the mapping run on vacuum-only mode so there is no water on the pad while it learns the layout.
Step 3: Enable carpet detection (and mop avoidance)
In the companion app, switch on carpet detection. Many apps pair this with a setting often called carpet avoidance or mop avoidance, which you should set so the robot lifts the pad over carpet rather than trying to clean it. This is the core protection: with it on, the robot handles the transition between tile and rug automatically.
Step 4: Draw virtual no-go zones around your rugs
Sensors are good, not perfect. A very low-pile rug, a dark-coloured mat, or an unusual texture can occasionally fool detection. So add a virtual no-go zone around each rug on the map as a backstop. The robot will simply route around that area while mopping, which guarantees the pad never reaches the rug even if detection misses it. Think of detection and no-go zones as belt and braces.
Step 5: Test on a low-stakes run
Start a mop cycle and watch the first pass over each rug, or check the cleaning history map afterwards. Confirm the robot either lifted the pad or routed around the rug at every transition. If you see it edge onto a carpet with the pad down, extend that rug's no-go zone slightly and run it again.
Step 6: Adjust water flow for the rest of the floor
With your carpets protected, set a sensible water level for the hard floors. Too much water leaves tiles slow to dry and can wick toward rug edges; a moderate flow cleans well and dries fast. You can find the spare pads, cleaning solution, and replacement parts your routine needs in the accessories and best sellers section.
Keeping it reliable over time
Detection drifts if the map goes stale or you move furniture and rugs around. Re-map after any significant change to the room layout, and update your no-go zones if a rug moves. Keep the robot's sensors clean, because a dusty sensor reads surfaces less reliably. A quick monthly check of the cleaning map confirms the robot is still lifting and routing correctly.
Frequently Asked Questions
How does the robot know where the carpet is?
Its sensors read the surface as it moves and recognise the pile of a carpet or rug. When detected, a mop-lifting robot raises its pad, commonly by around 20mm on capable models, so the carpet stays dry.
Do I still need no-go zones if carpet detection works?
Yes, as a safety net. Detection can occasionally miss a very low-pile or unusually coloured rug, so a virtual no-go zone around each rug guarantees the robot routes away from it regardless.
Will it clean my tiles and protect carpet on the same run?
That is exactly the point. With carpet detection and no-go zones set, the robot mops hard floors and lifts or routes away over carpet during a single cleaning cycle.
What if my rug is thick or deep-pile?
A standard 20mm lift clears most low and medium-pile rugs, but a very thick rug may still brush the lifted pad. For deep-pile rugs, rely on a no-go zone so the robot avoids the area entirely.
Why is my robot still wetting the rug edges?
Usually too much water flow on the hard floor, which wicks toward the rug, or a no-go zone drawn too tightly. Lower the water level and extend the no-go zone by a few centimetres.
One robot can mop your hard floors and leave every rug dry once carpet detection and no-go zones are set up properly. Find a mop-lifting model with the right lift height in the smart home range at Evetech and set it up the right way from day one.