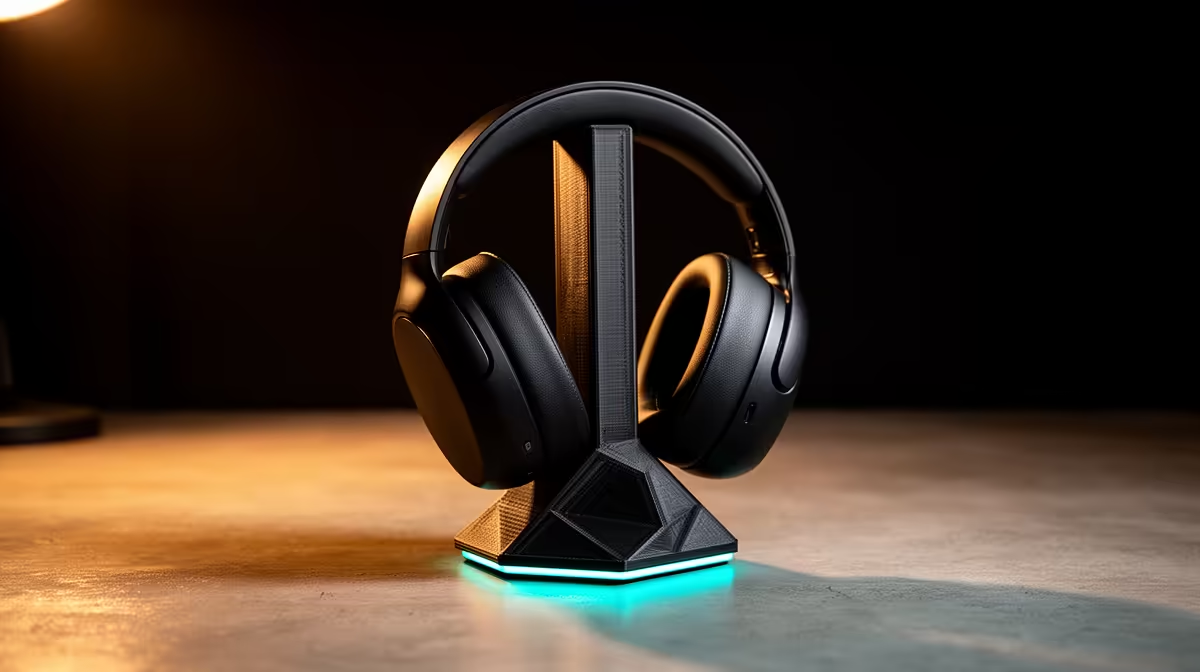
A good headset deserves a home that does not crush its ear pads flat. Print a headset stand yourself and you solve two problems at once: you clear desk clutter and you stop the slow deformation that flattens memory foam when a headset hangs off a sharp hook or sits squashed against a wall. This build covers both the under-desk hanger, which keeps the surface clear, and the desktop cradle, which keeps the headset on show.
Quick Answer
A 3D printed headset stand takes roughly two to four hours to print in PLA or PETG and costs only a few Rand in filament. The under-desk version screws into the underside of the desk and spreads the headband load across a wide bracket, while the desktop version uses a broad curved cradle so the foam never pinches in one spot.
Choose The Mount Type First
Under-desk hanger
This bolts to the underside of your desk edge and tucks the headset out of the way when you stand up to leave. It is the better choice on a small desk or a shared res table where surface space is scarce. Because it carries the weight on a wide flat bracket rather than a thin arm, the headband rests across a broad area instead of digging into one line of padding.
Desktop cradle
This sits on the surface and shows the headset off, which suits a setup where the headset is part of the look. It needs a footprint of roughly 12 to 15cm and a curved top wide enough that the headband cushion spreads its load. Add a weighted or wide base so a heavy headset does not tip it.
Material: PLA Or PETG
PLA prints easily, holds its shape, and is perfect for a desktop cradle that lives indoors away from heat. It is the simplest first choice. PETG is the better pick for the under-desk mount because it is tougher and handles a little flex and load without becoming brittle over time. If your desk sits near a sunny window, lean towards PETG, since PLA can soften under prolonged heat and slowly sag under constant weight.
Step-By-Step Build
1. Pick or design the model
Use a tested model from a printing community, or design a simple one in a free CAD tool. The two features that matter: a curved top surface at least as wide as your headband cushion, and a base or bracket sized for your mount type.
2. Slice with the right settings
Set 3 wall perimeters and roughly 20 to 30 percent infill. A headset stand carries weight, so do not skimp on walls. For the under-desk bracket, orient the screw-tab area so the layers run across the load, not along it, which keeps the tabs from splitting.
3. Print and check the first layer
Watch the first layer go down. A clean, even first layer is the difference between a strong part and one that lifts at the corners. On a modern auto-levelling printer this is largely handled for you.
4. Clean up the print
Snip any support material with side cutters and smooth rough edges with a light sand. Test-fit the headset before mounting anything permanently.
5. Mount it
For the desktop cradle, just place it. For the under-desk hanger, mark the screw holes against the desk underside, pre-drill if the desk is solid wood or chipboard, and drive short screws into the bracket. Use screws short enough not to punch through the desktop. A couple of self-tapping screws hold a printed bracket securely against the underside.
Common Mistakes To Avoid
Thin walls are the top failure: a stand printed at one perimeter will crack under a heavy headset. Sharp contact edges are the second, since a narrow ridge presses a groove into the ear pads over weeks. And mounting the under-desk version with long screws risks splitting through the desk surface, so measure your desk thickness first. If you want to browse machines that print parts like this cleanly, the 3D printers range at Evetech shows what is in stock with current pricing.
Finishing Touches
A strip of thin foam or felt glued along the contact curve adds grip and a little extra cushioning, which is a nice touch on the desktop cradle. Cable clips printed from the same spool keep the headset wire tidy against the desk leg. For the cutters, sanding sticks, and small tools that make clean-up faster, it is worth scanning the accessory best sellers to see what is currently stocked.
Frequently Asked Questions
How long does a headset stand take to print?
Typically two to four hours depending on size and infill. A desktop cradle is larger and takes longer; a simple under-desk bracket prints faster.
PLA or PETG for a headset stand?
PLA for an indoor desktop cradle, PETG for the under-desk mount or any stand near heat or a sunny window. PETG is tougher and resists slow sagging under constant load.
Will the stand damage my ear pads?
Not if the contact surface is wide and curved. The flattening happens when a headset hangs on a thin hook. A broad cradle spreads the headband load so the foam keeps its shape.
What screws do I use for the under-desk version?
Short self-tapping screws sized so they bite into the bracket without punching through the desktop. Measure your desk thickness and choose screws shorter than that.
Do I need supports when printing it?
It depends on the model. A simple cradle often prints support-free if oriented well. Overhanging brackets may need light supports that snip off cleanly afterwards.
Want to print your own desk gear? Check the live range and pricing in the 3D printers section at Evetech (https://www.evetech.co.za/components/3d-printers-130), grab a spool of PETG, and you could have a headset stand mounted by the weekend.