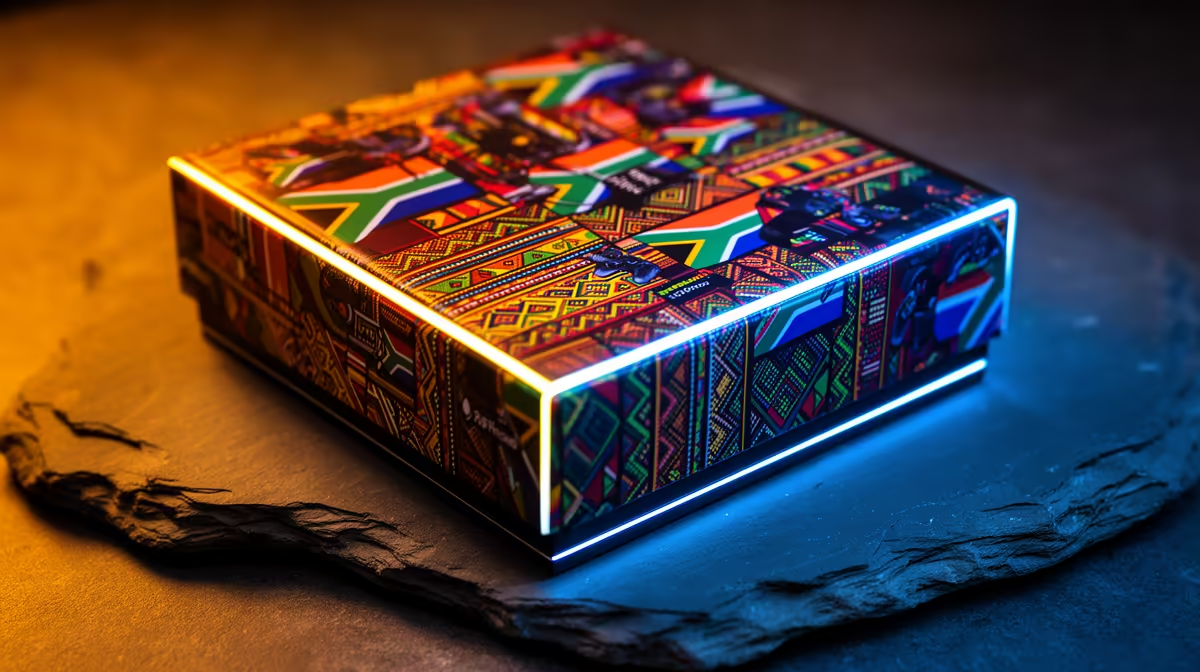
A generic mug or keyring competes with every retailer in the country and wins on nothing. A 3D-printed gift tied to a South African event does the opposite: a Heritage Day braai-tool rack, a custom trophy for a local soccer final, a Springbok-themed phone stand printed the week of a big match. Because you design around a specific date and a specific occasion, you make each piece to order, hold no stock, and sell something nobody can pull off a shelf.
Quick Answer
You can run a made-to-order SA gift workflow from a single desktop FDM printer: design or modify a model themed to a local event, print it in the right colours on demand, and finish it for the customer. Start-up filament cost per gift typically lands in the low tens of rands, and a capable printer sits from around R6,000 upward depending on build volume and speed.
Pick the events worth designing around
The calendar does the marketing for you. Anchor each design to a date people already care about so demand arrives on a predictable schedule.
- Heritage Day in September, with braai and culture themes.
- Local derby and cup-final dates for the big football and rugby clubs.
- Year-end school prize-givings and sports days, which need small trophies and medals.
- Matric farewell and graduation season, where personalised desk pieces sell.
- Regional events, from a Karoo festival to a Cape Town road race, where event-specific keepsakes have no mass-market equivalent.
The advantage is that none of these have an off-the-shelf product flooding the market, so a printed-to-order item carries genuine local value rather than competing on price.
Step 1: Design or adapt the model
You do not need to model from scratch. Most makers start by adapting a free base model, a trophy cup, a coaster, a desk plaque, then layer the SA-specific detail on top: a club crest, a name, an event date, a provincial motif.
- Choose a base shape that prints flat and reliably, like a plaque, coaster or simple stand.
- Add a personalisation surface, usually raised lettering for a name or date.
- Keep small text above 3 mm tall so it survives printing and stays readable.
- Export at a sensible resolution so curves stay smooth without bloating slice time.
Keep one reusable template per gift type. You change only the name, date and colour per order, which is what lets you turn an order around fast without redesigning each time.
Step 2: Choose materials and colours that suit the occasion
PLA is the workhorse for gifts: easy to print, available in a wide colour range, and stable enough for indoor display pieces. For anything that lives outdoors or takes handling, like a keyring on a gym bag, PETG holds up better against sun and knocks.
Colour is where the SA theme lands. Stock the green and gold for sports pieces, the full national palette for Heritage Day items, and a couple of metallic filaments for trophy-style finishes. Buying two or three core colours in bulk keeps your per-gift material cost low while still letting you cover most event themes.
Step 3: Print on demand, hold no stock
The model that makes this viable is made-to-order. You list the designs, take the order with the name and date, then print that exact piece. No shelf of unsold inventory, no guessing which club crest will sell.
- Batch prints overnight so the machine works while you do not.
- Group same-colour orders into one print run to avoid filament swaps.
- Keep a small buffer of blank base prints for ultra-fast turnaround on simple add-a-name jobs.
A faster CoreXY printer pays for itself here because shorter print times mean you can accept later orders before an event date. The current 3D printer lineup carried by Evetech covers both the budget bedslingers that suit a starter side-project and the quicker enclosed machines that handle volume.
Step 4: Finish and present the gift
The finish is what separates a printed object from a giftable product. A quick pass with fine sandpaper on visible faces, a wipe to clear dust, and presentation in simple recyclable packaging lifts the perceived value well above the material cost. For trophies and plaques, a coat of acrylic on raised lettering makes the detail pop.
Keep a small kit of finishing supplies on hand: sandpaper grades, a hobby knife for clean-up, glue for multi-part pieces, and basic packaging. Many of those consumables sit alongside the wider accessories best sellers, so you can restock tools and add-ons in the same place you buy the printer.
Frequently Asked Questions
Do I need design skills to start?
Not advanced ones. Most makers begin by adapting free base models and adding raised text for a name or date. Learning to position and size lettering in a free slicer or simple editor covers the majority of personalised event gifts.
Which printer type suits made-to-order gifts?
A reliable FDM printer with a decent build volume handles almost all gift work. A faster enclosed CoreXY machine is worth it once order volume grows, because shorter print times let you accept orders closer to the event date.
What does each gift cost to print?
For small to medium PLA pieces the filament cost is usually in the low tens of rands, plus electricity and finishing supplies. Pricing the gift on its local relevance and personalisation rather than material cost is what makes the side-project worthwhile.
How do I avoid holding stock?
Print only after an order comes in. List your designs, collect the name, date and colour at order time, then run that exact piece, optionally keeping a few blank bases printed in advance for fast name-only jobs.
Which materials hold up best?
PLA suits indoor display gifts and prints easily in many colours. For keyrings, bag tags and anything that lives outdoors or gets handled often, PETG resists sun and impact better.
Turn the SA calendar into a made-to-order gift line. Browse Evetech's 3D printer range, pick a machine sized to your volume, and start printing event-themed pieces nobody can buy off a shelf.