



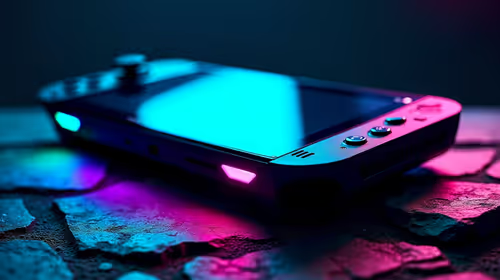
Fix stuttering on a Steam Deck in South Africa
Stuttering on a steam deck usually needs a settings, driver, thermal, or power check first. Work through safe SA troubleshooting steps before replacing parts or assuming a full upgrade.
Read moreRoute power and signal leads into the tray from opposite sides where the layout allows. Leave slack at moving devices, label both ends before bundling, and keep adapters accessible so the gaming PC setup stays tidy without becoming difficult to repair.
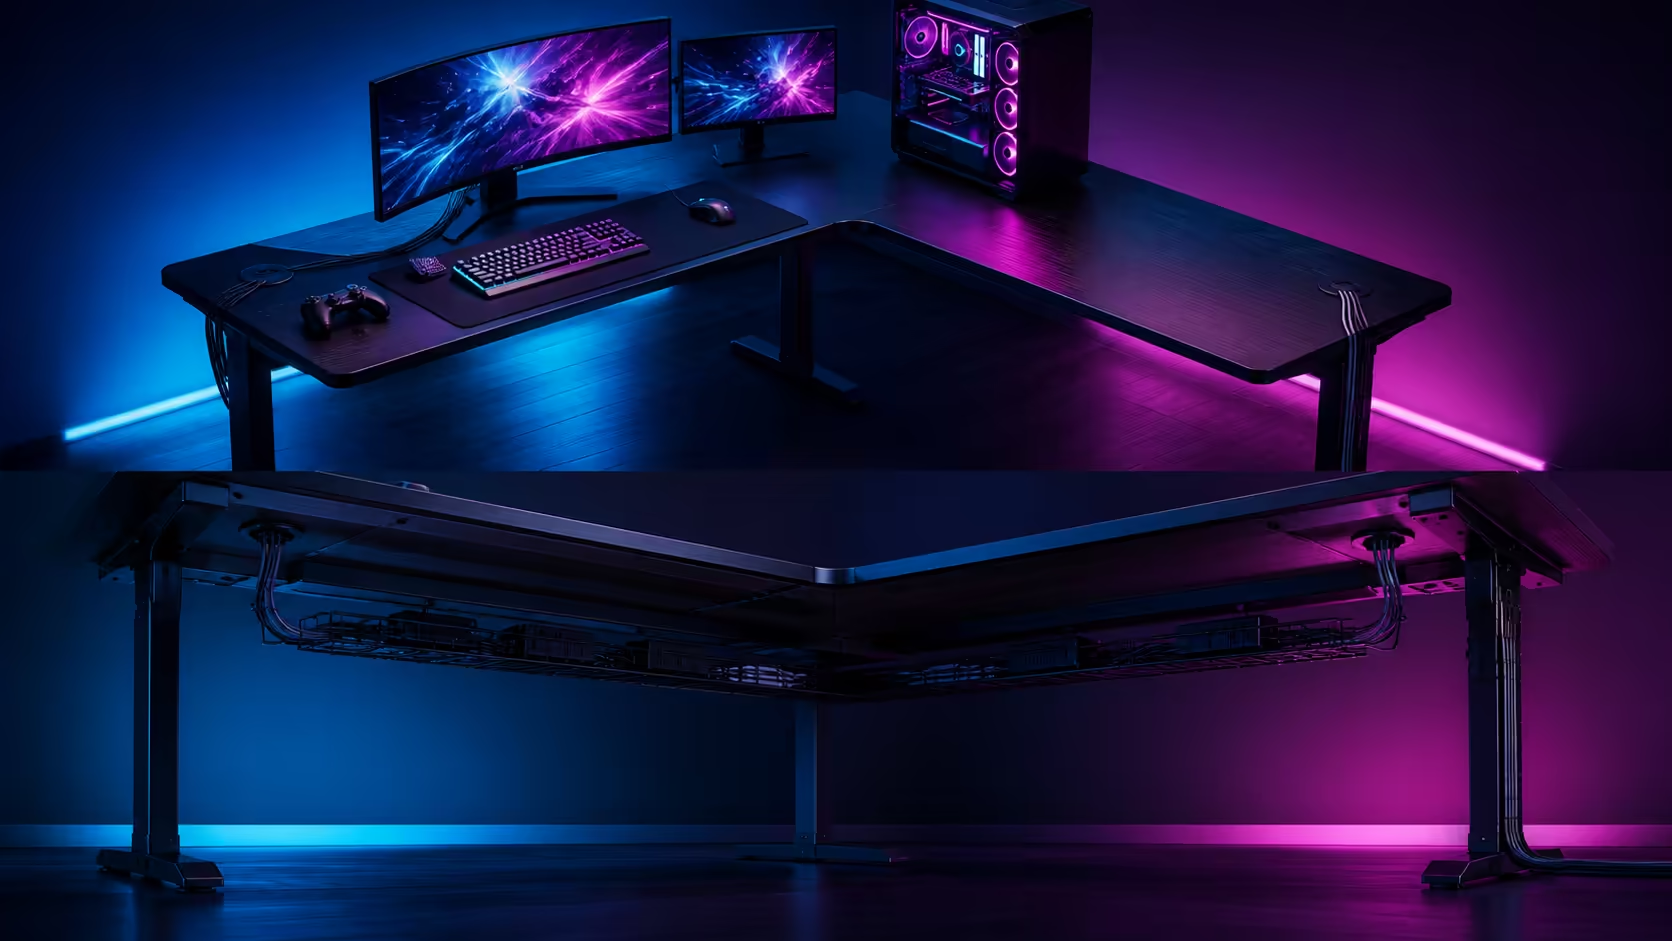
A cable tray creates order only when the leads are grouped by destination and still accessible after the desk is loaded. Routing gaming PC cables through a built-in desk cable tray requires a map, service loops and safe separation of power from frequently changed connections. Evetech gaming desks span roughly R2,499 to R8,499 across the category.
At Evetech, gaming desks range from about R2,499 to R8,499. Before using any tray, connect and test the complete PC setup, label both ends of every lead, group cables by destination and preserve slack at moving equipment. Place adaptors securely and keep the route accessible for future changes.
List monitor power, display leads, PC power, network, audio, USB peripherals and charging cables. Mark the wall or power-strip origin and the equipment destination. A route that looks clean from the front can still cross chair travel or place too much strain behind the computer.
Photograph the working setup before disconnecting anything. Evetech's gaming desk range lets buyers compare category features and dimensions while planning how much cable capacity their own equipment needs.
Use short labels at both ends. Colour codes help during setup, but text such as MAIN DISPLAY or NETWORK remains clear when similar leads are moved to another desk.
Connect the PC, wake every monitor, check networking and run peripherals before the cables enter the tray. This baseline separates a routing problem from an existing connection failure.
Position the power strip according to its intended mounting and ventilation requirements. Keep plugs reachable and avoid placing adaptors where they carry cable weight or rest against a sharp edge. Never force an oversized adaptor into a tray that cannot support it securely.
Route mains power as a stable group and leave a service loop at the PC, displays and desk entry. The loop should allow equipment to move for cleaning without pulling a plug halfway out.
Controller, headset and phone-charging cables change more often than monitor power. Guide them through an accessible cutout or side route rather than burying them beneath permanent bundles. This prevents every small change from opening the entire tray.
Create bundles for monitors, PC peripherals, network and audio. Keep display cables free from tight bends and support heavy connectors. Do not cinch ties so tightly that the jacket deforms or the lead cannot slide during a small equipment adjustment.
Use reusable ties at regular intervals, leaving labels visible. Evetech's Arozzi gaming setup selection can inspire complete room organisation, while the actual tray route must follow the buyer's desk and equipment.
At the PC, fan each bundle towards its ports with enough slack to remove the side panel or move the case for cleaning. Avoid running cables across vents.
Wake from sleep, restart the PC, switch monitor inputs and test network plus audio. Move the monitor or arm through its normal adjustment range and confirm that no connector becomes taut. Roll the chair through its full travel.
Browse Evetech's wider gaming setup category when coordinating desk, monitor and accessory placement. Keep the cable solution serviceable rather than chasing a front view with no visible leads at any cost.
Leave one accessible route for future USB or display additions. A completely full tray has no capacity for replacement leads and encourages new cables to hang outside the organised path.
Review the tray after a week. Remove dead leads, retighten only loose reusable ties and update labels. Schedule periodic dust cleaning with the equipment powered down and handled safely.
If screens use arms, move each one through its normal height, depth and angle range before closing the tray. The cable loop needs enough length for the farthest position without hanging into the chair area at the nearest position. Support connectors so the arm does not pull their full weight.
Add a separate loop for a standing or service position when the setup changes height or moves for maintenance. Bind monitor power and video together only where their routes remain identical.
The computer should slide out far enough for dust cleaning and component access without cutting every tie. Gather its leads into labelled destination groups and leave a service section before the tray. Check that moving the case does not tug the network lead or tip an adaptor.
Keep ports and vents visible. A cable tray should carry wiring, not create a shelf of loose devices against the computer's airflow.
Run a pull cord or preserve an empty accessible lane where a replacement display cable could travel. This is more useful than filling every channel neatly on day one. Photograph the route and store the diagram with the PC notes.
When a cable fails, replace only that labelled run and repeat the wake plus movement tests. Do not rebuild stable groups merely to make the new lead follow a cosmetically perfect line.
No. Build a known working setup first, then route one labelled group at a time.
They allow equipment to move for adjustment or cleaning without pulling on connectors.
Frequently changed charging leads are usually easier to maintain in a separate accessible route.
The live category spans about R2,499 to R8,499.
Close it only after restart, wake, monitor movement and chair-clearance tests all pass.
Ready to make every hidden cable easy to identify the next time one connection changes? Compare Evetech gaming desks, label both ends first, and build permanent plus daily-access routes that remain open to maintenance.
No. Build a known working setup first, then route one labelled group at a time.
They allow equipment to move for adjustment or cleaning without pulling on connectors.
Frequently changed charging leads are usually easier to maintain in a separate accessible route.
The live category spans about R2,499 to R8,499.
Close it only after restart, wake, monitor movement and chair-clearance tests all pass.
Stuttering on a steam deck usually needs a settings, driver, thermal, or power check first. Work through safe SA troubleshooting steps before replacing parts or assuming a full upgrade.
Read more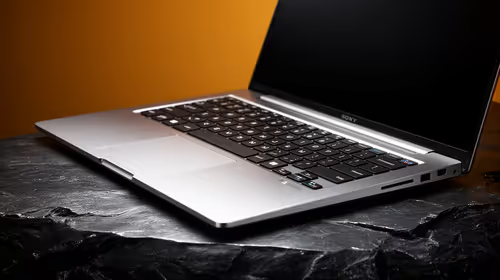
Quantity surveying students should prioritise a sharp ultrawide that keeps plans, schedules and cost sheets readable during long South African study sessions. Screen width helps comparison work, but PDF annotations, laptop output and native resolution matter just as much.
Read more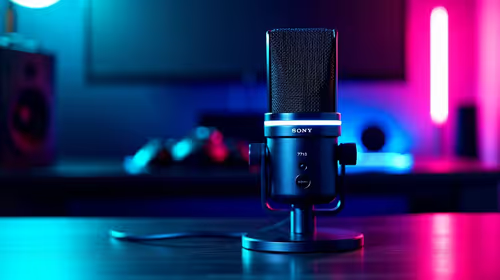
Watching rugby and sport does not usually need a podcast recording setup unless you also record commentary, reaction clips or a sports podcast. For this USB microphone record, the existing price facts are creator GPUs from RTX 5070 Ti 16GB R12,700 to RTX PRO 4000 24GB R16,700, plus RTX PRO 6000 96GB R151,700 for high-end workstation work.
Read more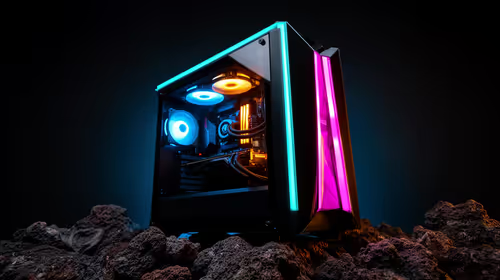
A mid-range gaming PC is the sensible first build when South African buyers want gaming headroom without chasing the top tier. The given parts span RX 7600 around R4,650, RTX 5060 around R4,800, RTX 5070 around R13,100, Ryzen 5 5500 at R1,100 and Ryzen 7 7800X3D at R6,400.
Read more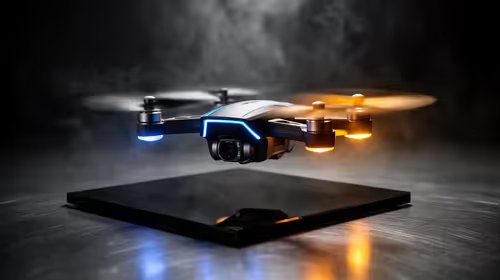
Around R10,000, the home security angle should stay focused on whether a camera drone is the right tool for checking a property, not on replacing fixed security gear. Verify available drone SKUs in SA and think through where any captured footage will be stored.
Read more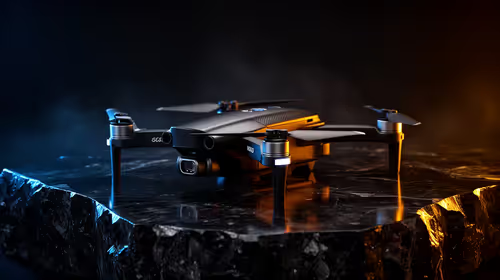
Common SA content-creator drone problems often come from buying the drone before checking the footage workflow. Fix the risk early by verifying drone SKUs and planning SSD, NAS, portable SSD and creator rig capacity for 4K editing.
Read more
Word typing overwrites text when overtype mode replaces characters at the insertion point. Turn off overtype and its Insert-key control in Word options, then test on a spare line before editing the document again.

Audio-Technica ATH-AWX7000 is a closed-back wired headphone model with wooden housings. Its premium materials and supplied analogue cables make source compatibility, comfort and your actual listening needs more important than a launch-price conversion.
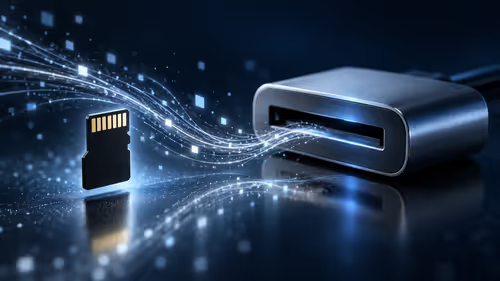
Lexar SILVER GO microSD is a UHS-I card family with a reader-dependent maximum transfer rate. Check the exact capacity, host compatibility and card reader before paying for a speed figure that your handheld or camera may not reach.

Windows AutoPlay settings control prompts and default actions when supported media or devices connect. Choose Ask me every time or Take no action where appropriate, then test with a trusted drive without formatting it.
Windows AutoPlay settings control prompts and default actions when supported media or devices connect. Choose Ask me every time or Take no action where appropriate, then test with a trusted drive without formatting it.
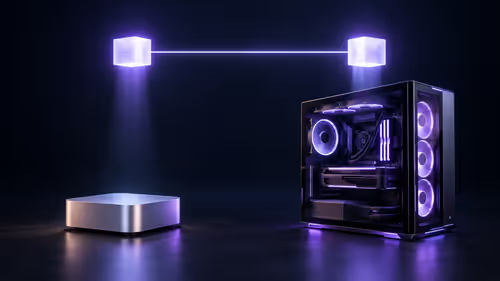
Mac mini M6 vs gaming PC for local AI: the 24GB Mac mini M6 at R25,599 gives about 18GB of AI memory, while an RX 9060 XT 16GB PC at R25,999 gives 16GB. Both reach the 14B tier; the PC games better and upgrades.
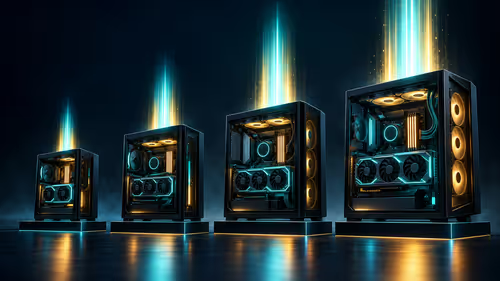
The best PC for local AI in South Africa depends on graphics memory: an Arc B580 12GB PC at R17,499 is the best value, a 16GB RX 9060 XT PC costs R25,999, and a 16GB Mac mini M6 at R17,699 reaches the same 14B tier.

The cheapest PC for local AI in South Africa is a Ryzen 5 5600 and Intel Arc B580 12GB system at R17,499, which reaches 14B models. An RX 9060 8GB PC costs R16,599 and the cheapest RTX 5060 PC R19,499.
Stuttering on a steam deck usually needs a settings, driver, thermal, or power check first. Work through safe SA troubleshooting steps before replacing parts or assuming a full upgrade.
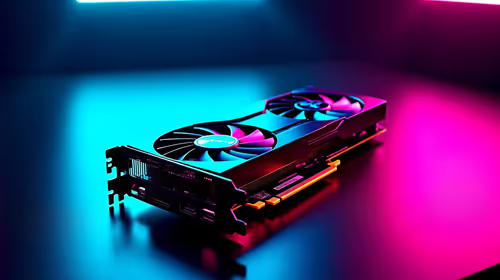
RX 7900 XTX Expedition 33 FPS across 1080p, 1440p, and 4K should be compared by preset, upscaling, VRAM use, and frame pacing. Use the guide to match settings to an SA gaming monitor.
Fallout 4 cloud sync between PC and Steam Deck should be shortlisted around the job it must do. South African buyers should compare fit, performance, compatibility, and upgrade room, warranty path, and upgrade room before treating any pick as best.

Buy now or upgrade later: gaming headsets should be shortlisted around the job it must do. South African buyers should compare audio quality, mic clarity, comfort, and connection type, warranty path, and upgrade room before treating any pick as best.