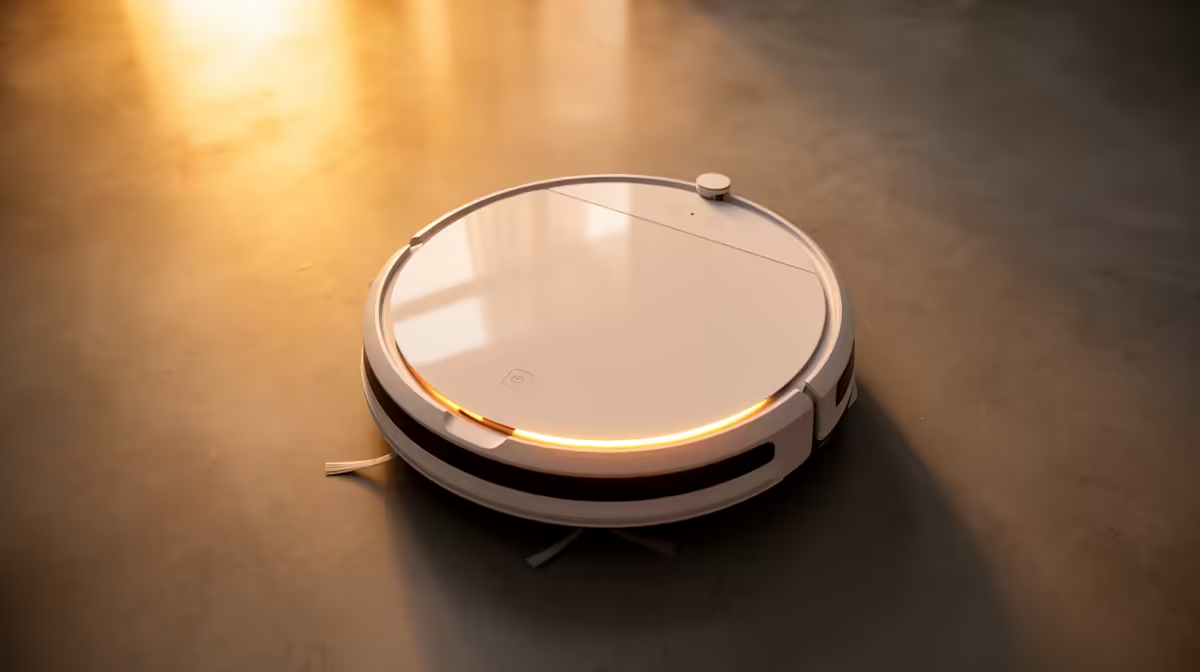
A robot vacuum that bumps down the stairs or knocks over the dog's water bowl is a robot vacuum you stop trusting. The fix lives in the app, not the hardware. Setting no-go zones and cleaning schedules turns a wandering machine into one that respects your home's layout and cleans the right rooms at the right times, all from a saved map on your phone.
Quick Answer
In your robot vacuum app you draw virtual walls and no-go boxes onto the saved floor map so the robot avoids stairs, pet bowls and fragile items, then assign schedules to individual rooms so high-traffic areas get cleaned more often. Both features rely on the robot having a completed map first, which it builds on an initial mapping run.
Step 1: Build a Complete Map First
Everything depends on a good map. Before you can set any zones or per-room schedules, the robot needs to have explored your whole floor.
- Clear the floor of cables, loose clothing and small obstacles so the robot can roam freely.
- Start a mapping run from the app, or let the first full clean build the map automatically.
- Let it finish the entire accessible area in one go rather than stopping it partway.
- Save the map when prompted, and give it a clear name if you have multiple floors.
Once the map is saved, the app unlocks the editing tools you need for the steps below. If the map looks wrong or incomplete, delete it and run mapping again rather than building zones on a flawed layout.
Step 2: Draw No-Go Zones and Virtual Walls
With the map saved, open the map editing screen in the app. You will usually find two related tools.
- No-go zones are rectangles you drag onto the map. Place one around the top of a staircase, the pet feeding corner, a child's play area with small toys, or anything fragile. The robot treats the box as off-limits and steers around it.
- Virtual walls are lines you draw across an open doorway or gap. Use one to keep the robot out of a whole room without boxing the entire space, for example stopping it crossing from the lounge into a study.
- Position each zone carefully and leave a small margin, because the robot needs clearance to turn without clipping the edge.
- Save your changes. The zones now apply to every clean until you remove them.
Many models also let you tag certain zones as no-mop areas, useful for rugs and carpets if your robot mops. Check whether yours supports that before assuming it.
Step 3: Define Rooms on the Map
To schedule individual rooms, the app first needs to know where each room is.
- Open the room editing tool on the saved map.
- If the robot split the space oddly, merge or divide rooms so they match your actual layout, for example separating an open-plan kitchen and lounge.
- Name each room clearly, such as Kitchen, Hallway or Main Bedroom.
Clean room boundaries make the scheduling step far easier and let you start a single-room clean on demand with one tap.
Step 4: Set Cleaning Schedules Per Room
Now you can automate the actual cleaning. Most apps let you build multiple schedules, each targeting specific rooms at specific times.
- Create a schedule and choose the days and time it should run.
- Select which rooms that schedule covers. This is the key feature: you do not have to clean the whole house every time.
- Set busy areas, like the kitchen and entrance hallway, to run daily or even twice a day.
- Set low-traffic rooms, like a spare bedroom, to a lighter rhythm such as twice a week.
- Where supported, set suction power or mop intensity per schedule so hard floors and rugs get the right treatment.
Stagger the times so a quiet, occupied room is not cleaned during a meeting or while someone sleeps. A good schedule is invisible: the house simply stays clean without you thinking about it.
Step 5: Test and Refine
Run each schedule once and watch the first pass, or check the cleaning history map afterward.
- If the robot still enters a forbidden area, widen the no-go zone or move the virtual wall slightly.
- If a room is skipped, confirm it is included in the schedule and that no virtual wall is blocking the only entrance.
- Adjust frequencies after a week based on which rooms actually get dirty fastest.
A short cycle of testing and tweaking gets the setup right far quicker than trying to perfect it on paper. Spare brushes, filters and replacement parts to keep cleaning consistent are worth having on hand from the accessories best sellers at Evetech. If you are still choosing a machine, the current smart home range shows which models support full app mapping and per-room scheduling.
Frequently Asked Questions
Do I need a map before setting no-go zones?
Yes. No-go zones and virtual walls are drawn onto a saved floor map, so the robot must complete a mapping run first. Without a map, the editing tools stay locked.
What is the difference between a no-go zone and a virtual wall?
A no-go zone is a rectangle the robot avoids entirely, ideal for stairs or pet bowls. A virtual wall is a line that blocks a doorway or gap, useful for keeping the robot out of a whole room without boxing the space.
Can I clean only one room with a robot vacuum?
Yes, once rooms are defined on the map you can start a single-room clean with one tap or schedule that room separately. This lets busy areas get cleaned more often than the rest of the house.
Why does my robot ignore a no-go zone?
Usually the zone is too small or placed without enough margin for the robot to turn. Widen it slightly and re-save. Also confirm you saved the map after editing, as unsaved changes will not apply.
Can I set different schedules for different rooms?
Yes. Most apps support multiple schedules, each targeting chosen rooms at chosen times, so you can run the kitchen daily and a spare room twice a week from the same app.
Want a robot vacuum that respects your stairs and cleans on a smart schedule? Browse smart home models and the accessories to keep them running at Evetech. https://www.evetech.co.za/PC-Components/smart-home-appliances-344