Stuttering timeline playback and laggy scrubbing in DaVinci Resolve or Premiere Pro often have nothing to do with your GPU. The fix is storage discipline: giving your editor a dedicated NVMe scratch and cache disk so its temporary files stop fighting your operating system for the same drive.
Quick Answer
Setting up an NVMe scratch and cache disk means pointing DaVinci Resolve or Premiere Pro to write its cache and render files on a fast NVMe SSD that is separate from your OS drive. Isolating that traffic cuts playback stutter and speeds up render previews, because the editor no longer competes with Windows for the same disk.
Why a separate cache drive matters
When your editor, your operating system, and your media all read and write to one drive, they queue behind each other. Cache files in particular get written and re-read constantly during editing, so they create heavy, bursty traffic. Put that on the same SSD as Windows and you feel it as dropped frames and sluggish scrubbing.
A dedicated NVMe drive removes the contention. The OS keeps its disk, your media can live on another, and the cache gets its own fast lane. The result is smoother playback even on demanding 4K timelines.
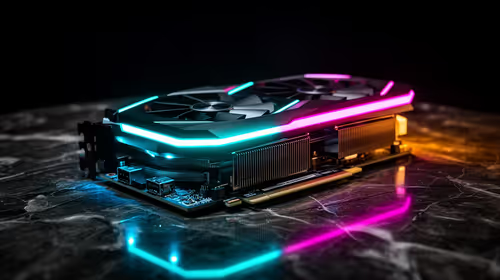
Heavy editing also leans on the GPU, so if you are building or upgrading a rig for this work it is worth looking at the workstation graphics card range at Evetech alongside your storage plan.
Step-by-step setup
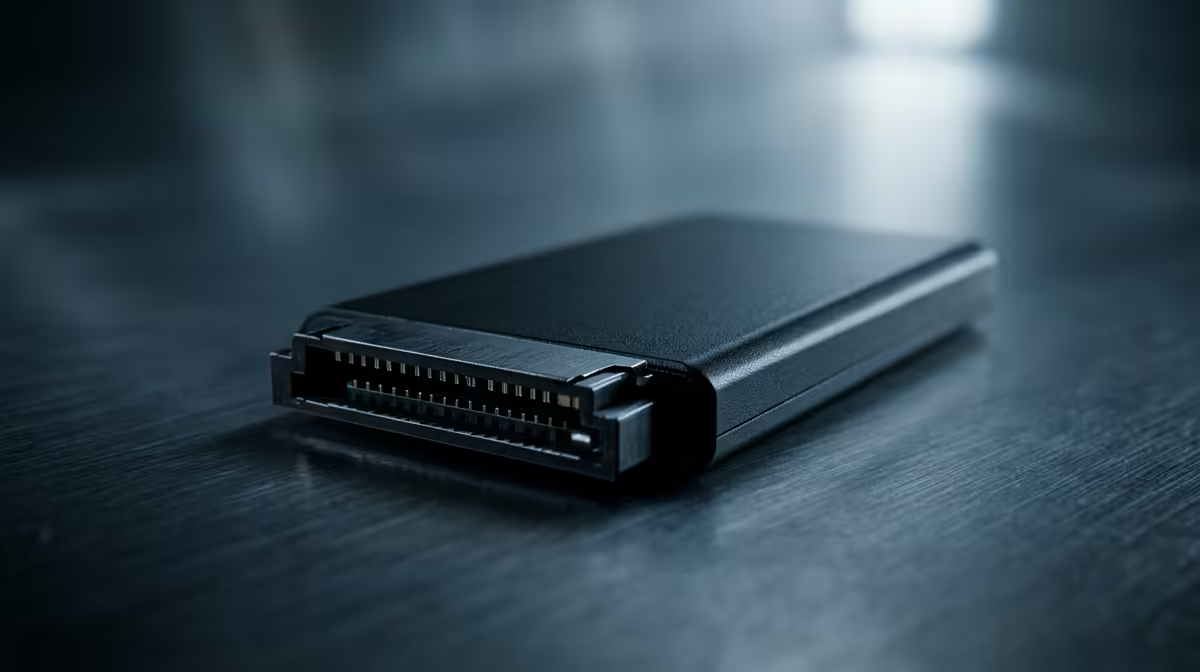
- Install a dedicated NVMe drive. Fit a second NVMe SSD into a spare M.2 slot. Keep it separate from your Windows drive. For 4K work, a drive with strong sustained write speed pays off because cache files are large and constant.
- Format and name it clearly. In Windows, initialise and format the new drive, then label it something obvious like "Cache" so you never point an app at the wrong disk later.
- Create your cache folders. Make dedicated folders such as one for Resolve cache and one for Premiere media cache. Keeping them tidy makes it easy to clear old files when the drive fills up.
- Point DaVinci Resolve at the drive. In Resolve, open the project settings and find the master settings. Set the working folders, including the cache files location and the gallery stills, to folders on your new NVMe. Resolve then writes optimised media and render cache there instead of your OS drive.
- Point Premiere Pro at the drive. In Premiere, open the preferences and find the media cache section. Move both the media cache files and the media cache database onto the new drive. Then check the scratch disks panel in your project settings and direct previews and captured media to the NVMe as well.
- Clear old cache and test. Delete any stale cache from the old location so it does not linger on your OS drive. Scrub a heavy timeline and watch playback. You should see steadier frames and faster preview rendering immediately.
Sizing the drive sensibly
Cache and optimised media grow fast on long 4K projects, so do not buy the smallest NVMe you can find. A larger drive lets you keep render cache for active projects without constantly purging it, which is where the real time savings come from. Periodically clear cache for finished projects to free space.
How much difference it makes
The gain is most obvious on high-bitrate 4K footage and projects with lots of effects, where the editor is writing and reading cache almost continuously. Moving that load off a shared drive removes a bottleneck many editors wrongly blame on their processor or graphics card. It is one of the cheapest meaningful upgrades you can make to an editing workstation.
If you are putting together a full editing workstation rather than upgrading just the storage, the PC best sellers at Evetech show complete builds that are already balanced for video editing.
Frequently Asked Questions
Does the cache drive need to be NVMe, or will a SATA SSD do?
A SATA SSD helps versus a hard drive, but NVMe is strongly preferred for 4K work because cache traffic is heavy and sustained. The higher bandwidth keeps playback smooth where SATA can still bottleneck.
Where do I set the cache location in DaVinci Resolve?
Open the project settings and go to the master settings section. There you can set the working folders, including the cache files location, to a folder on your dedicated NVMe drive.
Where is the media cache setting in Premiere Pro?
In Premiere, open preferences and select the media cache section to move the cache files and database. Use the scratch disks panel in project settings to direct previews and captured media to the same drive.
How big should my scratch and cache drive be?
Size it for your project scale. Long 4K timelines generate large cache files, so a roomier drive lets you keep cache for active projects without constant purging. Clear cache for completed projects to recover space.
Will this fix playback stutter on its own?
It removes one of the most common causes, disk contention. If stutter persists, the bottleneck may lie elsewhere, but isolating cache on a fast NVMe resolves the issue for many editors.
Building an editing rig that keeps up? Pair a dedicated NVMe cache drive with the right GPU from the workstation graphics card range at https://www.evetech.co.za/PC-Components/workstation-graphics-cards-307 and edit without the stutter.