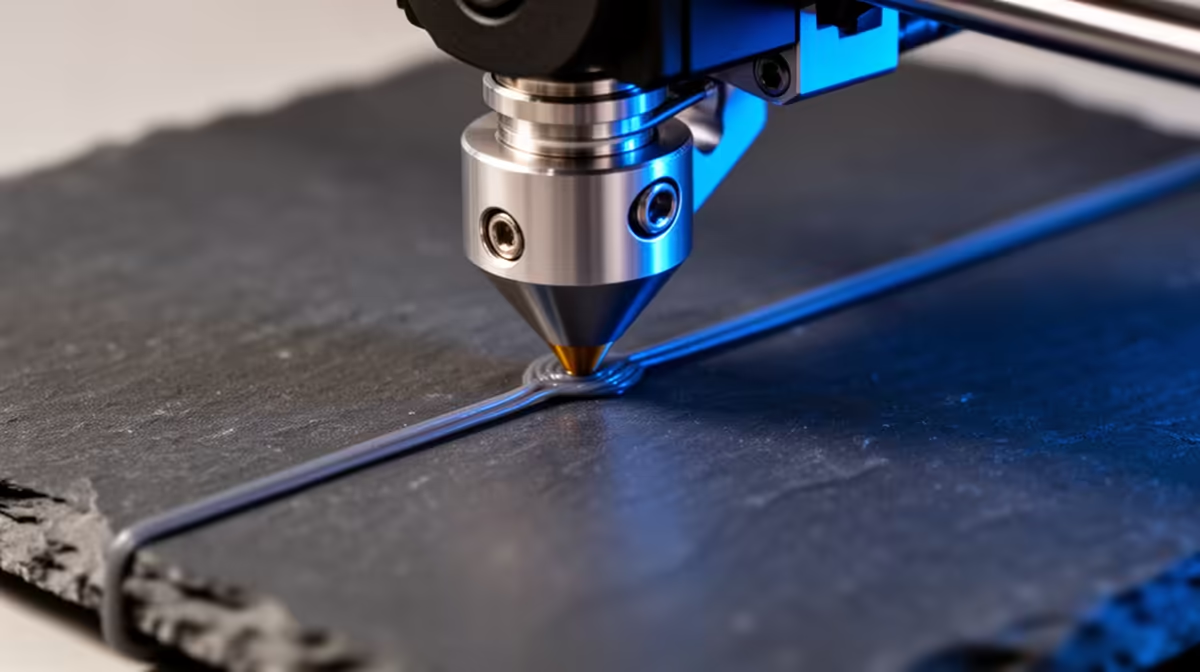
Watching that first layer go down is the only honest test of your nozzle height, and live Z-offset tuning lets you fix it without stopping the machine. Instead of printing a square, measuring it, editing a value, and starting over, you nudge the gap in real time and read the result off the bed as the lines appear. The skill takes one print to learn and saves hours after that.
Quick Answer
Start the first layer of any print, open the Live Adjust Z or baby-step menu, and move the nozzle down in 0.025mm increments until the extruded lines flatten and fuse together with no gaps. A good first layer looks like slightly squashed, glossy ribbon with no rounded edges. Save the value once it looks right.
What live Z-offset actually changes
Z-offset is the distance between the nozzle tip and the bed at layer one. Set it too high and the plastic stays round, beads up, and peels away. Set it too low and the nozzle drags, smears, and can clog. Baby-stepping moves the entire Z axis by a tiny amount mid-print so you change that single gap while everything else keeps running. The motion is temporary on most firmwares until you save it, which is exactly why it is safe to experiment with.
If your printer needs maintenance parts or a fresh nozzle before you start, the 3D printer hardware listed at Evetech is a sensible place to confirm what spares your model takes.
Step by step: dial it in live
- Level the bed first. Live Z-offset corrects the overall height, not a tilted bed. Run your auto or manual level routine so the four corners and centre are even.
- Clean and heat the bed. Wipe with isopropyl alcohol and bring the bed and nozzle to your filament's normal temperatures so adhesion behaves predictably.
- Start a wide test object. A single-layer 60mm square or a dedicated first-layer test gives you plenty of surface to read.
- Open Live Adjust Z. On most Creality and Prusa style menus this sits under Tune or Settings while a print is running. The control adjusts in fine steps, usually 0.025mm or 0.05mm.
- Lower until the lines kiss. If you see gaps between passes, move down. The ribbons should touch and merge into a smooth sheet.
- Stop before it smears. If the surface goes translucent, ripples, or the nozzle scrapes plastic, you have gone too far. Step back up one or two clicks.
- Save the offset. Once a few perimeters look clean, store the value so the next print starts there. Print a full first layer to confirm.
Reading the line shape
A correct line has flat top and squared sides that fuse to the neighbour. A too-high line stays cylindrical and you can see bed between passes. A too-low line spreads thin, turns see-through, and leaves ridges where the nozzle plows displaced plastic. Train your eye on these three shapes and you will rarely need a feeler gauge again.
Why live tuning beats test prints
The old method was to print a calibration square, measure or judge it, change the offset value in the menu, then start over and hope. Each cycle cost minutes and filament, and you were always reacting to the last print rather than the current one. Live adjustment collapses that loop. You see the line forming under the nozzle and correct it in the same pass, so you converge on the right gap in seconds instead of across several attempts. For anyone who swaps build plates or filaments often, this turns recalibration from a chore into a habit.
Dialling in across different materials
Filaments do not all want the same gap. A grippy material like PETG often prefers a slightly larger first-layer gap than PLA, because squashing it too hard makes it stick so well it can lift the build plate coating on removal. A flexible filament wants a gentle, even squash so it does not bunch. The live method shines here, because you tune to what you see on the bed rather than trusting a single saved number across every spool. Note the offset that works for each material and surface, and you build up a quick reference for future prints.
Keep the tools handy
A small scraper, a fresh nozzle, and a roll of isopropyl wipes make this routine faster, and stocking spares before a long print avoids a stalled job. Browsing the accessories that move fastest at Evetech is a quick way to top up the consumables a printer eats through.
Frequently Asked Questions
How small should each baby-step be?
Use 0.025mm steps for fine control. Larger 0.05mm steps move faster but make it easy to overshoot from a clean line into a smeared one. Slow and small wins.
Do I lose my setting after the print?
On many firmwares the live adjustment is temporary until you save it through the menu or store it to EEPROM. Always confirm the save step, or the next job reverts to the old offset.
My first layer is good in the centre but bad at the edges. Why?
That is a bed-levelling or warp issue, not Z-offset. Live Z shifts the whole plane evenly, so re-level or check for a bowed bed before tuning the offset.
Can I use this with a textured PEI sheet?
Yes, but a textured sheet usually wants a fractionally larger gap than a smooth one because the plastic keys into the surface. Re-tune the offset whenever you swap build plates.
What if lowering the nozzle makes things worse?
Stop, raise back up, and check for a clog or a dirty bed. A blocked nozzle starves the line no matter how close you sit, so it mimics a high offset while actually being a flow problem.
Ready to keep your printer fed and running clean? Stock spare nozzles, adhesion supplies, and printing essentials from the fast-moving accessories at https://www.evetech.co.za/accessories-best-sellers/x/1919 and get back to flawless first layers.