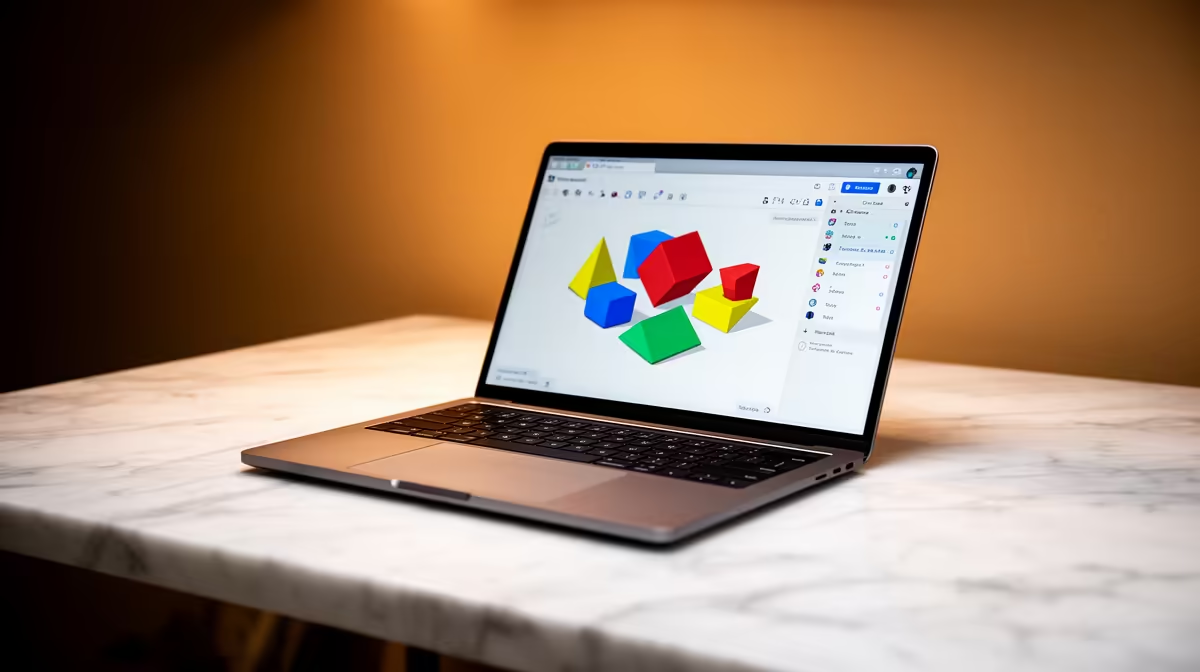
Most people who want to design something for a 3D printer stall at the same point: the CAD software looks like a cockpit. TinkerCAD sidesteps that entirely. It runs in a browser, costs nothing, and teaches modelling through a single idea any beginner already understands, sticking solid shapes together and carving holes out of them. Plenty of first-timers have a printable model finished inside an hour.
Quick Answer
TinkerCAD is the easiest way to start 3D modelling: a free, browser-based CAD tool from Autodesk that needs no install and no prior experience. You build models by combining primitive solids and "hole" shapes, then export an STL ready to slice and print.
Step 1: Create a Free Account and Open a Workplane
Sign up at the TinkerCAD site with an email or a school login. There is nothing to download and it runs on a modest laptop or even a Chromebook, which makes it ideal for students and shared school machines.
Once you are in, create a new design. You will see a flat grid called the workplane, an orientation cube top-left for rotating the view, and a shapes panel on the right. Spend two minutes here: drag the view around with right-click, zoom with the scroll wheel, and get comfortable moving in three dimensions before you place anything.
Step 2: Place Your First Solid
Drag a box from the shapes panel onto the workplane. That box is your first solid. Click it and you can:
- Resize it by dragging the white corner handles, or click a dimension and type an exact number in millimetres.
- Lift it off the plane using the black cone handle on top.
- Rotate it with the curved arrows that appear when selected.
Always work in real millimetres from the start. If your finished model needs to be 40 mm wide, type 40 now rather than eyeballing it, because getting dimensions right in TinkerCAD saves a failed print later.
If you have not chosen a machine yet, it helps to browse the range of 3D printers Evetech stocks so you know the build-volume limits your designs need to respect.
Step 3: Add Shapes and Combine Them
Real models are several solids merged together. Drag a cylinder next to your box, position it so the two overlap, select both (click one, shift-click the other), and press Group. The two shapes fuse into one object. This is how you build everything from a phone stand to a custom bracket: stack and merge simple primitives until the silhouette is right.
A handy habit is to align shapes precisely. Select your objects, click the Align tool, and snap them to a shared edge or centre. Precise alignment now means clean joins instead of awkward overhangs the printer struggles with.
Step 4: Carve Holes With the Hole Tool
This is the single most powerful idea in TinkerCAD. Any shape can be turned into a "hole" by selecting it and clicking the Hole swatch. A hole shape does not print; instead, when you group it with a solid, it subtracts its own volume.
Want a slot for a cable, a hole for a screw, or a hollow inside a box? Place a shape where you want the gap, mark it as a hole, group it with the solid, and the material vanishes exactly there. Combining solids and holes is the whole craft of basic CAD, and TinkerCAD makes it visual and forgiving.
Step 5: Export an STL and Slice It
When the model looks right, click Export and choose STL. That file is the universal handoff format every slicer reads. Drop the STL into your slicer of choice, set your layer height and infill, generate supports if the model has overhangs, and send it to the printer.
Keep your first few designs small and flat-bottomed. A wide, low model prints reliably and teaches you the loop from idea to object without fighting supports or warping.
What TinkerCAD Cannot Do, and When to Move On
TinkerCAD is built for solid, blocky, mechanical shapes. It is brilliant for brackets, organisers, enclosures, name tags and simple parts. It is not built for smooth organic curves, sculpted miniatures, or parametric engineering where one dimension drives many others.
Once you outgrow it, the natural next step is a fuller tool such as Fusion 360 or a sculpting app like Blender. But do not rush. Most useful household and hobby prints never need more than TinkerCAD, and the primitive-and-hole thinking you learn here transfers directly to every CAD tool above it. When you are ready to expand the workshop with tools, filament and consumables, the Evetech maker accessories selection covers the supporting kit.
Frequently Asked Questions
Is TinkerCAD really free?
Yes. TinkerCAD is free from Autodesk with no licence cost and no paid tier for the core features. You only need a free account and a browser, which makes it ideal for students and first-time makers on a budget.
Do I need a powerful PC to run it?
No. Because it runs in the browser, TinkerCAD works on modest laptops and even Chromebooks. A stable internet connection matters more than raw processing power, since the heavy lifting happens in the cloud.
What file format does TinkerCAD export for printing?
STL is the standard export for 3D printing, and TinkerCAD also offers OBJ and 3MF. STL drops straight into any slicer, which then prepares the model for your specific printer.
How long until I can print my first model?
Many beginners design and export a simple printable model within an hour. Start with something flat and blocky, such as a keyring or a desk organiser, to learn the full idea-to-object loop quickly.
Should I learn TinkerCAD before Fusion 360?
For most people, yes. TinkerCAD teaches the core habits of combining solids and subtracting holes without the steep interface of professional CAD. Those habits carry directly into Fusion 360 when you eventually need curves or parametric design.
Got your first STL ready? Make sure you have a machine to print it on by browsing the 3D printers at https://www.evetech.co.za/components/3d-printers-130, and grab the filament and tools to keep your new hobby running.