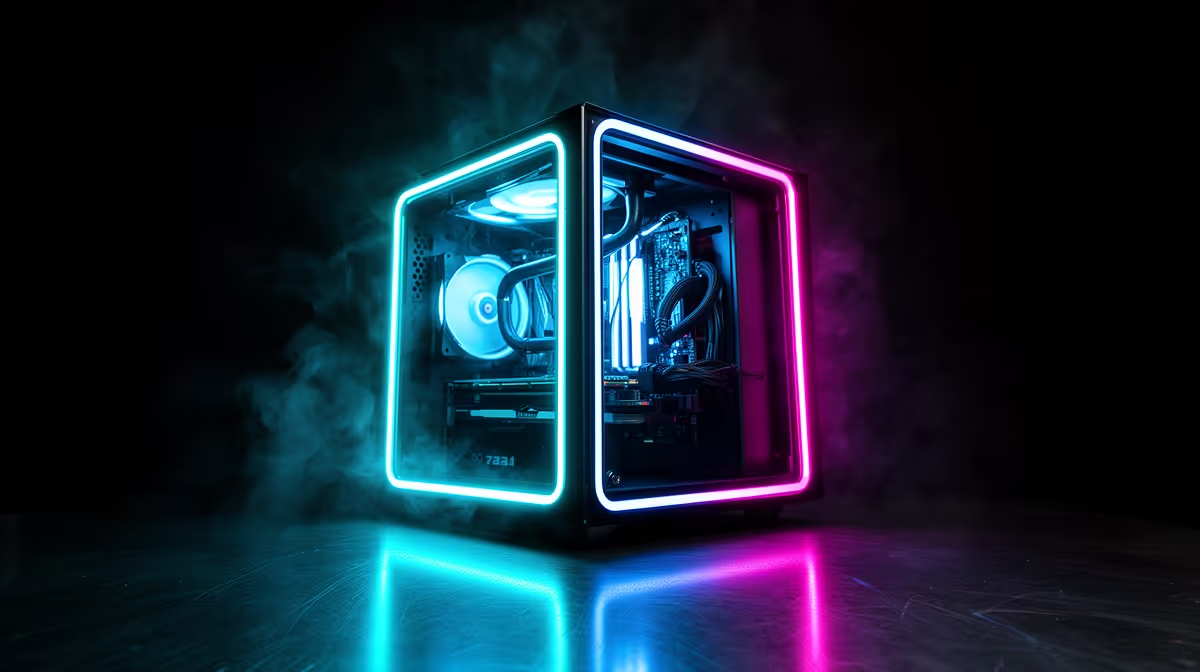
A mini-ITX PC trades empty space for planning. The 170 x 170 mm motherboard gives you one main expansion slot and fewer headers, while the case packs the GPU, power supply and cooler close together. Measure every part as a system before ordering the first attractive small case.
Quick Answer
Choose the case and graphics card together, then confirm cooler height or radiator space, PSU format, cable clearance and motherboard headers. SFX is common, but some compact cases accept SFX-L or ATX with limits. Build and test outside the tightest panels first, then tune CPU power and fans for the noise target.
Step 1: define the size you can live with
Small-form-factor cases range from compact shoebox layouts to slim console shapes. Lower volume usually means tighter compatibility and more difficult assembly. Decide where the PC will sit and how often you upgrade.
Check external dimensions as well as litres. A tall narrow case can use less desk area than a shorter wide one. Leave room around every intake and exhaust; a small case still needs to breathe.
Use gaming PC configurations and popular complete desktops as performance references. Their pages do not confirm that every system is mini-ITX, so verify chassis and component format on the exact listing.
Step 2: fit the graphics card in three dimensions
Record card length, height and slot thickness. Add power-connector and cable-bend space. A case maximum can assume no front radiator or a particular fan layout.
Flow-through coolers need open space behind the card. A solid PSU shroud pressed against the exhaust side can raise temperature. Read build reports for the exact case and card style.
Riser-cable cases add another compatibility point. Use the case's supported PCIe generation and test the link before closing the system. A Gen4 card on a troubled riser may need a BIOS setting change during diagnosis.
Step 3: choose the power supply
SFX measures 125 x 100 x 63.5 mm. SFX-L extends depth and often uses a larger fan. The case decides which fits without blocking the GPU or cables.
Size wattage from the exact CPU and graphics card, leaving sensible transient headroom. Check connectors, cable lengths and the GPU plug. Modular cables reduce unused clutter, but their PSU-side wiring is model-specific. Never mix sets between power supplies without confirmed compatibility.
Mount the PSU so its intake reaches fresh air. A compact case can turn one reversed fan into a hot pocket.
Step 4: match CPU cooling to the layout
Low-profile air coolers need case height, motherboard socket position and memory clearance. Their performance varies with fan access and CPU power. A top-down cooler can move air over board components.
An AIO moves the heat to a radiator, but tubes, pump block and fans consume precious space. Check radiator thickness with fans and whether it competes with the graphics card.
Use a supported CPU power limit or efficiency mode when a small cooler cannot use unrestricted boost. Measure game performance; a modest power reduction can cut heat with little visible loss.
Step 5: inspect motherboard features
Mini-ITX boards usually provide two memory slots and one PCIe slot. M.2 drives may sit front and rear. A rear drive can run warmer against a case panel, so check heatsink and airflow.
Count fan, pump, USB-C and RGB headers. Splitters and hubs need their own current limits and mounting space. Onboard WiFi and Bluetooth are useful because the only expansion slot belongs to the GPU.
Make sure the BIOS supports the chosen CPU. A flashback feature helps when no older processor is available.
Step 6: plan cables before components
Lay out the 24-pin, CPU EPS, GPU power, front-panel and storage leads. Install the hardest cable before the cooler blocks the socket. Do not force a sharp bend at a connector.
Short custom cables can clean the build, but they must be wired for the exact PSU. Extensions add length and are often the wrong answer in a tiny enclosure.
Use hook-and-loop ties rather than crushing cables against a side panel. Photograph each layer for later service.
Step 7: build in a useful order
Install CPU, memory and the front M.2 drive on the board. Mount the cooler backplate and any rear SSD before the motherboard enters the case. Connect CPU power early.
Test a basic boot with the board, memory and storage before adding every panel. Then install PSU and GPU, checking that no cable reaches a fan.
Do not balance a powered system on an open metal case. Follow component manuals and anti-static handling.
Step 8: tune airflow and noise
Run a CPU load, GPU load and real game with the case closed. Watch sustained clocks, temperature and fan speed. A side panel can change the flow enough to reverse an open-bench result.
Use smooth fan curves with short response delays. The GPU and CPU may need different intake priorities. Avoid adding fans because a mount exists; one badly placed exhaust can steal cool air before it reaches the cooler.
Frequently Asked Questions
Does every mini-ITX build need an SFX PSU?
No. Many do, while some cases accept SFX-L or ATX with component restrictions. Check the exact case.
Is mini-ITX hotter than a tower?
It can be harder to cool, but a well-planned compact layout can run efficiently. Measure the closed case.
Can I use a flagship GPU?
Only when dimensions, power, cooling and cable clearance all fit. A compatible label alone is not enough.
Plan a mini-ITX gaming PC from case, GPU, cooler and PSU dimensions as one system before buying individual compact parts.