So, you’ve got your hands on the AMD Ryzen 5 7500X3D, a legit powerhouse for gaming without the hefty price tag. Awesome choice! But now comes the part that makes many new PC builders in South Africa sweat a little… the installation. Don’t stress. This guide will walk you through a perfect Ryzen 5 7500X3D installation, ensuring your new CPU is seated safely and ready to dominate. Let’s get that rig running! 🚀
Before You Begin: Your Pre-Installation Checklist
A smooth build is all about preparation. Before you even touch that shiny new processor, let's make sure you have everything in order. A little prep now prevents a lot of panic later. Taking a few moments to organise your space and tools is the first step in a successful 7500X3D CPU installation.
Here’s what you’ll need:
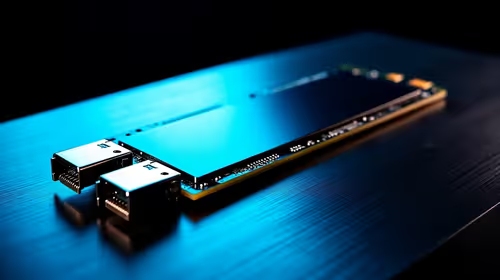
- Your Ryzen 5 7500X3D CPU: Keep it safe in its clamshell until you're ready.
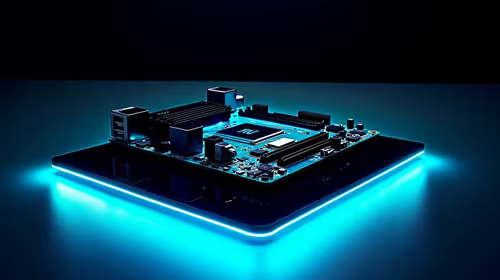
- An AM5 Motherboard: Make sure it’s compatible! The 7500X3D uses the latest AM5 socket.
- A Clean, Static-Free Workspace: Work on a wooden or laminate surface, not a carpet. Touch a metal part of your PC case every few minutes to discharge any static electricity.
- Patience: This isn't a race. Take your time.
If you're still gathering parts, considering an AMD barebone kit can be a great way to get a compatible motherboard, case, and power supply all in one go.
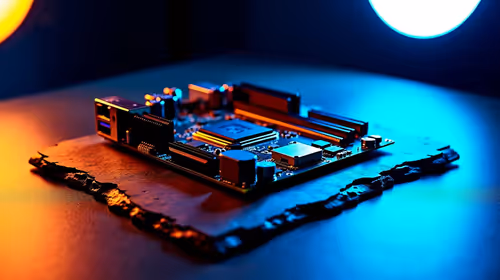
Your Step-by-Step Ryzen 5 7500X3D Installation Guide
Alright, let's get to the main event. We'll break down how to install the Ryzen 5 7500X3D into simple, clear steps. Remember the golden rule: never force anything.
Step 1: Open the Motherboard Socket
First, locate the CPU socket on your motherboard. You'll see a small metal lever next to it. Push the lever down and away from the socket to unhook it. Then, lift it all the way up. This will cause the socket's load plate (the metal frame) to pop up. Easy does it. ✨
Step 2: Align Your CPU
This is the most crucial part of the Ryzen 5 7500X3D installation. Pick up the CPU by its edges—try not to touch the gold pins on the bottom. Look for a small golden triangle in one corner of the CPU. Now, look at the motherboard socket; you'll see a matching triangle printed on it. Your job is to align these two triangles. It’s that simple!
Step 3: Gently Place the CPU
With the triangles aligned, gently lower the CPU straight down into the socket. It should drop in with zero resistance. If it doesn't sit flush, do not press it down. Lift it out, double-check your alignment, and try again. When it's right, it'll feel right.
Thermal Paste Pro Tip 🔧
Most stock AMD coolers come with thermal paste pre-applied. If yours does, you can skip this step! If you're using an aftermarket cooler or re-installing a CPU, apply a pea-sized dot of quality thermal paste to the centre of the CPU's silver lid (the IHS) before mounting your cooler.
Step 4: Secure the CPU
Once the CPU is seated, lower the metal load plate back over it. Then, bring the retention lever back down, pushing it in until it clicks securely under the hook. This will require a bit of firm pressure, which is completely normal. And that's it—your CPU is safely installed!
Installation Complete: What's Next?
Congratulations! The hardest part is over. Now you can move on to installing your CPU cooler, RAM, and graphics card. This CPU is a fantastic foundation for a killer gaming rig.
Building from scratch gives you total control, but if you prefer a more streamlined approach, grabbing a pre-selected motherboard and CPU combo is a smart move. You can find excellent Intel and AMD-based bundle packs that guarantee compatibility from the start. While we've focused on an AMD build, it's always worth seeing what the competition offers in similar Intel barebone kits to make the most informed choice. And if you ever feel the need for more cores for tasks like streaming or video editing, upgrading to a more powerful CPU is easy with options like these AMD Ryzen 7 bundles.
Ready to Build Your Dream Rig?
A successful CPU installation is a massive step towards PC gaming freedom. If this guide helped but you'd rather get straight to the action, let us handle the hard parts. Explore our range of upgrade kits and bundles and find the perfect core for your next gaming machine.