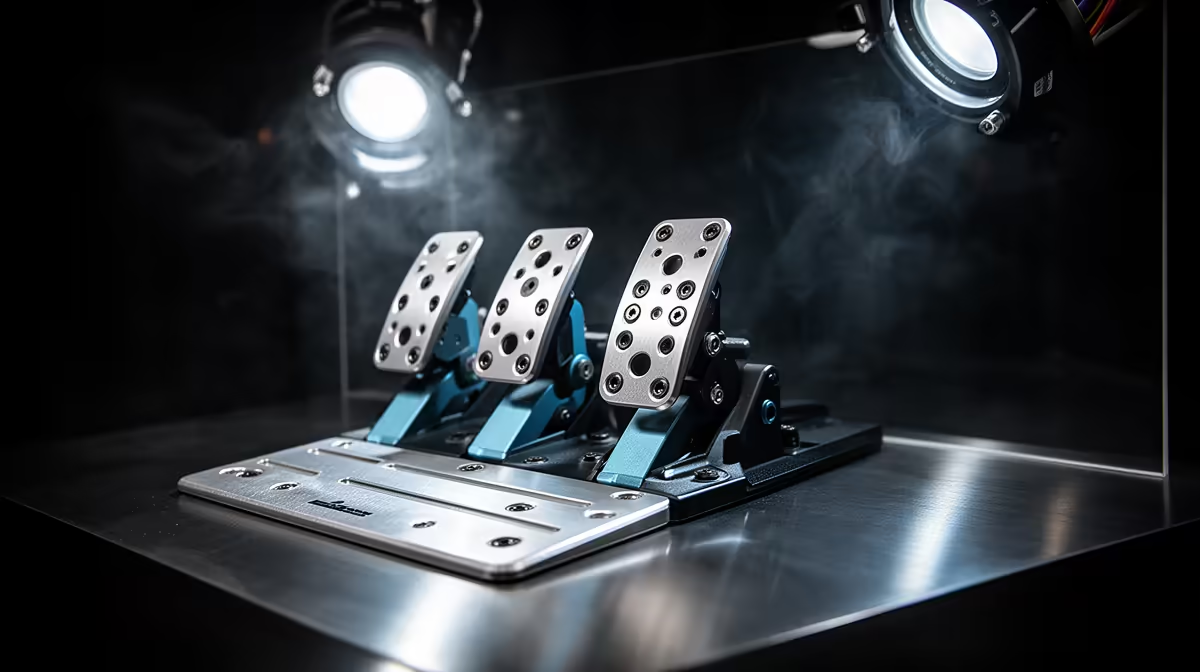
Sim-racing pedals feel natural when your hips stay against the seat, your knees keep a slight bend and the brake can reach full pressure without the rig moving. A 15 to 20 degree plate angle is a useful experiment, not a rule for every body, pedal set or driving position.
Quick Answer
Start with the pedal faces near natural ankle position and enough distance to keep the knee bent at full travel. Secure the seat and pedal base before raising brake force. Adjust angle, distance and pedal spacing one at a time, then drive a full stint. Stop and seek professional advice if pain or numbness persists.
Step 1: lock down the seat
Set the seat height and back angle before touching the pedals. Your hips should remain against the backrest under hard braking. A sliding office chair needs a reliable stop or link to the pedal stand.
Tighten the rig through its manual and use a flat floor. A flexing frame changes brake travel and makes every ergonomic adjustment hard to repeat.
Place the wheel after the seat, with relaxed shoulders and bent elbows. Pedal fit cannot compensate for reaching too far towards the rim.
Step 2: find the distance
Move the pedal plate until the leg retains a slight bend when the brake reaches the force you normally use. The knee should not lock. If the hip lifts from the seat, the pedals may be too far away or the brake too heavy.
Press the accelerator fully as well. The ankle should reach the end of travel without pointing the toes painfully. Check clutch travel when the set includes one.
Browse the sim-racing range and flight-simulator equipment for control and mounting options.
Step 3: tune the pedal angle
A moderate decline or tilt can bring pedal faces closer to the feet, especially in a low formula-style seat. An upright road-car position may prefer a different plate and face angle.
Begin around the rig maker's recommended setting. Change by a few degrees and test. Watch whether the heel stays supported, the ankle remains comfortable and the knee tracks forward without twisting.
Pedal-face angle can often change separately from the plate. Use that fine control before moving the entire rig.
Step 4: align knees and pedal spacing
Move brake and throttle laterally where the pedal set permits it. The knee should follow the foot rather than collapsing inward or being forced outward. Pedal spacing also affects heel-and-toe technique and left-foot braking.
Keep enough gap that one shoe cannot catch another pedal. Wear the shoes you race in during setup. Thick soles and wide trainers change reach.
Step 5: set brake force after stability
A load-cell brake measures pressure rather than pedal position. It can make braking easier to repeat because your leg learns force. It can also demand much more from the rig and seat.
Start with a moderate force. Calibrate maximum pressure through the pedal software, then run several laps. Raise it only when you can reach full braking without locking the knee, lifting the hip or moving the frame.
A potentiometer pedal measures position and can work well for beginners. Stability and calibration matter more than sensor prestige.
Step 6: calibrate each axis
Use the maker's supported utility and the game controls. Set minimum and maximum values without resting pressure creating input. Add a small dead zone only where noise or physical play requires it.
Check the input graph through slow presses. Spikes can point to a cable, dirty sensor or connection issue. Do not hide a failing sensor behind a huge dead zone.
Save the working profile and note firmware version. Game updates can reset mappings.
Step 7: test through a full stint
Drive at least thirty minutes with repeated braking. Notice the ankle, knee, hip and lower back. A position that feels fine for three laps can become tiring later.
Stand and walk between tests. Change only one dimension, then repeat the same car and circuit. This isolates whether angle, distance or force helped.
Persistent pain, weakness or numbness needs assessment by a qualified healthcare professional. A pedal setup can improve fit; it cannot diagnose or treat an injury.
Keep cables and adjustment points safe
Route pedal cables away from sliding rails and feet. Leave a service loop without a loose coil under the brake. Use the supplied connectors and avoid pulling a cable by its wire.
Mark the seat rail and pedal plate once the position works. A shared rig can return to each driver's settings quickly.
Frequently Asked Questions
Is a 15 to 20 degree pedal angle best?
It is a useful starting range for some rigs. Seat height, pedal design and your body decide the final angle.
Are load-cell pedals better?
They can improve pressure consistency, provided the rig is stable and the brake force suits you.
How far should pedals be from the seat?
Far enough for comfortable reach while leaving the knee slightly bent at full pedal travel.
Set sim-racing pedals from a stable seat, comfortable knee bend and repeatable brake force, then refine angle through full-stint testing.