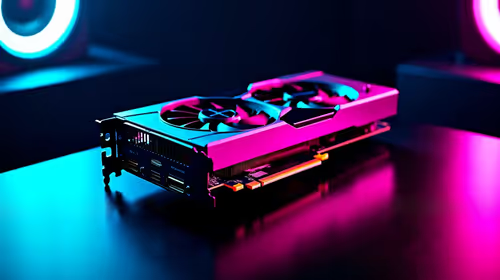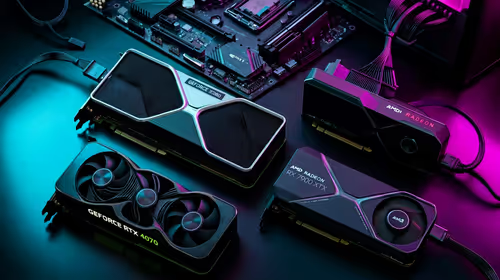
The graphics card is the strongest year-two upgrade for many R15,000 gaming PCs, but only when it is the measured limit. A fully loaded GPU below your frame target points to graphics. Low GPU use, full memory or a struggling processor points elsewhere. Diagnose first, then confirm power, case and CPU support before choosing the new card.
Quick Answer
Run your five main games at the monitor's native resolution. Record GPU use, VRAM use, CPU frame time, memory use and one-percent lows. Upgrade the GPU when it stays near full load and the rest of the platform has headroom. Add RAM for paging, storage for capacity or a CPU for low-GPU-use frame limits. Do not swap by age alone.
Step 1: capture a baseline
Use the same game scene and settings for every test. Note average frame rate, one-percent lows, GPU load, temperature and power. Check CPU use per core and total system memory.
High GPU load with a stable CPU points toward the card. A game can still show 99 percent GPU use because of an uncapped menu, so test the demanding play scene.
Save the baseline. It proves whether the upgrade delivered a useful change and exposes a new bottleneck after installation.
Step 2: check the monitor target
A 1080p 75Hz screen may already show every frame the PC produces. Upgrading the GPU for 160 fps has little visible value without a display plan. A 1440p monitor creates more work and can justify a stronger card.
Define resolution, refresh and graphics settings. Ray tracing and high textures can make the GPU or its memory the limit. Competitive low settings can push the processor instead.
Step 3: verify power and connectors
Read the new card's power guidance and physical specification. Check the PSU's exact model, capacity, age, native connectors and warranty status. Do not use modular cables from another PSU unless the manufacturer confirms compatibility.
The case must fit card length and thickness with room for intake. Check front radiators and drive cages. Leave a safe cable bend at the side panel.
Step 4: check CPU balance
A much faster GPU can wait on an entry processor at 1080p high refresh. Compare the proposed card with the current CPU in your games. At 1440p high settings, the GPU may carry enough work that the pairing remains sound.
Do not replace both by assumption. Install the card, retest and decide whether CPU frame time now misses the target.
Compare current complete systems in the gaming PC deal range and PC best-seller list. They provide reference configurations, not a permanent upgrade promise for your tower.
Step 5: rule out cheaper fixes
Enable the intended memory profile after confirming stability. Make sure memory uses the recommended slots. Update game and graphics drivers through supported channels. Check temperature and dust before buying around throttling.
An SSD does not add many GPU frames, but a full or failing drive can create stutter. RAM helps when current capacity is exhausted. Use each upgrade for its measured problem.
Step 6: choose the card around the whole year-two system
Compare at least two GPU tiers with the processor you own. Use the intended resolution and the same game version. A large average-frame gain can hide weak lows, limited graphics memory or a cooler that does not fit the case.
Check card length, thickness and the position of front fans or radiators. Measure from the rear slot to the nearest obstruction. Leave intake space under a thick card and make sure it will not cover an expansion device you still need.
Display outputs matter when the monitor uses a particular refresh, adaptive-sync path or connector. Confirm the new card supports the screen's full mode. Keep the old display cable only when its standard and condition are suitable.
Choose a cooler and fan profile that fit the room. A compact two-fan card may fit the case and run louder than a longer design. Reviews of the exact partner model provide better noise evidence than the GPU name.
Plan what happens to the old card. Keep it until the new system has passed stability testing, then store it in suitable anti-static packaging or pass it on with accurate condition details.
Step 7: install and verify safely
Back up important data, shut down and disconnect mains power. Follow the case, motherboard, PSU and graphics-card manuals. Support the card without placing force on fans or small components.
After installation, confirm connector seating and display cable placement. Install the supported driver, then repeat the baseline. Watch temperature, clocks, noise and one-percent lows through a long session.
Frequently Asked Questions
Is GPU always the first year-two upgrade?
No. It leads when the card is the measured frame limit. Capacity, CPU or thermal faults need their own remedy.
Do I need a new PSU with a GPU upgrade?
Only when the existing unit lacks suitable quality capacity, connectors or support for the card. Verify the exact models.
Should I upgrade from 16GB to 32GB first?
Do so when measured memory use or paging affects your workload. Spare capacity alone does not raise every game's frame rate.
Record a year-two performance baseline, then choose the GPU only after power, case, CPU and monitor checks confirm it is the real limit.