


PCIe 5.0 vs PCIe 4.0 for Video editing in 4k in SA
PCIe 5.0 vs PCIe 4.0 for video editing in 4k is mainly about fit, features, compatibility, cost, and upgrade path, not one automatic winner. SA buyers should match the choice to the setup.
Read moreLumbar and neck pillows work best when they fill natural gaps within a sound desk setup. The R4,299 Torretta supplies two movable supports plus height and 3D armrest adjustment, letting users coordinate each ergonomic contact point.
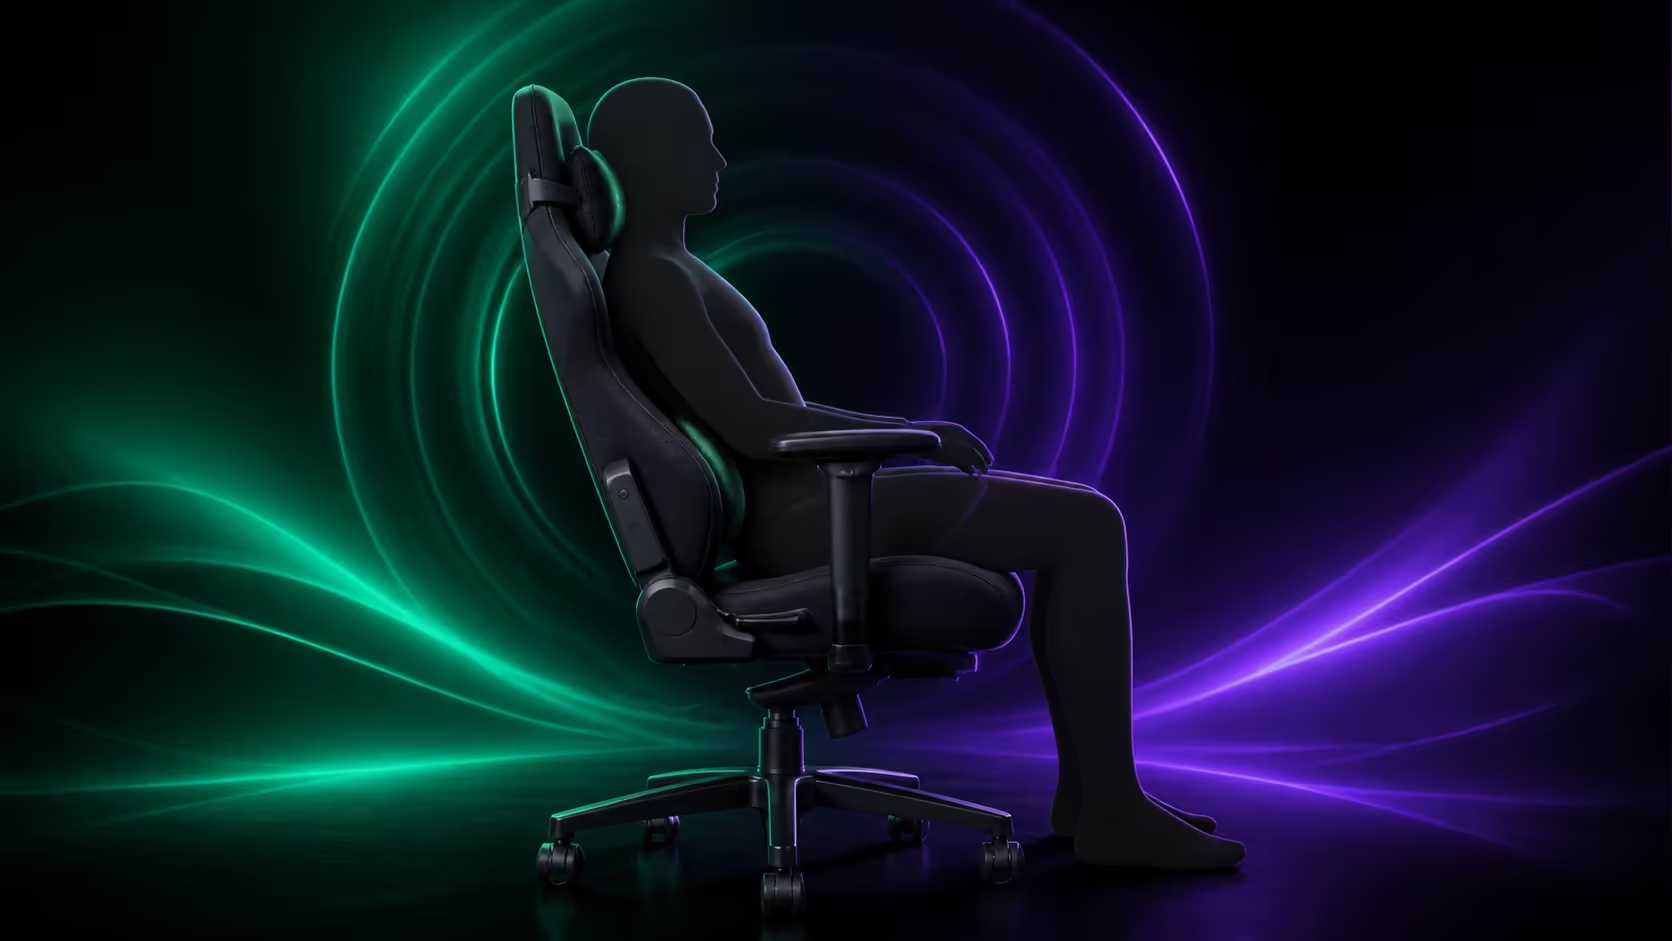
Lumbar pillows, neck pillows and gaming-chair ergonomics meet at one principle: support should fill a real body-to-backrest gap without shifting the user away from the desk. Each cushion needs an independent trial because a helpful lower support does not guarantee a suitable upper one.
Set feet, seat height and desk reach first. Place the lumbar cushion in the lower-back hollow and the upper pillow where the head remains naturally aligned. The black Arozzi Torretta costs R4,299 and includes two support pillows with adjustable height, 3D armrests and breathable fluid-repellent Super Soft fabric.
Sit against the backrest and note unsupported regions, pressure, seat depth and screen reach. Empty back pockets and use normal clothing. The baseline prevents a soft cushion from being mistaken for better alignment.
Locate the inward curve above the pelvis and place the lower cushion for broad gentle contact. It should not tilt the pelvis, push the torso forwards or reduce thigh support.
An unsuitable seat depth cannot be repaired by adding a large pillow. Compare chair geometry separately through the gaming chair collection.
Use the top cushion where it supports a relaxed head or neck without driving the chin down. Correct monitor height first. A low screen can pull the head forward regardless of cushion placement.
Some users need upper support only during relaxed controller use or breaks.
Use the lower pillow for one work block, reset, then trial the upper cushion separately. Record pressure, warmth, torso position and time to discomfort. Combine them only after each proves useful.
Pillows change elbow distance from the desk. Reset pad height, depth and pivot after every cushion revision. Mouse users may need the active pad farther back; controller use can bring supports forward.
Move keyboard and mouse close enough to preserve backrest contact. Raise a low laptop display suitably and use separate inputs when required. Do not lean away from the pillows to reach the work.
Each cushion adds a contact layer over breathable fabric. Test temperature during the intended session length and stand regularly. Manage room airflow before removing support that otherwise improves posture.
Jackets change the gap behind the torso, and pocket items tilt the pelvis. Repeat pillow tests in normal work or gaming clothing. Seasonal changes may require a small position reset.
Attachments should hold position without twisting or creating a hard ridge. Clean hidden zones gently and dry them after spills. Do not overtighten an improvised strap.
Typing, mouse play and controller use place the torso differently. Save cushion positions only when the change is meaningful and repeatable. The lower support should remain useful without restricting shoulder movement.
Every regular user needs their own height, pillow and armrest record. Similar overall height does not guarantee similar torso proportions. Restore from feet upwards.
Use chairs priced above R4,000 to place the Torretta in context. Score each cushion independently. Browse Arozzi gaming setups after support and desk fit pass.
Overall height does not predict seated torso length. Measure the lower-back curve, shoulder position and distance to the head support while the user sits fully back. Two people of similar height can need very different cushion positions.
Empty back pockets and test in normal desk clothing. A jacket can fill the lumbar gap; a belt or wallet can tilt the pelvis. Repeat after seasonal clothing changes when a saved position suddenly feels prominent.
Use typing, large mouse movement, controller play and a relaxed break as separate tests. Note whether the upper pillow restricts shoulder movement or the lower cushion loses contact. Keep the smallest number of profiles that covers the real routine.
Reading material below the monitor can pull the neck down. Place documents within a comfortable viewing zone and position a meeting camera around the neutral posture. Pillows should support the body, not aim it at poorly placed equipment.
A strong lumbar cushion can move pressure towards the thighs, while an upper pillow can shift it into the mid-back. Record where pressure goes after each change. Better support should not simply move discomfort elsewhere.
After a long sit, remove and inspect the pillow for uneven compression, twisted straps or dampness. Let it recover and dry before refitting. Use only care suitable for the exact fabric.
Restore feet, seat height and backrest contact before attaching another user's cushions. Label profiles simply without personal medical detail. If a pillow cannot reach the correct region, do not improvise an unsafe attachment.
Repeat the longest task and compare time to discomfort, warmth and ease of returning to neutral posture. Change one variable, then repeat. Avoid daily random cushion movement.
Follow the supplied chair instructions and confirm that pillow attachments are routed as intended. Do not trap straps beneath structural parts or pull them across sharp edges. Save the original packaging while fit is being assessed.
Let the cushions air when contact areas become damp. Inspect the hidden face before refitting and avoid strong direct heat. Breathable upholstery still needs time to release moisture.
When comparing a chair with built-in lumbar adjustment, check its actual height and depth range against the same lower-back target. Do not assume an internal mechanism is better merely because it removes the loose cushion.
The successful profile should preserve feet, thigh comfort, lumbar contact, balanced head position, relaxed shoulders and desk reach. Reject a change that improves one item by breaking another.
Stand regularly even when both pillows feel comfortable. On return, re-establish the saved baseline instead of using the cushions as handles or dropping into the seat.
Place it in the lower-back hollow above the pelvis for broad, gentle contact.
No. Reposition or remove it when the chin moves forwards or down.
No. Test the two cushions independently.
No. Chair geometry remains a separate fit requirement.
The torso moves relative to the desk, changing elbow position.
Not necessarily. Seated torso proportions and lower-back curves can differ.
It occurs when one support change relieves an area but creates new pressure somewhere else.
No. Its actual range must meet the same user-specific lower-back target.
Recheck that target whenever a different user, desk or regular task changes the seated posture.
Ready to build pillow support from a clean ergonomic baseline? Test lower and upper contact alone, restore desk alignment and keep only cushion positions that remain comfortable across real tasks.
Place it in the lower-back hollow above the pelvis for broad, gentle contact.
No. Reposition or remove it when the chin moves forwards or down.
No. Test the two cushions independently.
No. Chair geometry remains a separate fit requirement.
The torso moves relative to the desk, changing elbow position.
Not necessarily. Seated torso proportions and lower-back curves can differ.
It occurs when one support change relieves an area but creates new pressure somewhere else.
No. Its actual range must meet the same user-specific lower-back target. Recheck that target whenever a different user, desk or regular task changes the seated posture.
PCIe 5.0 vs PCIe 4.0 for video editing in 4k is mainly about fit, features, compatibility, cost, and upgrade path, not one automatic winner. SA buyers should match the choice to the setup.
Read more
Wi-Fi 7 vs Wi-Fi 6e for competitive esports comes down to router support, latency goals, device compatibility, and coverage. SA buyers should match the choice to the real network setup.
Read more
ATX 3.1 vs ATX 3.0 for mMO and live-service games buyers - what changes is mostly about compatibility, budget, upgrade path, and setup fit. SA buyers should check device support and real needs before expecting a clear win from either option.
Read more
LGA 1851 vs LGA 1700 can affect Twitch and YouTube streaming when gaming and encoding share CPU resources. For SA creators, the real-world difference depends on encoder choice, memory support, motherboard cost, thermals, and upgrade plans.
Read more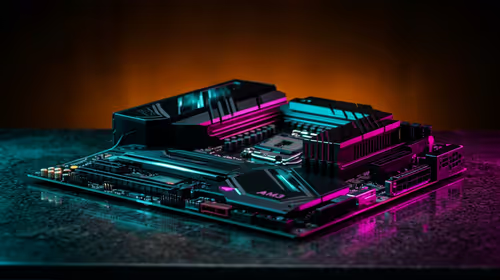
X870E vs X670E for aaa single-player gaming is mainly about fit, features, compatibility, cost, and upgrade path, not one automatic winner. SA buyers should match the choice to the setup.
Read more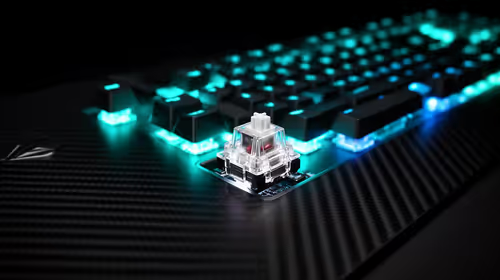
Hall Effect switches vs Mechanical switches for mMO and live-service games is mostly about compatibility, budget, upgrade path, and setup fit. SA buyers should check device support and real needs before expecting a clear win from either option.
Read more
A fake 113GB GTA VI ISO reportedly used empty padding around a small malware payload. SA gamers should delete unofficial builds, keep Windows security active and wait for official channels.
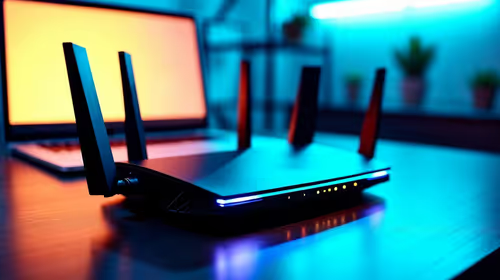
Wi-Fi 6E vs Wi-Fi 6 matters for 4K video editing when files move across a network. The real-world difference between Wi-Fi 6E and Wi-Fi 6 for video editing in 4K depends on NAS access, cloud uploads, router range, and SA creator workflows.

The difference between PCIe 5.0 and PCIe 4.0 for SA gamers is mostly bandwidth headroom. Compare GPU slot needs, NVMe speed, motherboard support, and upgrade timing before paying extra for a newer platform.
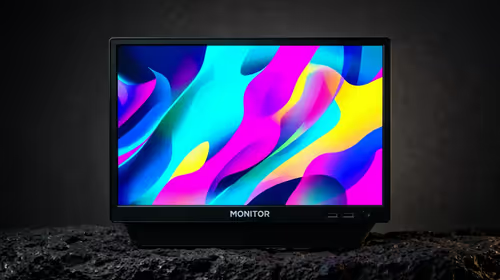
Gaming PC stuck pixel checks in South Africa should confirm the monitor fault first. Use colour tests, screenshot comparison, cable swaps, display menu checks, and clear photos before deciding on support.

Shokz OpenFit Air 2 earbuds weigh 7.2g each and use a redesigned dual-driver open-ear layout. SA buyers should choose them for comfort and awareness, not maximum isolation.

AMD's current driver now lists a Radeon RX 9050 4GB, while product coverage details a narrowed memory system. SA buyers should weigh the low VRAM ceiling against current local Radeon options.

Samsung Display has demonstrated a 16-inch 2.5K OLED laptop panel running at 300Hz. SA buyers should wait for a named notebook, full panel specifications and a local price before planning an upgrade.

Microsoft says some Windows 11 game crashes after recent updates are linked to RGB-related drivers. Affected SA gamers should confirm the update and driver before using the published registry workaround.
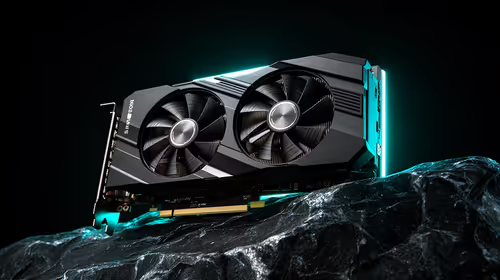
RTX 5090 on a 650W PSU is a tight pairing with very limited headroom. For SA gaming PCs, focus on total system draw, PSU quality, connector support, CPU choice, and avoid OC plans unless the full build is carefully power-limited.
PCIe 5.0 vs PCIe 4.0 for video editing in 4k is mainly about fit, features, compatibility, cost, and upgrade path, not one automatic winner. SA buyers should match the choice to the setup.
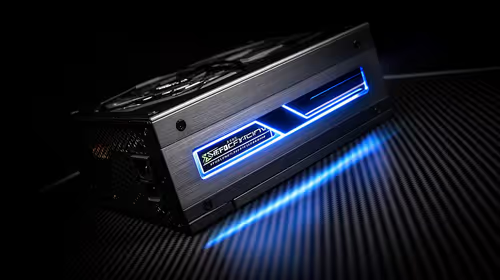
850W PSU safety for RTX 5090 is plausible with a quality unit and balanced parts. In SA, confirm connector support, CPU power draw, case airflow, PSU age, and spare capacity before building around 850W.
Wi-Fi 7 vs Wi-Fi 6e for competitive esports comes down to router support, latency goals, device compatibility, and coverage. SA buyers should match the choice to the real network setup.