So, you've just wrapped up an epic three-hour stream. The gameplay was on point, the chat was buzzing, but then you check the VOD… disaster. Your mic was clipping, your game audio drowned you out, or a pesky background noise went unnoticed. Sound familiar? A proper streaming audio monitoring setup isn't a luxury; it's the essential tool that separates amateur streams from professional broadcasts. Let's get your audio dialled in. 🎧
Why Your Streaming Audio Monitoring Matters
Before you even think about fancy transitions or overlays, your audio needs to be flawless. Streaming audio monitoring is simply the act of listening to your own audio output in real-time, exactly as your viewers hear it. It’s your first line of defence against common stream-killing problems like peaking, distortion, or the dreaded "can you guys hear me?" moment.
Getting this right ensures your voice is crisp and clear over the loudest in-game explosions. It’s about creating a pleasant listening experience that keeps viewers engaged, not reaching for the mute button. Building a solid foundation starts with the right streaming essentials, and your audio gear is priority number one.
Core Components for Flawless Audio
You don’t need a full-blown recording studio, but a few key pieces of hardware make a massive difference. This is the core of any effective streaming audio monitoring guide.
Key Gear Breakdown
- Closed-Back Headphones: These are non-negotiable. They isolate sound, preventing your game and chat audio from bleeding into your microphone. Brands like CORSAIR offer excellent headsets designed for exactly this purpose, providing clear audio feedback without creating an echo for your audience.
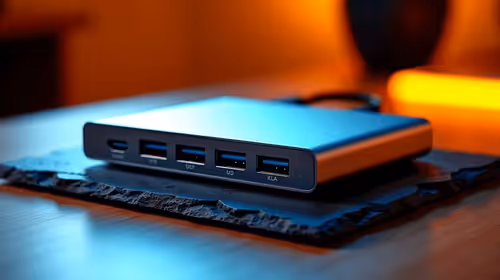
- Audio Interface or Mixer: If you're using an XLR microphone, an audio interface is a must. It converts the mic's analogue signal to digital and, crucially, features a headphone jack for zero-latency monitoring. This means you hear your voice instantly as you speak.
- Software Tools: Your broadcasting software (like OBS or Streamlabs) has built-in audio meters. Keep an eye on them! Your voice should consistently be in the green or yellow range, never hitting the red.
Zero-Latency Pro Tip
Always plug your headphones directly into your audio interface or USB mic's monitoring port, not your PC case. This bypasses your computer's processing delay, giving you a true real-time feed of your voice. It’s a simple change that makes effective audio monitoring possible.
Optimising Your Levels for the Perfect Mix ✨
Once your gear is connected, it's time to optimise. This process, often called gain staging, ensures a balanced and professional sound.
Start by speaking into your microphone at a normal, conversational volume. Adjust the gain (or input level) on your mic or audio interface until the meter in your software peaks around -12dB to -6dB. This sweet spot gives you plenty of headroom to get excited or laugh without distorting.
Next, balance your game, music, and Discord audio underneath your voice level. Your voice is the star of the show; everything else is just the supporting cast. Once your audio is pristine, you can add visual flair to your setup with cool ambient lighting from brands like Cololight to make your background pop.
Budget-Friendly Audio Monitoring in SA
Worried about the cost? You can achieve great results without spending a fortune. Many modern USB microphones come with a built-in headphone jack, offering a simple all-in-one solution for direct monitoring. These mics are a fantastic starting point for any new streamer.
Ultimately, the best streaming audio monitoring setup is one you use consistently. Make it a habit to listen to your own feed for a few minutes before you go live. You don't need to break the bank to sound good; you can find a fantastic range of streaming gear for under R6000 that will elevate your stream's quality immediately. 🔧