
RTX 4060 Ti Throttling Under Load: SA Temperature Guide
RTX 4060 Ti Throttling Under Load: Temperature. Everything you need to know with SA pricing, step-by-step instructions & expert recommendations.
Read moreWant a cleaner PC with daisy-chaining ARGB fans? Learn safe connections, correct fan hub setup, and smart cable management for a smooth, tangle-free build. ✨🧵

If your PC case looks like a bowl of spaghetti, it’s probably not your fault… it’s the cable routing. Daisy-chaining ARGB fans can be awesome for easy lighting control, but only if you plan the run properly. In South Africa, where airflow and dust management matter year-round, neat wiring also helps with cleaning and troubleshooting.
In this guide, I’ll show you a practical, step-by-step way to route ARGB fan cables cleanly, avoid flicker, and keep your build looking premium at a glance.
ARGB (Addressable RGB) uses addressable LEDs, which means your fans are linked through specific signal paths. When you route cables randomly, you tend to run into three common issues:
A clean route is mostly about two things: path planning and using the right cooler/fan layout so cables don’t fight for space.
Before you connect a single ARGB lead, do a quick “dry run”:
Then, follow the chain method:
This is also why cooler choice matters. If you’re using an AIO, the radiator size affects where your cable runs end up.
If your case is tight, routing around the radiator bracket can get frustrating. Generally, a 360mm radiator gives you more layout options, but it depends on your case. A 240mm setup can be cleaner in compact builds.
You can browse Evetech’s CPU cooler options here:
This is the part that saves you from “why is it blinking like that?” moments.
If even one fan is miswired in the chain, the rest can look off. The chain usually works best when cables are routed similarly in length and tension.
On a South African dust-heavy build, keep your ARGB routing tidy by planning cable “loops” early. Use adhesive cable tie anchors on the back of the case first, then route your ARGB chain along the same path every time. This reduces cable strain when you remove the side panel for cleaning, which you will do sooner in high-dust areas.
Clean cable management is not just about looks… it’s airflow.
A quick micro-check before you call it done:
On my last build, I chained three ARGB fans and left a loose loop near the intake. It looked fine on day one. Two months later, dust collected in that loop like it was designed to. Cleaning took longer, and the cable tie I’d used had loosened slightly after panel removal.
Now I always:
It’s a small habit… but it makes the whole build feel “finished”.
Ready to Find Your Perfect Match? The Mac vs Windows debate is complex, but for maximum power, choice, and value in South Africa, Windows is hard to beat. Explore our massive range of laptop specials and find the perfect machine to conquer your world.
Yes, if your ARGB hub/controller supports chaining and you follow correct ARGB data and 5V wiring. This helps avoid flicker and mismatched effects.
Often you need an ARGB hub or splitter so the motherboard receives the signal from multiple fans. It keeps wiring organized and reduces strain.
Use compatible 5V ARGB connectors, seat connections firmly, and avoid exceeding controller limits. Plan routing to prevent loose or pin-stress connections.
Connect to the correct addressable RGB header (often 5V 3-pin). Verify orientation and ensure the header supports the number of fans you plan to chain.
ARGB uses addressable LEDs with individual control (typically 5V 3-pin), while basic RGB is usually non-addressable with different wiring. Match your fan type.
Route cables behind the motherboard tray where possible, bundle near chassis edges, add slack at pivots, and use short paths to minimize visible clutter.
It depends on your controller or hub specifications. Check the device’s max LED count/current rating, then plan your splitter/hub setup accordingly.
Use zip ties, Velcro straps, cable combs, and adhesive clips to guide the ARGB wires. This improves airflow and keeps connectors from rubbing.
RTX 4060 Ti Throttling Under Load: Temperature. Everything you need to know with SA pricing, step-by-step instructions & expert recommendations.
Read more
Apex Legends Max Settings on RTX 4080. Tested & verified settings for best FPS and visual quality on SA hardware budgets.
Read more
GPU Buying Guide. Everything you need to know with SA pricing, step-by-step instructions & expert recommendations.
Read more
GPU Terms Guide. Everything you need to know with SA pricing, step-by-step instructions & expert recommendations.
Read more
AMD Adrenalin Download & Setup Guide: GPU. Clear setup instructions with SA-specific considerations, troubleshooting tips & recommended components.
Read more
Back-to-School GPU Buying Guide. Everything you need to know with SA pricing, step-by-step instructions & expert recommendations.
Read more
Snapdragon X2 NPU Explained: How 80 TOPS Changes. Plain-English explanation of what it means, why it matters & how it affects your buying decisions in SA.

HBM? High Bandwidth Memory Used in GPUs and AI. Plain-English explanation of what it means, why it matters & how it affects your buying decisions in SA.
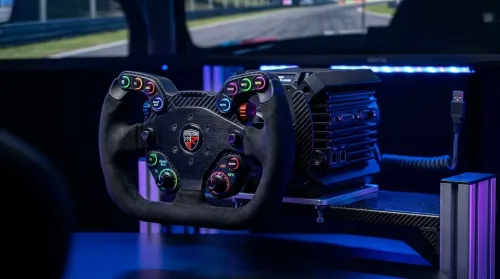
How much should you spend on sim racing accessories in South Africa for a realistic setup? We break down budgets by quality tiers, so you buy smart gear and avoid overspending 🎮💸
G-Sync and FreeSync? Variable Refresh Rate. Plain-English explanation of what it means, why it matters & how it affects your buying decisions in SA.

AMD Laptop: Value. SA-focused analysis with local pricing data, real-world insights & actionable buying advice.

How MacBook Neo Handles 30+ Chrome Tabs with Only. SA-focused analysis with local pricing data, real-world insights & actionable buying advice.

Why Apple Put 8GB RAM in MacBook Neo: The A18 Pro. SA-focused analysis with local pricing data, real-world insights & actionable buying advice.
Upgrade your work laptop with a New Motherboard. Step-by-step instructions with SA-specific tips, common pitfalls to avoid & expert recommendations.
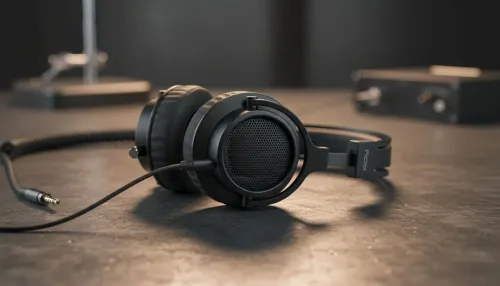
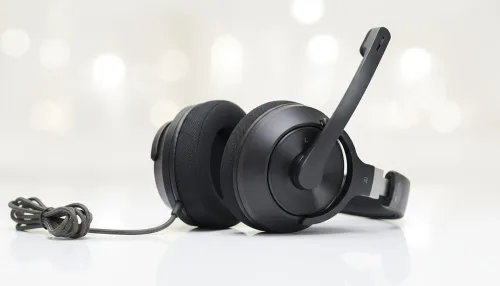
Maintain wired headset — Checklist: • inspect cables • clean earpads • store properly 🔧🎧 Practical steps to preserve sound quality and avoid premature replacements.

Fix crackling headset fast: step-by-step checks for cables, connectors, drivers, and settings to remove static or distorted audio on wired headsets 🎧⚙️
Stereo vs mono headsets: learn which delivers clearer calls, better spatial music, or simpler mono voice performance — pick the right headset for meetings, music, or gaming 🎧💬
- Compare gaming headset vs studio headphones; - Assess comfort, mic and sound; - Recommend best daily picks. Gaming headset vs studio headphones: learn which suits work, music and casual gaming. 🎧⚖️