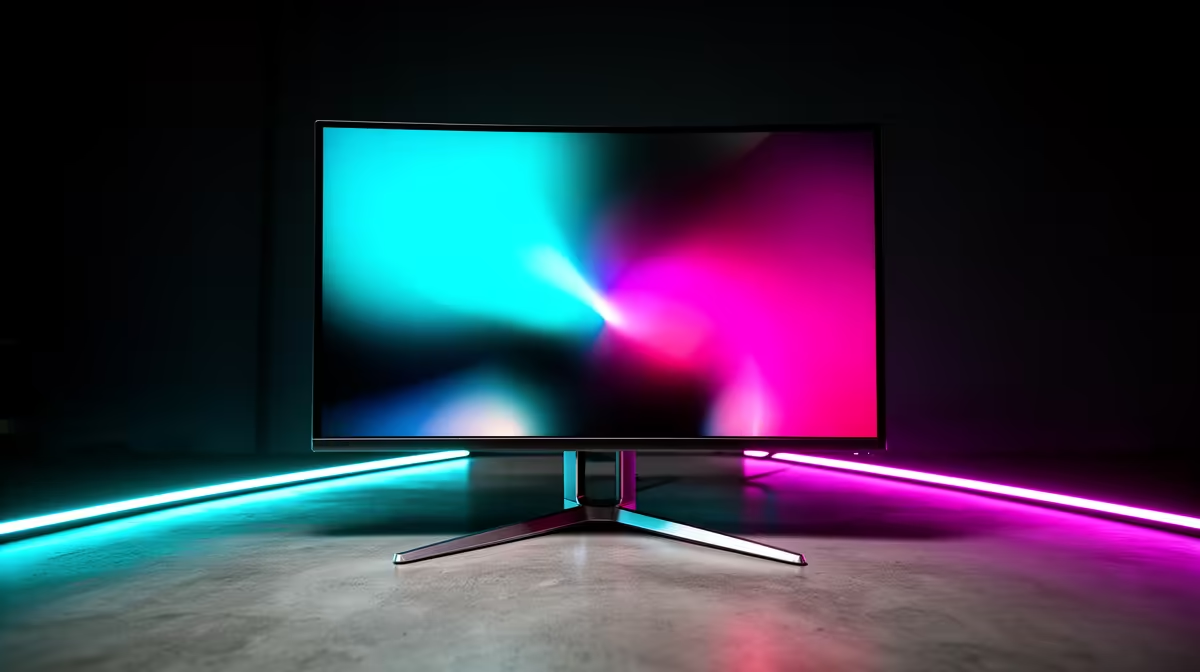
The box is open, the protective film is begging to be peeled and the first game is already downloading. Give a new OLED monitor half an hour before that first night. The setup protects the panel, confirms you received a healthy unit and prevents a 240Hz screen from spending its first week at 60Hz. These are the first ten OLED monitor setup steps worth doing.
Quick Answer
Inspect the screen, assemble it safely and connect through a port that carries the full native mode. Select native resolution and maximum intended refresh in Windows, update firmware when the manufacturer supplies a relevant release, then set a sensible SDR picture mode. Confirm OLED care, VRR and HDR behaviour. Finish with an idle timeout, warranty record and one real game test. Evetech's July 2026 in-stock gaming-monitor midpoint was R4,499, giving the new OLED's price a dated category comparison.
1. Inspect the panel before removing every trace of packaging
Check the box for impact, then examine the screen under room light for cracks, pressure marks or a bent chassis. Keep the serial label and packaging intact until the monitor has passed its first tests.
OLED panels can be very thin. Lift from the reinforced frame as the manual shows and avoid pressing the screen face. Ask for a second pair of hands on a large ultrawide.
2. Build the stand on a clear, padded surface
Use the foam or a soft clean cloth while attaching the stand. Tighten the provided fasteners without forcing them. If you are fitting an arm, confirm its weight rating, VESA pattern and spacer requirements.
Place the monitor with ventilation clear and enough desk depth for comfortable viewing. Direct sunlight makes dark scenes harder to enjoy and encourages unnecessary brightness.
3. Connect the full-bandwidth input
Use the supplied or certified DisplayPort or HDMI cable that supports the intended resolution and refresh. Plug into the graphics card on a desktop rather than the motherboard. On a laptop, check which output exposes the discrete GPU and VRR.
Evetech's OLED monitor range lets you compare current input layouts before the cable decision.
4. Select native resolution and the real refresh rate
Open Windows Settings, then Advanced display. Choose the OLED's native resolution and the refresh rate you bought it for. A successful connection can still default to 60Hz.
Enable the monitor's Adaptive-Sync option and compatible VRR in the graphics driver. Run a frame-rate swing inside a game to confirm smooth delivery.
5. Check firmware with the exact model number
Visit the manufacturer's support page and compare the installed firmware. Read the release notes before updating. If the new version addresses panel care, input behaviour or a problem you have, follow the documented process without interrupting power.
An update is not a ceremonial requirement. Leave a stable monitor alone when no relevant release exists or the manufacturer does not support user updates.
6. Start with an accurate SDR mode and comfortable brightness
Choose a standard, sRGB or creator-oriented mode when you want natural SDR colour. Vivid showroom modes can crush detail and run the panel brighter than the room needs.
Open a familiar photo and a white document. Set brightness so both remain comfortable at your desk. Save HDR calibration for HDR mode rather than forcing all SDR work into an exaggerated picture.
Check whether Windows installed a manufacturer colour profile, especially if the monitor shipped with a calibration report. Do not stack that profile on top of a wide-gamut picture mode you do not understand. For ordinary gaming, one accurate monitor preset and the matching Windows profile are a calmer starting point than several overlapping colour tools.
7. Confirm the OLED care controls
Leave pixel shift, static-content dimming and automatic compensation at their defaults. Note how the monitor asks for maintenance and whether it needs standby to complete a cycle.
Avoid triggering a deep manual panel refresh on day one. That tool exists for a specific problem or manufacturer instruction, not as a break-in ritual.
8. Configure HDR and test real content
Enable Windows HDR, use the supported calibration workflow and adjust SDR brightness within HDR mode if you intend to leave it active. Open a familiar game with genuine HDR support. Check dark detail, bright highlights and skin tones.
If the desktop looks wrong, revisit the monitor mode and Windows settings. HDR quality depends on the whole signal chain, including colour format and the game's own calibration screens.
9. Set idle behaviour and register the purchase
Choose a short display-off timer for coffee breaks, auto-hide the taskbar if static work fills the day and let the monitor enter standby for maintenance. A moving screensaver is less useful than switching the pixels off.
Save the invoice, serial number and a photo of the initial screen condition. Register the warranty if the manufacturer requests it and download the South African terms for your records.
10. Run a varied first-session check
Inspect full-screen red, green, blue, black and grey for obvious dead pixels, stuck pixels or severe uniformity problems. Use the seller and manufacturer policy rather than massaging or pressing the screen.
Finish with the game you know best. Check motion, VRR, HDR and input response after the panel has warmed up. Evetech's broader monitor category and monitor best-sellers remain useful reference points if size or format feels wrong once it is on the desk.
Listen as well as look. A faint power-supply noise may change with brightness or refresh, and a loose stand can click when the desk moves. Recording those first-day symptoms gives support a much clearer starting point if the monitor needs attention.
Frequently Asked Questions
Should I update firmware before using a new OLED monitor?
Check first. Install a relevant supported update by following the exact model instructions; do not update blindly when no need or user process exists.
What brightness setting should a new OLED monitor start at?
Use a comfortable SDR level for the room. There is no universal percentage because monitor output and ambient light differ.
Should burn-in protection features be enabled immediately?
Yes. Leave the automatic factory protections active unless the manufacturer documents another setting for your use.
Does colour calibration matter right after unboxing?
Select a sensible accurate preset immediately. Instrument calibration can wait unless colour-critical work requires it.
Should I register the warranty right after setup?
Do it when the manufacturer requests registration. In every case, keep the dated invoice and serial number.
Is a screensaver worth setting up immediately on an OLED monitor?
A short screen-off timer is more effective for idle periods. Use a changing screensaver only if the display must remain on.
Got an OLED box waiting for its first proper game?
Use the ten-step setup, save the warranty record and compare any missing cable or mounting needs through Evetech before settling into the new screen.