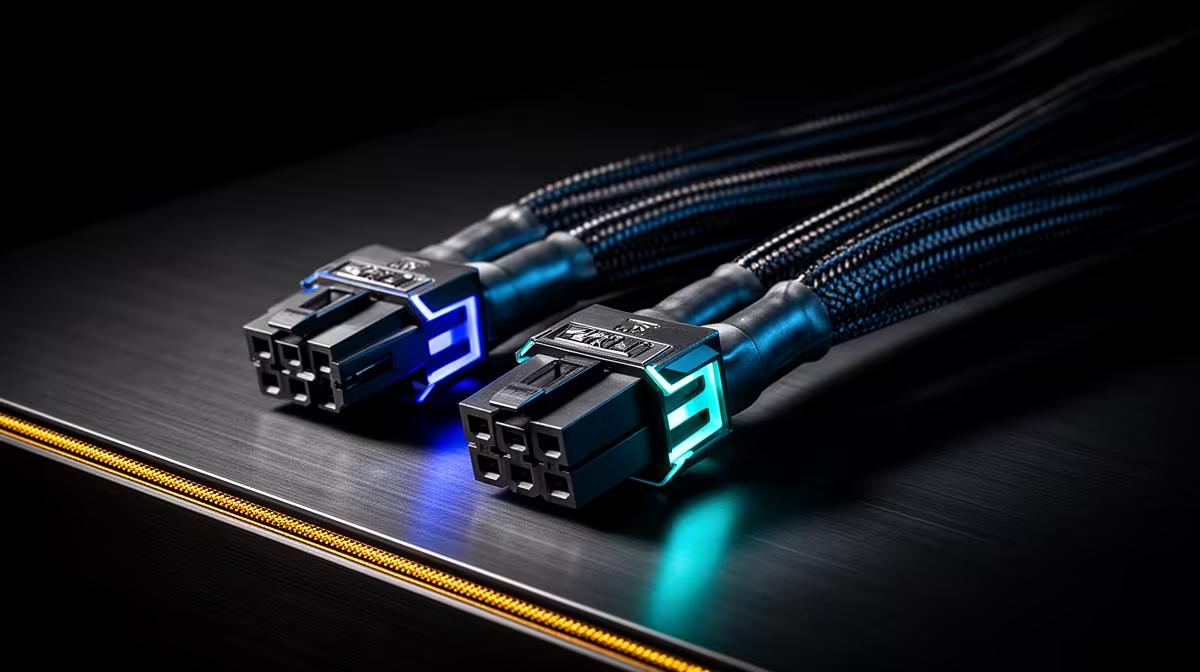
RGB power-cable lighting can turn the empty space between a motherboard and case glass into part of the build. The Lian Li Strimer Plus V2 is designed for that visual role, laying illuminated fibre-like runs over power extensions. The Lian Li Strimer Plus V2 price in South Africa should be considered as a lighting upgrade, never as a substitute for safe, compatible power cables.
Quick Answer
Strimer Plus V2 listings and Rand prices in South Africa can shift across specialist and cross-border supply, so no permanent figure should be assumed. International supply may add shipping, customs duty and controller-support risk. Evetech's live gaming PC deals show complete locally listed systems you can compare for lighting, case layout and warranty.
🌈 Understand what a Strimer kit does
The Strimer Plus V2 is an illuminated extension assembly that sits over or alongside defined PC power-cable runs. It adds addressable lighting to visible cables.
It does not replace the power supply's modular wiring at the PSU socket. Never plug an extension or cable into a connector it was not designed for.
Different kits target motherboard power and graphics-card power layouts. Confirm the connector count, pin arrangement and cable path for your hardware.
Modern graphics cards can use several 8-pin connectors or a newer high-power connector. Similar-looking kits are not interchangeable.
Check whether the lighting controller is included or required separately. Some arrangements may connect to a supported motherboard header.
Lighting software and ecosystem support matter. Decide whether you will use Lian Li control, a motherboard sync route or another supported option.
The LEDs add thickness and bend resistance. Measure the curve from connector to cable opening before purchase.
🔌 Protect the PC power path
Use only the power cables supplied or approved for the exact power supply. Modular PSU pinouts can differ between brands and models.
Treat the Strimer as the supported extension described by its manual. Do not alter pin layouts or stack unapproved adapters.
Seat every power connector fully. A partly inserted graphics connector can overheat under load.
Avoid sharp bends near a high-power GPU plug. Follow the graphics-card and cable maker's clearance guidance.
Keep the illuminated layer away from fans, sharp case edges and hot components. Secure it without crushing conductors.
Check that the side panel closes without pushing the cable into the GPU socket. Glass pressure can transfer through a stiff lighting run.
Power down, switch off and unplug the PC before changing internal cables. If you are unsure, have an experienced builder install it.
📦 Compare the kit with a complete showcase build
Use a current quote naming the exact Strimer kit, connector layout, controller, accessories, seller, currency and date.
Cross-border freight and customs duty may affect the Rand total. Ask who handles dead LEDs, controller faults, damaged diffusers or missing clips.
Check whether the controller needs an internal USB header, SATA power or a motherboard RGB header. Count available connections before buying.
Confirm software support for your operating system and motherboard. Too many RGB utilities can conflict or add background load.
Review Evetech's PC best sellers for current complete systems with different lighting and cable-management approaches.
Use the live system pages for current locally listed builds rather than assuming a specific cable kit is installed. Photos and component lists should confirm any lighting feature.
Compare the Strimer cost with quality sleeved extensions, case fans or better case airflow. Visual upgrades come after stable power and cooling.
Keep all clips, controller leads, serial details and packaging. Small proprietary cables can stop the lighting while the power extension still needs careful diagnosis.
Check the total power draw of the lighting controller and every attached channel. Use the specified internal power connector and never overload a motherboard RGB header.
If the build already uses several RGB ecosystems, decide which application owns lighting control. Two utilities trying to address the same device can create flicker or lost profiles.
Measure GPU removal clearance. A stiff illuminated extension can make later graphics-card service harder unless the routing leaves room to release the slot latch.
🛠️ Install, test and route in stages
Shut the PC down, switch the PSU off, unplug it and press the case power button to discharge the system.
Photograph the original motherboard and GPU power routes. Confirm the Strimer model against the hardware connectors.
Connect the lighting controller and data leads according to the current manual before routing the thick extensions.
Seat the motherboard extension and check the locking tab. Route its lighting face towards the window without a sharp fold.
Install the GPU extension with the connector fully engaged. Keep the first bend away from the socket.
Secure cables clear of fans and panel clips. Check the back-panel cable space as well as the glass side.
Power on with the side panel open and inspect for smell, heat, flicker or a connector that is not seated.
Set a simple static colour first. Confirm every LED section and controller channel before installing complex effects.
Run a gaming load and inspect connector temperature cautiously without touching live contacts. Stop if there is discolouration or unusual heat.
Close the panel and check that it applies no pressure. Save the lighting profile and photograph the finished routing.
Reinspect the connector after the first week of heat cycles. Look for a plug that has walked out, discolouration or a diffuser touching a hot surface.
Keep the original non-illuminated cable route documented. If the controller or LEDs fail, you should be able to restore a safe, simple power path.
Frequently Asked Questions
What does the Strimer Plus V2 do?
It adds addressable lighting over supported motherboard or graphics-card power extension runs inside a visible PC build.
Is it sold through mainstream South African retail?
Listings can change. Check current specialist supply and Evetech's live PC range rather than relying on a fixed channel claim.
Why does it cost more than normal cables?
The kit combines supported power extensions with addressable lighting, diffusion, control hardware and decorative construction.
Does it work with any power supply?
Do not assume that. Match the extension and PC-side connector while retaining the exact PSU's approved modular cables.
Can an Evetech build have similar RGB cable lighting?
Check current component lists and available configuration choices. Never assume a named kit without a written build specification.
Does installation require rewiring the whole PC?
It changes visible extension runs and controller wiring, but every affected connector must be safely powered down, checked and rerouted.
Which cases show it best?
Cases with clear side panels, enough cable-bend space and a tidy power route can display it without crowding connectors.
Ready to plan a showcase gaming PC without compromising the power path?
Browse Evetech's current gaming PCs and best sellers, then compare case layout, lighting and component support as a complete build.