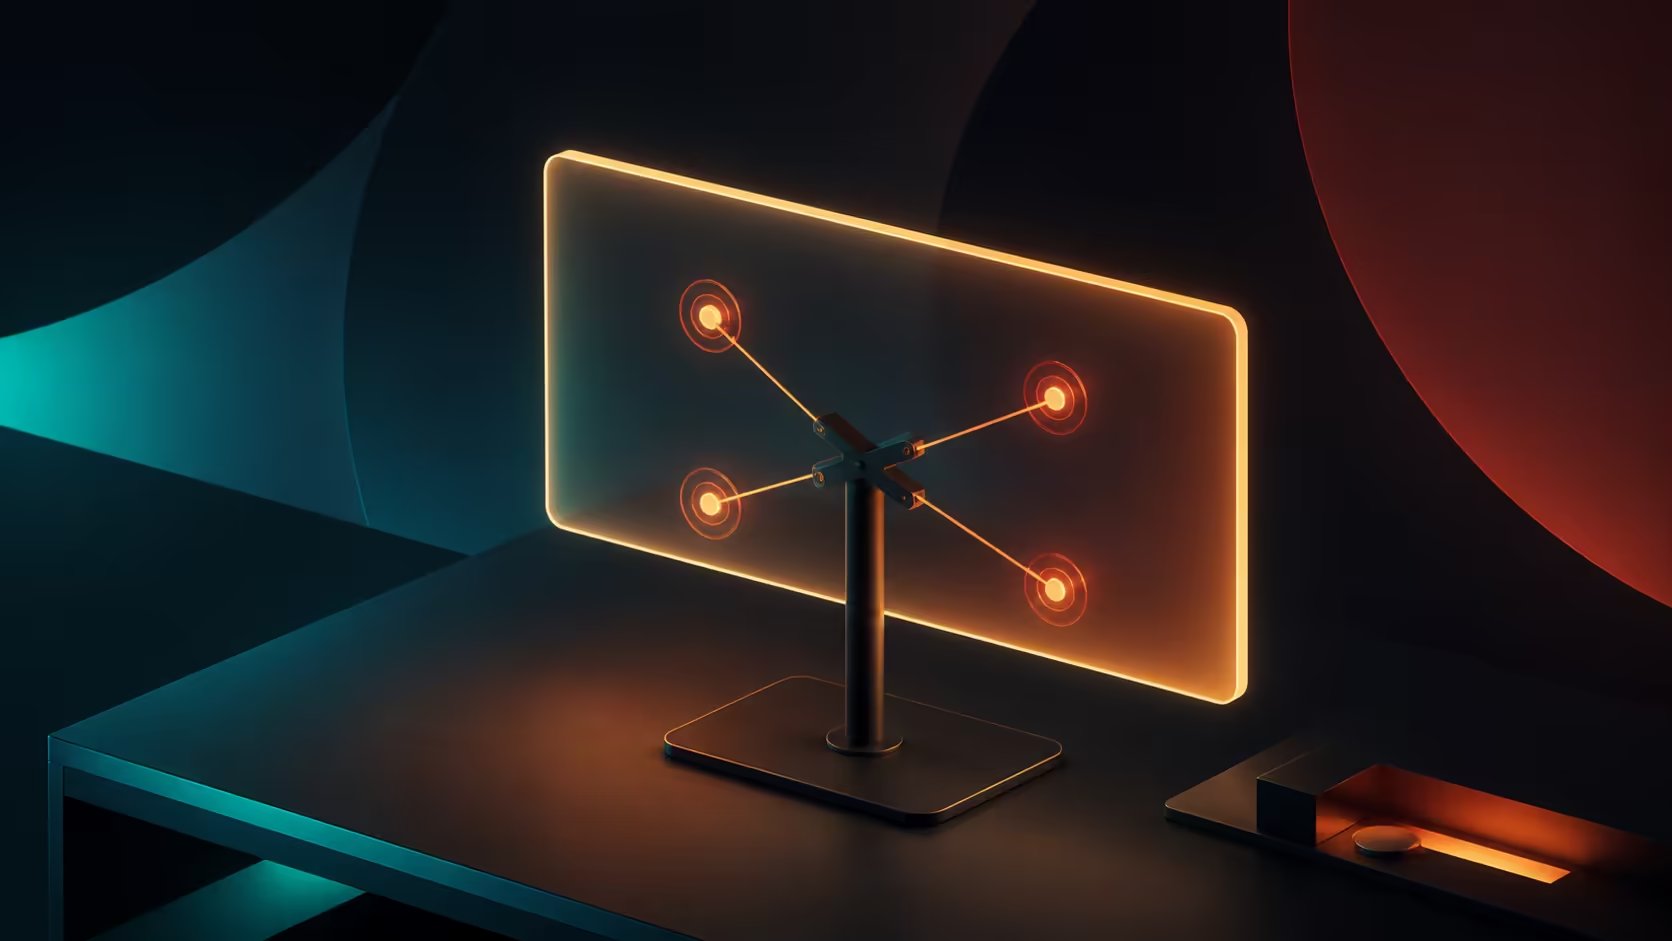
A monitor arm transfers force through the display, plate, joints, clamp and desk. This VESA 75x75 portable monitor mounting guide explains the mechanical checks for a compact workspace while keeping the UPERFECT screen's own mount support as a required model-level confirmation.
Quick Answer
VESA 75x75 support lets the 2.79-pound monitor move onto a compatible compact arm, freeing desk area while preserving its 18.5-inch Full HD workspace.
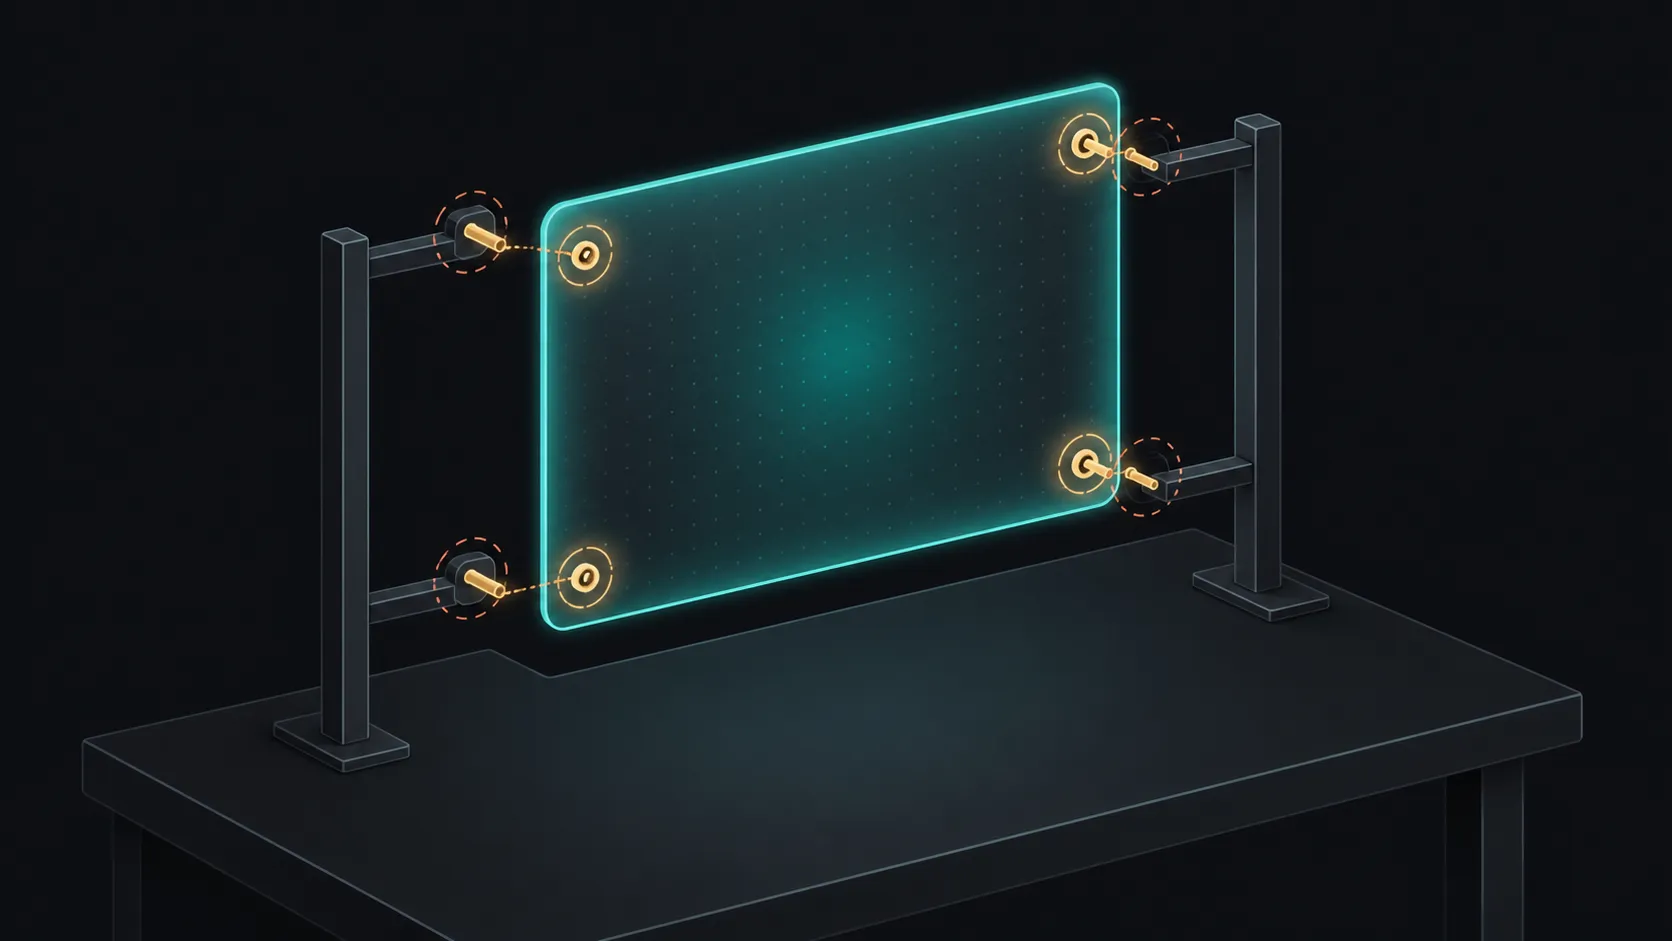
VESA 75x75 describes four mounting points arranged on a 75mm square. Before placing the R2,499 UPERFECT UGame NxtLED One Plus on an arm, confirm that exact screen's VESA support, threads, screw depth, assembled weight and clearance; an 18.5-inch diagonal does not prove any of them.
📐 Verify the interface, hardware and load
Measure centre to centre between the mounting points and consult the monitor instructions. A visible set of holes or a removable cover should not be treated as VESA support without explicit documentation.
Match screw diameter, thread and permitted depth. A screw can fit the thread yet extend too far and damage internal components. Washers, spacers and adapter plates must follow the approved mounting method rather than improvisation.
Obtain the monitor's actual weight, then add any plate, adapter or attached equipment. Compare that assembled load with both the arm's minimum and maximum range. A spring designed for a heavier screen may rise even when the maximum capacity appears sufficient.
Check plate dimensions around the pattern. A matching 75x75 square can still cover a control, vent or cable path, so create a rear-view drawing before buying hardware.
Use the Evetech monitor accessories category after the confirmed interface defines the arm or adapter job.
🗜️ Follow the force into the desk
A clamp needs enough clear edge depth and a strong surface above and below. Look under the desk for frames, drawers, cable trays and bevels that can prevent full contact.
For a grommet mount, verify the hole location and desk construction. Do not drill or modify furniture until the manufacturer-approved installation method and cable routes are understood.
The arm's reach increases force on the mounting point. Extend it to the intended position with a safe test load and observe desk flex before attaching the screen. A setup that feels stable near the pole may behave differently at maximum reach.
Allow space behind and beside the monitor for the full movement arc. Walls, shelves and the source device can block rotation or push the panel into an unsafe position.
🔧 Install and tension in a safe sequence
Assemble the arm according to its instructions and support the monitor throughout attachment. Protect the IPS panel from pressure and never lift the complete setup by the screen.
Start with conservative reach. Adjust spring tension in small steps while another person supports the load where appropriate. The arm should hold height and tilt without drifting or requiring extreme joint tightening.
Move through the normal range slowly. Check landscape orientation, any intended rotation, working height and the position used when the desk is cleared. Stop if the plate shifts, the clamp moves or a joint binds.
The NxtLED One Plus has a 178-degree viewing specification, but arm placement should still put the screen in a comfortable primary line of sight. Broad viewing is not a substitute for ergonomic height and distance.
Mark the preferred eye line and screen centre on a temporary desk sketch before installation. Then check whether the arm reaches that point without occupying the source-device area or extending into a walkway. This catches a common compact-desk problem: the arm is mechanically compatible but places the display where the user cannot work comfortably.
Its 18.5-inch 1920x1080 panel needs enough space for readable scaling and the owner's application layout. Test the actual task at the mounted distance before tightening the final position.
🧵 Route cables for movement, not appearance alone
Map power and signal before clipping anything to the arm. The exact screen inputs and supply arrangement require confirmation, so cable choice follows the proven device route rather than a connector assumption.
Create a service loop near each moving joint. Move the arm to its furthest and nearest positions while watching for tension, sharp bends and plugs that carry the pull.
Keep heavy adapters off the monitor socket and avoid cable ties tightened so firmly that they crush or restrict the lead. The screen should move without dragging the source device.
Cycle the arm through ten slow movements during the trial. Watch the service loops at the nearest, highest and furthest positions, and listen for cable contact inside any channel. A lead that passes one static pose may still tighten after repeated rotation, so inspect the connectors again before declaring the routing complete.
Browse portable monitor options at Evetech if another physical format makes the mounting plan safer.
After one week, inspect screws, plate, joints, clamp, desk surface and cable loops. The mount passes when the chosen position stays stable through daily adjustment without obscuring controls, straining connectors or compromising the workspace.
Keep the installation notes with the desk rather than the travel kit. Record arm model, permitted load, hardware, spacer use, tension setting and the monitor position that passed. If the screen, plate or desk changes later, repeat the mechanical checks instead of assuming the previous result remains valid for a new combination.
Add a no-go list to those notes. Any loosened clamp, cracked desk surface, stripped thread, drifting joint, blocked vent or stretched cable should stop use until the correct component is inspected and restored. A cosmetic improvement never justifies continuing with a mechanical warning.
Ask the regular user to adjust the arm through every approved position without guidance. Their ability to move it smoothly and return to the working height confirms that the tension and clearance suit everyday operation, not only the installer.
Finish by observing one full work session. Check that ordinary typing, cable handling and desk vibration do not make the screen drift, and confirm that the user can reach controls without pulling against the arm.
The arm should leave the three-sided slim bezel untouched and keep ports accessible. Omni Visible provides a 178-degree field, so the mounted panel can be angled for individual work or a nearby collaborator without a severe colour shift. Retain the included case for travel, and use the textured rugged chassis as a handling surface rather than pressing on the screen when attaching or removing the display.
Plan the cable exit before fixing the arm position. A compact setup loses its advantage if USB-C or Mini HDMI must bend sharply against a wall or neighbouring device. After mounting, sweep the arm through its normal movement and confirm that power, signal and bezel clearances remain comfortable at every intended position.
Recheck the arm after the desk is moved.
Frequently Asked Questions
What exactly is spaced at 75mm?
The centres of four mounting points form a 75mm by 75mm square on a compatible interface.
Why check the arm's minimum capacity?
Some counterbalance mechanisms cannot hold a load below their intended range and may lift or resist positioning.
Which screw details matter beyond diameter?
Thread type, engagement depth, permitted length, washers, spacers and any recessed mounting surface all need confirmation.
How much cable slack should be left?
Leave enough for the arm's complete travel without tension or tight bends, then test every intended height and reach.
When is the mounting plan complete?
Only after screen compatibility, load, desk strength, movement, viewing position and cable routing all pass together.
Ready to make every mounting force and cable movement visible before installation?
Confirm the screen interface, then compare portable displays and measured desk-mount accessories through Evetech.