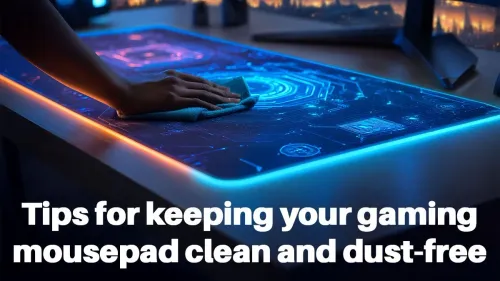
Dust-Free Gaming Mousepad Hacks
Gaming Mousepad Cleaning Tips 🎮✨ Keep your mousepad spotless and boost performance! Prevent dust buildup, maintain precision, and extend lifespan. 🚀 Read now—clean, accurate clicks await! 😍
Learn how to fix sticky keyboard keys with our expert guide. Whether it's a soda spill or dust buildup, we'll show you the best cleaning methods for mechanical and membrane keyboards to restore that satisfying click. Get your keyboard feeling brand new and responsive again! ⌨️✨
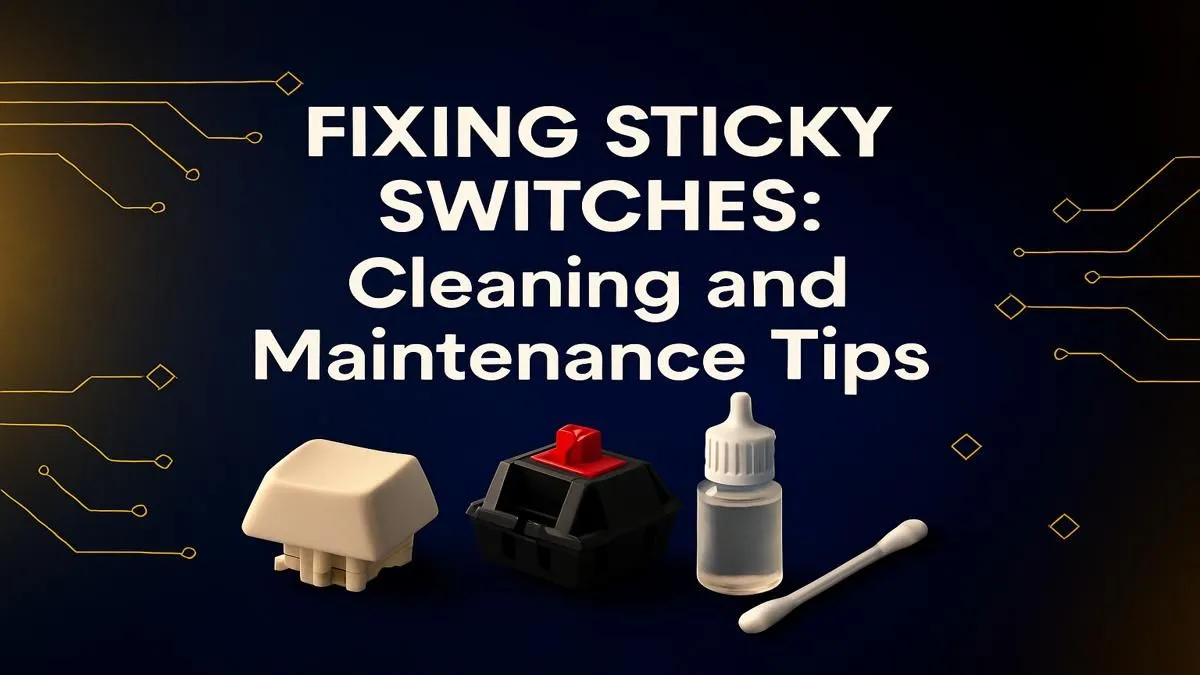
It happens to the best of us. One moment you’re deep in a clutch play, the next your Fanta has decided to become one with your WASD keys. Now you’re left with a sticky, unresponsive mess that makes every keystroke feel like wading through treacle. Don’t panic! Learning how to fix sticky keyboard keys is easier than you think. This guide will walk you through everything, from a quick spot clean to a full deep-clean revival. 🔧


Before you start pulling things apart, let's get your gear sorted. A proper clean doesn't require a high-tech lab, just a few simple items.
Your basic cleaning kit should include:
The method you use to fix sticky keys depends heavily on whether you have a mechanical or membrane keyboard. Mechanical boards are built for this kind of maintenance, while membrane keyboards can be a bit trickier.



If you're dealing with a minor spill on just one or two keys, a full disassembly isn't always necessary. This quick fix for a sticky keyboard key can often save the day.
Sometimes, the problem isn't the switch but the keycap itself. If it's cracked or worn down, cleaning won't help. Thankfully, you can often find stylish replacement keyboard keycaps to give your board a fresh look and feel.
often happen when you're stretching or shifting uncomfortably at your desk. Investing in a good [wrist rest](https: www.evetech.co.za buy-wrist-rest x 1586.aspx) not only improves typing comfort and reduces strain but also helps stabilise your setup, making accidental knocks and spills less likely.
For major spills or years of accumulated grime, a deep clean is your best bet. This is the ultimate sticky keyboard keys fix.

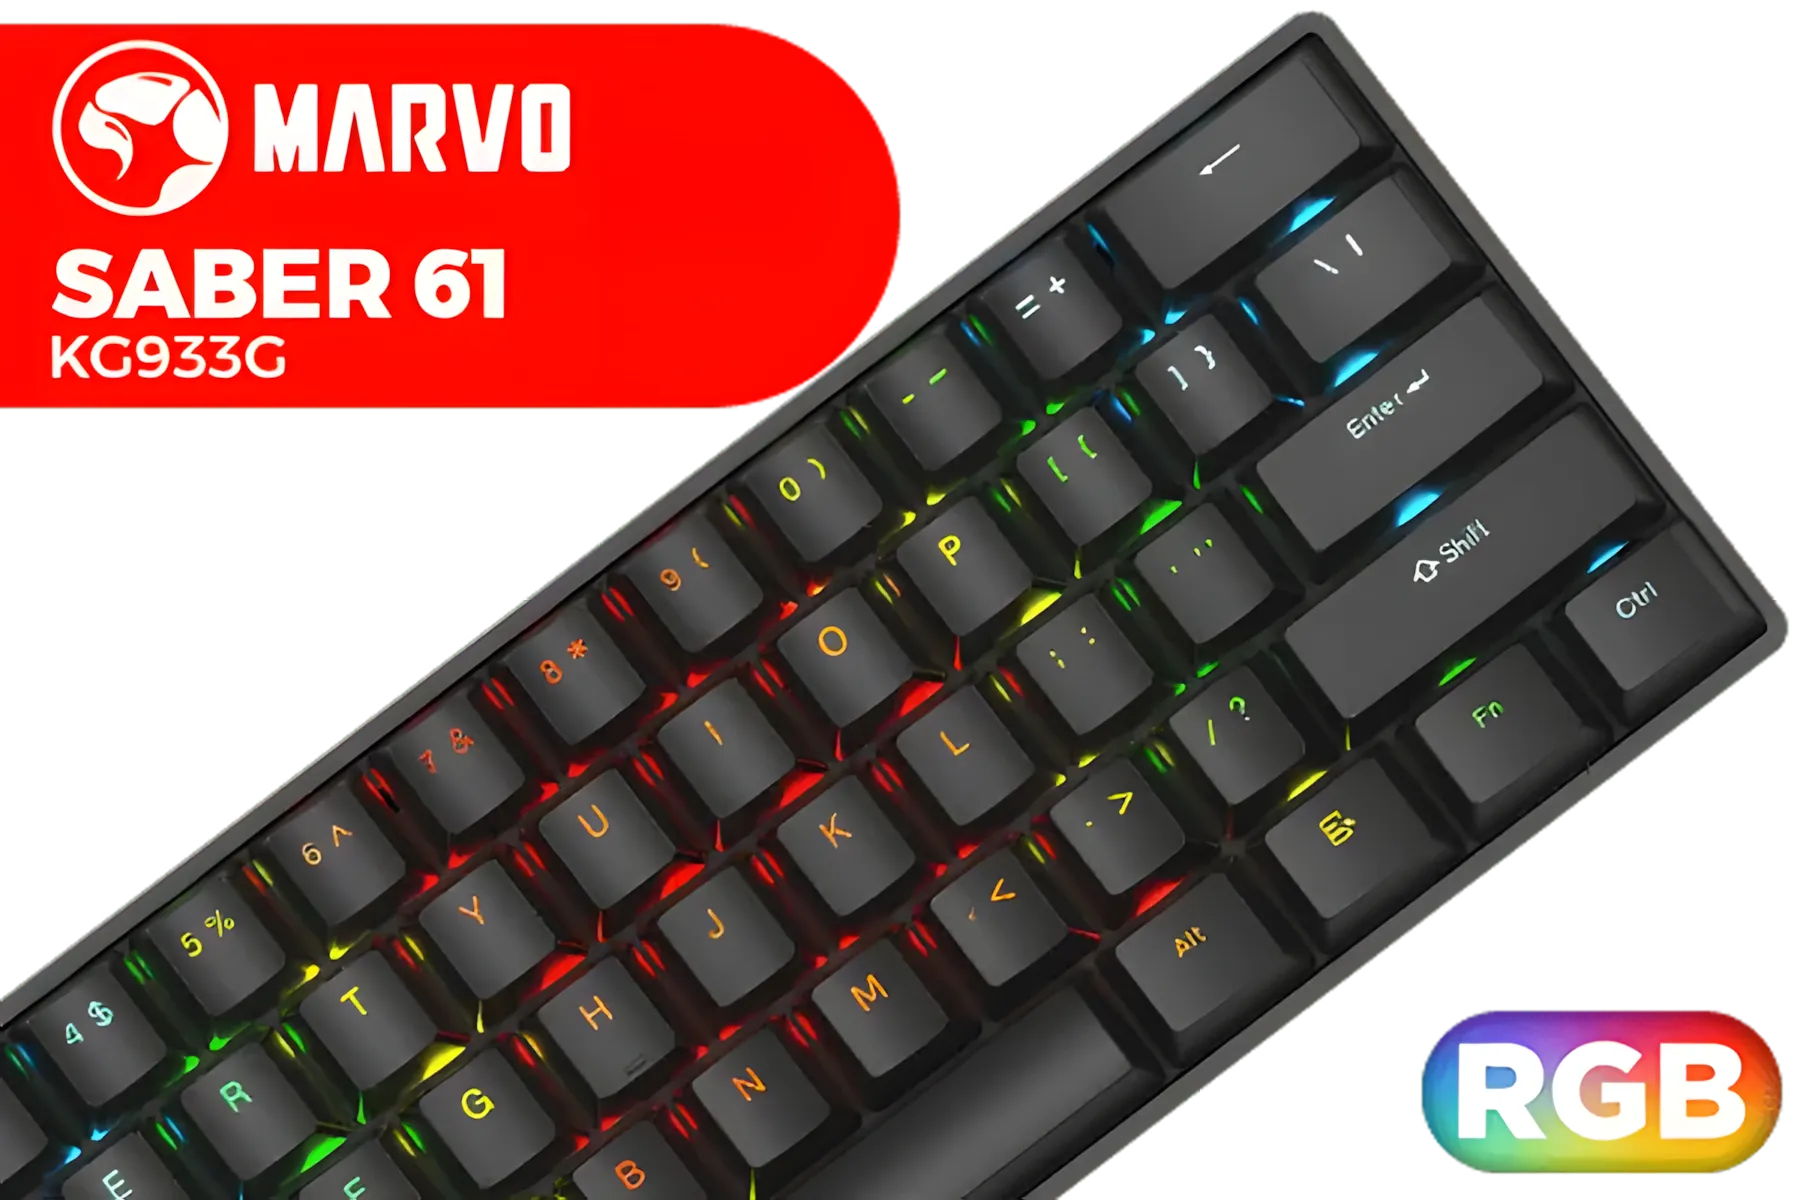


Mechanical keyboards are a dream to clean thanks to their modular design.
Cleaning a sticky membrane keyboard requires more care, as the internal layers are delicate. While you can remove the keycaps, disassembling the entire chassis is often not recommended. Focus on cleaning the surface and around the keys as described in the quick-clean method. If a deep clean is needed and you're not comfortable taking it apart, it might be more cost-effective to upgrade. You can find some incredibly affordable and responsive cheapest gaming keyboards in South Africa that offer a huge performance boost over a standard, sticky office board.


You've cleaned, scrubbed, and tried everything, but some keys just won't cooperate. Sometimes, a keyboard is simply beyond repair, especially after a major liquid spill that causes a short circuit. If multiple keys are failing or the board is behaving erratically, it’s probably time for an upgrade.
This is a great opportunity to get a fresh start. You could grab a full matching set with our excellent keyboard and mouse combos or dive into the world of high-performance mechanical boards. Instead of battling with sticky keys, you could be enjoying the crisp, satisfying response of a brand-new deck. Check out the latest gaming keyboard deals to see what's on offer. 🚀
Ready for a Fresh Start? A sticky keyboard can ruin your work and your fun. If cleaning doesn't cut it, a fresh board is the ultimate fix. Explore our incredible range of gaming keyboards and find the perfect upgrade to elevate your setup.
The best way is to unplug the keyboard, remove the keycaps, and clean the switch and cap with a cotton swab dipped in isopropyl alcohol (70%+). Let it dry completely.
No, avoid Windex or other harsh chemical cleaners. They can damage the plastic, strip keycap legends, and harm the internal components of the switches.
For minor issues, use a can of compressed air to dislodge debris. Then, use a cotton swab lightly dampened with isopropyl alcohol to clean around the sticky key switch.
Regular mechanical keyboard maintenance involves weekly dusting, wiping keycaps with a damp cloth, and a deep clean every 6-12 months by removing all keycaps.
A sticky spacebar fix usually requires removing the keycap to clean the switch and the metal stabilizer bars underneath, as these are common points for grime to build up.
No, a sticky key will not fix itself. The residue from spills or grime will remain and can attract more dust, often making the problem worse over time without cleaning.