


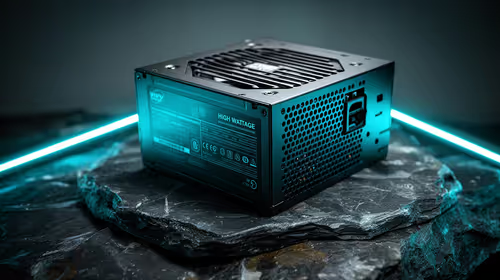
550W PSU Planning for RTX 5080 Super Builds in SA
550W for RTX 5080 Super needs a full-build check, not a simple yes. Review GPU guidance, CPU draw, transient load, connectors, PSU quality, and upgrade plans before deciding.
Read moreYes, automatic bed levelling can make FDM setup easier by automating part of bed preparation. The Neptune 4 Plus covers a 320 x 320mm area automatically. Beginners still prepare the surface, choose settings and inspect layer one.

Automatic bed levelling can make FDM 3D printing easier for beginners by turning part of surface setup into a printer-assisted routine. It does not select material, clean the plate, validate the initial layer or remove the need to understand what the machine is doing.
Automatic levelling makes the Neptune 4 Plus easier for beginners by handling the bed-plane routine, while its two plate surfaces provide clear material-specific starting points.
The R7,799 Neptune 4 Plus gives beginners a printer-run levelling cycle across its square 320mm bed. Prepare the correct surface, follow the exact process, print a broad first-layer test and alter one setting at a time.
Begin with the printer unloaded or prepared under its operating procedure. Select the specialised PLA surface or textured PEI reverse and clean that face correctly. Bed size alone cannot determine the cleaner or tool.
Check the nozzle area for residue using proper handling. The 300C capability is a maximum boundary, not a beginner maintenance temperature.
Write the order down: prepare surface, run levelling, load confirmed material, choose a conservative profile and inspect the first layer.
Automatic levelling covers the broad bed, but the probe, mesh and control sequence must be learned for the Neptune 4 Plus. Do not copy a method from a different printer.
Keep hands off the machine while its automatic cycle completes. If the model requires another height or confirmation step, perform it in the correct order.
Use Evetech's large 3D printer range to compare beginner workflows by their exact process rather than automation labels.
Print a simple pattern across the area the intended job will use. Look for consistent line contact, joining and coverage. Stop if the nozzle drags or material remains loose.
An uneven result may involve surface condition, initial setting or flow, not only levelling. Keep one known spool so the beginner can isolate causes.
Browse filament at Evetech after checking the full material compatibility route.
Use moderate motion before exploring Klipper and the up-to-500mm/s ceiling. Faster printing adds tuning demands that should follow a repeatable baseline.
See Evetech 3D printers when comparing build volume and setup assistance.
Save successful surface preparation, levelling and material settings. A beginner learns faster when every change has a visible purpose and a previous working state remains available.
Practise stopping a test and returning to the known baseline before exploring a new feature. This makes troubleshooting less intimidating and protects the first successful profile from being overwritten.
Keep a small learning log with the model, filament, surface step and observed layer. Avoid copying a more experienced user's high-speed settings until the beginner can reproduce the conservative test. Confidence should come from understanding cause and effect, not from pressing the automated control repeatedly.
Add one troubleshooting question to each entry: what changed since the last good layer? The answer may point to cleaning, material, settings or physical movement before another levelling cycle is started.
When the beginner can prepare, level, test and restore the baseline without guessing, introduce a slightly larger model. Progress based on a reproducible process is more useful than a single ambitious print that cannot be repeated reliably under the same conditions.
Use the low-temperature PLA face for PLA and textured PEI for ABS, TPU or carbon-fibre blends. Clean the chosen side, run levelling and inspect a broad first-layer print. Automation narrows the setup task but does not remove offset, surface or flow decisions.
The hand-tensioned belts and dual-Z structure still need ordinary mechanical attention. A beginner-friendly levelling cycle cannot correct loose motion hardware, a contaminated plate or a partially blocked nozzle. Follow a fixed order: surface, levelling, first-layer height, feed, then motion tuning.
A beginner should keep the successful plate face and material combination unchanged during early practice.
It automates part of assessing or compensating for the bed relationship through the printer's own routine.
No. Surface cleaning, material selection, profile choice and first-layer approval still belong to the operator.
The Neptune 4 Plus bed measures 320 x 320mm, accompanied by 385mm of printable height.
Confirm the model's exact probe, mesh and control process before running or changing levelling settings.
The test shows whether surface, levelling, initial placement and extrusion are working together across the required region.
No. Geometry, material, motion and later layers still need suitable settings after the assisted setup.
Learning setup through one repeatable first-layer process? Compare beginner-friendly FDM printers at Evetech with automation, material and inspection responsibilities kept clear.
It automates part of assessing or compensating for the bed relationship through the printer's own routine.
No. Surface cleaning, material selection, profile choice and first-layer approval still belong to the operator.
The Neptune 4 Plus bed measures 320 x 320mm, accompanied by 385mm of printable height.
Confirm the model's exact probe, mesh and control process before running or changing levelling settings.
The test shows whether surface, levelling, initial placement and extrusion are working together across the required region.
No. Geometry, material, motion and later layers still need suitable settings after the assisted setup.
550W for RTX 5080 Super needs a full-build check, not a simple yes. Review GPU guidance, CPU draw, transient load, connectors, PSU quality, and upgrade plans before deciding.
Read more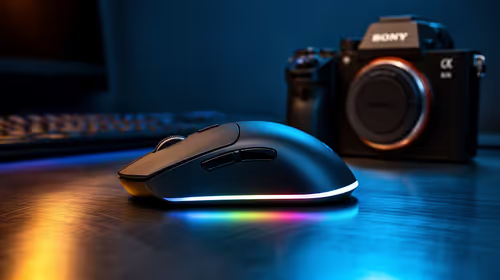
8000Hz polling is overrated for most SA gamers because gains can be tiny next to battery drain and monitor limits. Mbombela players should weigh mouse feel, game support, and system stability before chasing the number.
Read more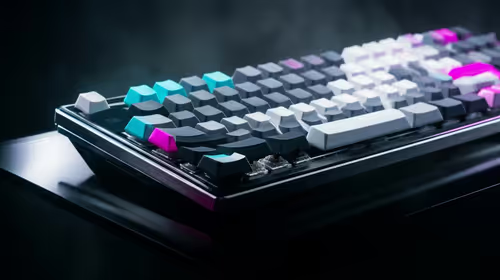
Magnetic switches are taking over SA gaming keyboards because actuation can be tuned. For Sandton gamers, rapid trigger, reset control, and profile depth can help, but layout, key feel, and software quality still matter.
Read more
Polokwane oled monitor value questions need cautious SA context because pricing can move with availability, exchange rates, specs, and warranty support. Treat the trend as a planning signal, not a fixed price promise.
Read more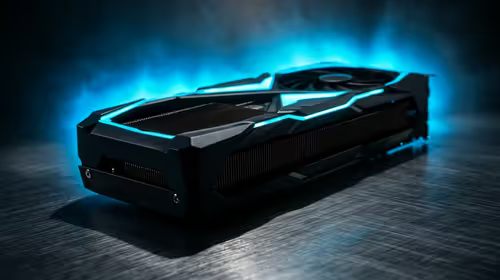
Arc B580 budget builds for Midrand gamers can shift with exchange rates, supply, specs, and model tier. Treat the title as a buying prompt, then compare SA warranty, timing, and build priorities.
Read more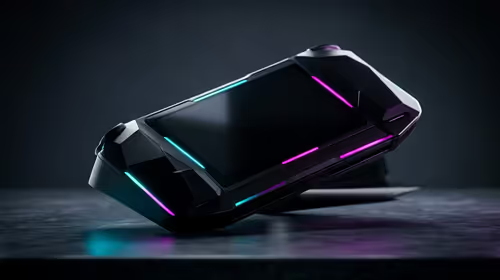
ROG Ally X may beat the LCD Steam Deck for SA gamers who value stronger handheld performance, more memory, and Windows flexibility. Compare battery life, controls, game libraries, and Polokwane support needs before deciding.
Read more
Minisforum's M2 Pro pairs Core Ultra X7, Arc B390 graphics and 32GB onboard memory in 1.8 litres. SA buyers should weigh its fixed memory and $1,439 launch offer against local mini PCs.

Lenovo says Legion Go failures linked to BIOS N3CN42WW are not user error. Affected SA owners should stop retrying the update, preserve proof and open a support case.

Smart monitors can add apps and convenience, but they also add privacy settings and unwanted-software risk. SA buyers should audit the operating system before paying for extras.

A fake 113GB GTA VI ISO reportedly used empty padding around a small malware payload. SA gamers should delete unofficial builds, keep Windows security active and wait for official channels.
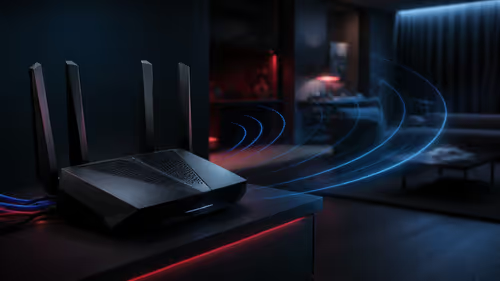
ASUS calls the ROG GT-BN98 the first Wi-Fi 8 gaming router. SA buyers should fix coverage and client limits before paying for a future wireless standard.
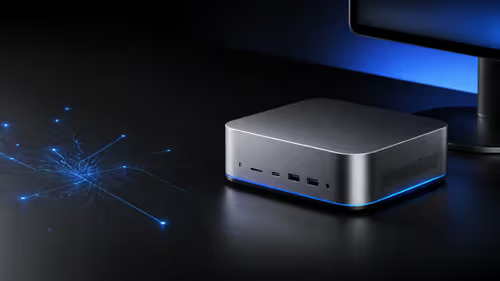
Apple's M6 Mac mini adds faster AI, graphics and networking in the same compact format. SA buyers should wait for a rand listing before comparing value.
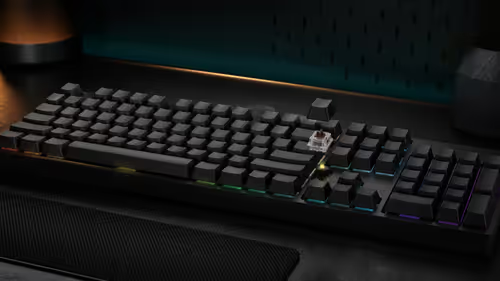
The Vulcan II XP adds hot-swappable switches, sound damping and gaming controls to a full-size wired board. SA buyers should compare feel before features.

Microsoft says Windows on Arm now has over 7,000 verified apps and games. SA buyers should still check each driver, game and work tool before switching.

Xbox Insiders can test disc-to-digital from 31 August 2026. Supported Xbox One and Series X discs gain a digital entitlement, but older discs, regions and title coverage still need exact checks.

ViewSonic's XG2738 pairs QHD QD-OLED with 240Hz and automatic panel care. SA buyers should compare warranty, brightness, ports and burn-in protection against today's R9,999-plus OLED shelf.

NVIDIA's final Windows 10 Game Ready driver is due in October 2026. SA gamers can keep using their GPU, but new game optimisations move on while critical security fixes continue quarterly.

JBL's new Quantum 520, 520X and 120 headsets cover wireless, Xbox-certified and wired use. SA buyers should compare connection, comfort and microphone needs before paying for a new badge.