


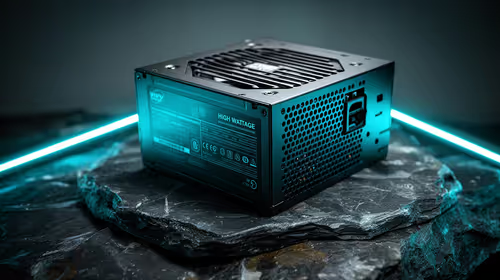
550W PSU Planning for RTX 5080 Super Builds in SA
550W for RTX 5080 Super needs a full-build check, not a simple yes. Review GPU guidance, CPU draw, transient load, connectors, PSU quality, and upgrade plans before deciding.
Read morePoor PLA layer adhesion calls for controlled profile and first-layer checks before the full model resumes. Change one factor per test; ELEGOO Galaxy PLA is a glossy, colour-shifting 1.75mm filament sold as a 1kg spool for R499.

A model can look correct from above while weak joins hide between its layers. Poor PLA layer adhesion needs an orderly test of first-layer support, material flow and the printer's PLA profile. The aim is not to make the surface glossy at any cost; it is to restore a sound structure before the decorative finish is evaluated.
Stop the full model, print a short wall or stepped sample and inspect whether adjacent lines and layers join consistently. At R499, ELEGOO Galaxy PLA includes 1kg of glossy 1.75mm filament, so controlled tests are preferable to repeated failed jobs. Begin with the printer's supported PLA guidance and alter one relevant factor per attempt.
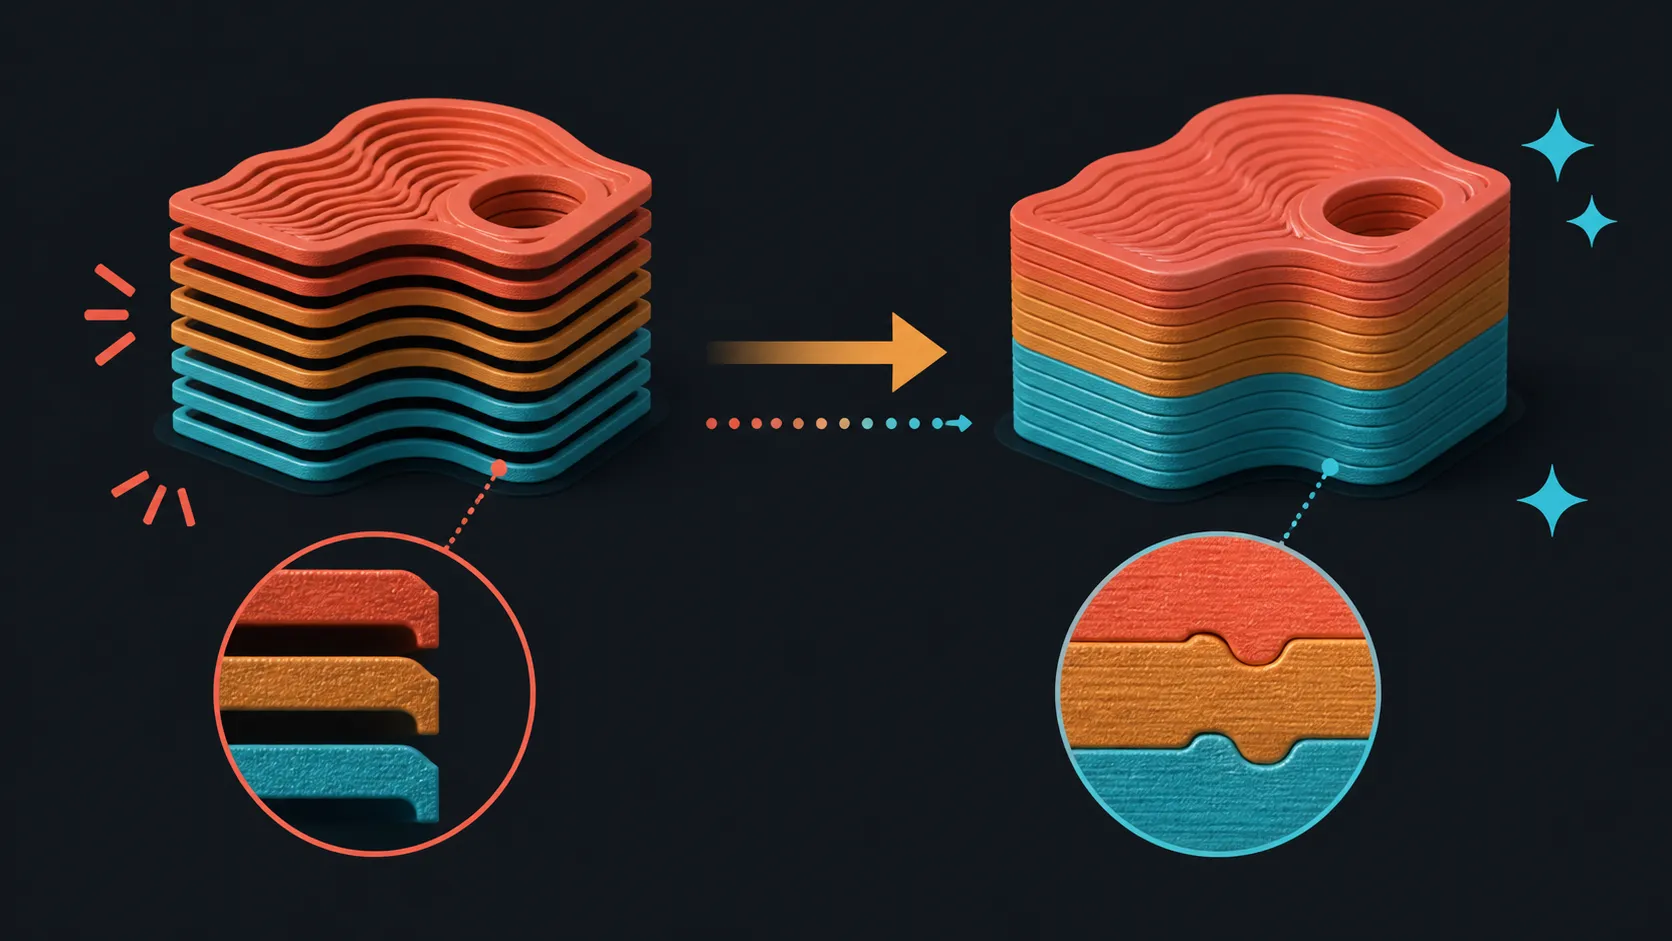
Separate a first-layer problem from poor bonding higher in the object. If the base lifts or lines fail to join on the build surface, concentrate on the initial contact and machine preparation. If the bottom is sound but later layers separate, examine material delivery and the profile behaviour at that height.
Use a simple test with enough vertical wall to show whether the fault repeats. Mark the weak area instead of pulling the entire sample apart without a record. This makes later attempts comparable.
Evetech's 3D printer category offers useful hardware context when feed or build formats are being compared.
Return to the last profile that produced clean PLA geometry. Check that the spool unwinds freely and the path does not introduce irregular flow. Then select the smallest change connected to the observed weakness. A successful layer should be repeatable on a second sample before the full object resumes.
Avoid compensating for an uncertain mechanical issue with a collection of profile edits. Several changes can improve one wall by accident while creating roughness, lost detail or another weak region elsewhere.
ELEGOO Galaxy PLA creates a glossy dynamic effect with vibrant shifts at different angles. Once layers join consistently, rotate the test under stable light and check that the surface remains continuous. Gaps or uneven lines interrupt the visual flow even if the colour itself is attractive.
Compare other material options in the 3D printing filament department only after defining what the project needs. A switch of finish cannot replace diagnosis of the printer-material pairing.
Decide how the sample will be judged before printing it. The wall should remain intact during normal handling, show joined lines and preserve the geometry needed by the final object. Do not turn the test into an improvised destructive strength claim that the project never required.
Keep the accepted sample and describe where it was inspected. If a later model separates, compare the same height and layer pattern rather than relying on a vague memory that the old print felt stronger. An acceptance method tied to visible and practical evidence helps distinguish a genuine return of poor bonding from a different fault elsewhere in the geometry.
For multi-part models, test the relevant wall or join orientation rather than assuming one upright sample covers every component. A broad decorative shell and a narrow connector place different demands on the printed layers. Keep the Galaxy finish assessment separate from the adhesion check, then combine the results only after both the surface and the practical handling standard have been met.
Layer adhesion matters visually as well as structurally on this spool. Galaxy PLA creates a brilliant sheen and moving reflections across joined surfaces, so weak bonding or irregular layer spacing can split one intended highlight into distracting bands. The formulation keeps the familiar, user-friendly printing character of PLA; start from that dependable baseline and let the failed wall identify which part of the machine or profile needs attention.
Once adjacent lines and layers meet consistently, inspect the sample from more than one direction. Clean bonding should support the deep-space lustre across the full face instead of producing a glossy patch that disappears at every seam.
Keep the repaired wall as the reference for the full model. Its joined layers, highlight continuity and chosen orientation create a practical acceptance sample for detecting whether the main print begins to drift.
Inspect the base separately from the upper walls. Lifting at the surface and splitting later in the model point to different stages of the print.
It exposes bonding through several layers while keeping the trial short, visible and easy to compare with another attempt.
No. One evidence-led change keeps the cause understandable and protects the last working PLA baseline.
Yes. Its gloss and angle-changing colour look most continuous across even, properly formed layers.
Ready to rebuild confidence between the layers? Use Evetech's printer and filament categories to compare the setup, then prove each change on a short wall before restarting the main model.
Inspect the base separately from the upper walls. Lifting at the surface and splitting later in the model point to different stages of the print.
It exposes bonding through several layers while keeping the trial short, visible and easy to compare with another attempt.
No. One evidence-led change keeps the cause understandable and protects the last working PLA baseline.
Yes. Its gloss and angle-changing colour look most continuous across even, properly formed layers.
550W for RTX 5080 Super needs a full-build check, not a simple yes. Review GPU guidance, CPU draw, transient load, connectors, PSU quality, and upgrade plans before deciding.
Read more
8000Hz polling is overrated for most SA gamers because gains can be tiny next to battery drain and monitor limits. Mbombela players should weigh mouse feel, game support, and system stability before chasing the number.
Read more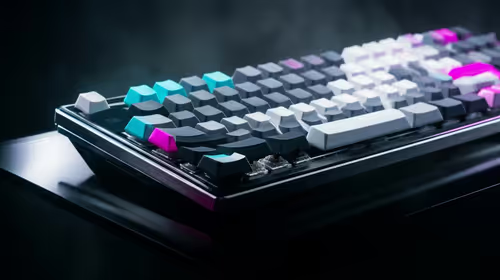
Magnetic switches are taking over SA gaming keyboards because actuation can be tuned. For Sandton gamers, rapid trigger, reset control, and profile depth can help, but layout, key feel, and software quality still matter.
Read more
Polokwane oled monitor value questions need cautious SA context because pricing can move with availability, exchange rates, specs, and warranty support. Treat the trend as a planning signal, not a fixed price promise.
Read more
Arc B580 budget builds for Midrand gamers can shift with exchange rates, supply, specs, and model tier. Treat the title as a buying prompt, then compare SA warranty, timing, and build priorities.
Read more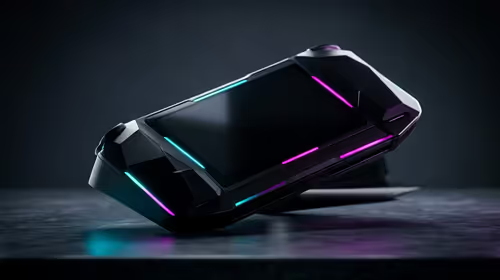
ROG Ally X may beat the LCD Steam Deck for SA gamers who value stronger handheld performance, more memory, and Windows flexibility. Compare battery life, controls, game libraries, and Polokwane support needs before deciding.
Read more
Minisforum's M2 Pro pairs Core Ultra X7, Arc B390 graphics and 32GB onboard memory in 1.8 litres. SA buyers should weigh its fixed memory and $1,439 launch offer against local mini PCs.

Lenovo says Legion Go failures linked to BIOS N3CN42WW are not user error. Affected SA owners should stop retrying the update, preserve proof and open a support case.

Smart monitors can add apps and convenience, but they also add privacy settings and unwanted-software risk. SA buyers should audit the operating system before paying for extras.

A fake 113GB GTA VI ISO reportedly used empty padding around a small malware payload. SA gamers should delete unofficial builds, keep Windows security active and wait for official channels.
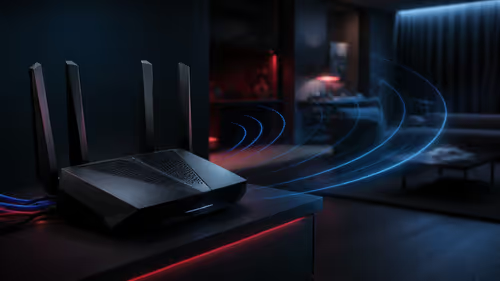
ASUS calls the ROG GT-BN98 the first Wi-Fi 8 gaming router. SA buyers should fix coverage and client limits before paying for a future wireless standard.
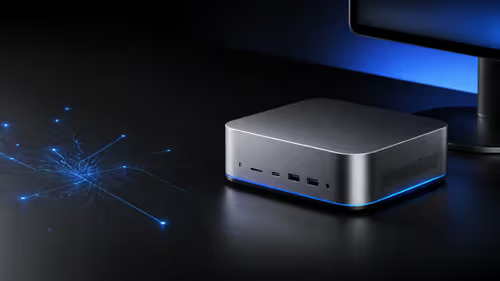
Apple's M6 Mac mini adds faster AI, graphics and networking in the same compact format. SA buyers should wait for a rand listing before comparing value.
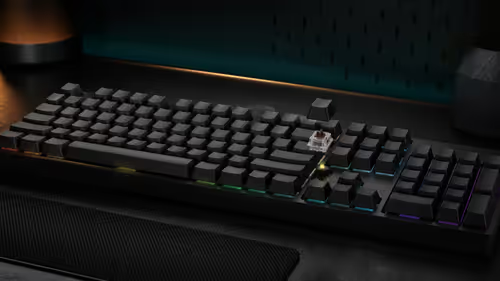
The Vulcan II XP adds hot-swappable switches, sound damping and gaming controls to a full-size wired board. SA buyers should compare feel before features.

Microsoft says Windows on Arm now has over 7,000 verified apps and games. SA buyers should still check each driver, game and work tool before switching.

Xbox Insiders can test disc-to-digital from 31 August 2026. Supported Xbox One and Series X discs gain a digital entitlement, but older discs, regions and title coverage still need exact checks.

ViewSonic's XG2738 pairs QHD QD-OLED with 240Hz and automatic panel care. SA buyers should compare warranty, brightness, ports and burn-in protection against today's R9,999-plus OLED shelf.

NVIDIA's final Windows 10 Game Ready driver is due in October 2026. SA gamers can keep using their GPU, but new game optimisations move on while critical security fixes continue quarterly.

JBL's new Quantum 520, 520X and 120 headsets cover wireless, Xbox-certified and wired use. SA buyers should compare connection, comfort and microphone needs before paying for a new badge.