


550W PSU Planning for RTX 5080 Super Builds in SA
550W for RTX 5080 Super needs a full-build check, not a simple yes. Review GPU guidance, CPU draw, transient load, connectors, PSU quality, and upgrade plans before deciding.
Read moreSet up a dual-motor desk by following that model's frame, motor and control instructions. For the A4 Pro, begin with its 125kg total-load limit, precision height adjustment and solid wood desktop, then verify the motor design before using a dual-motor procedure.
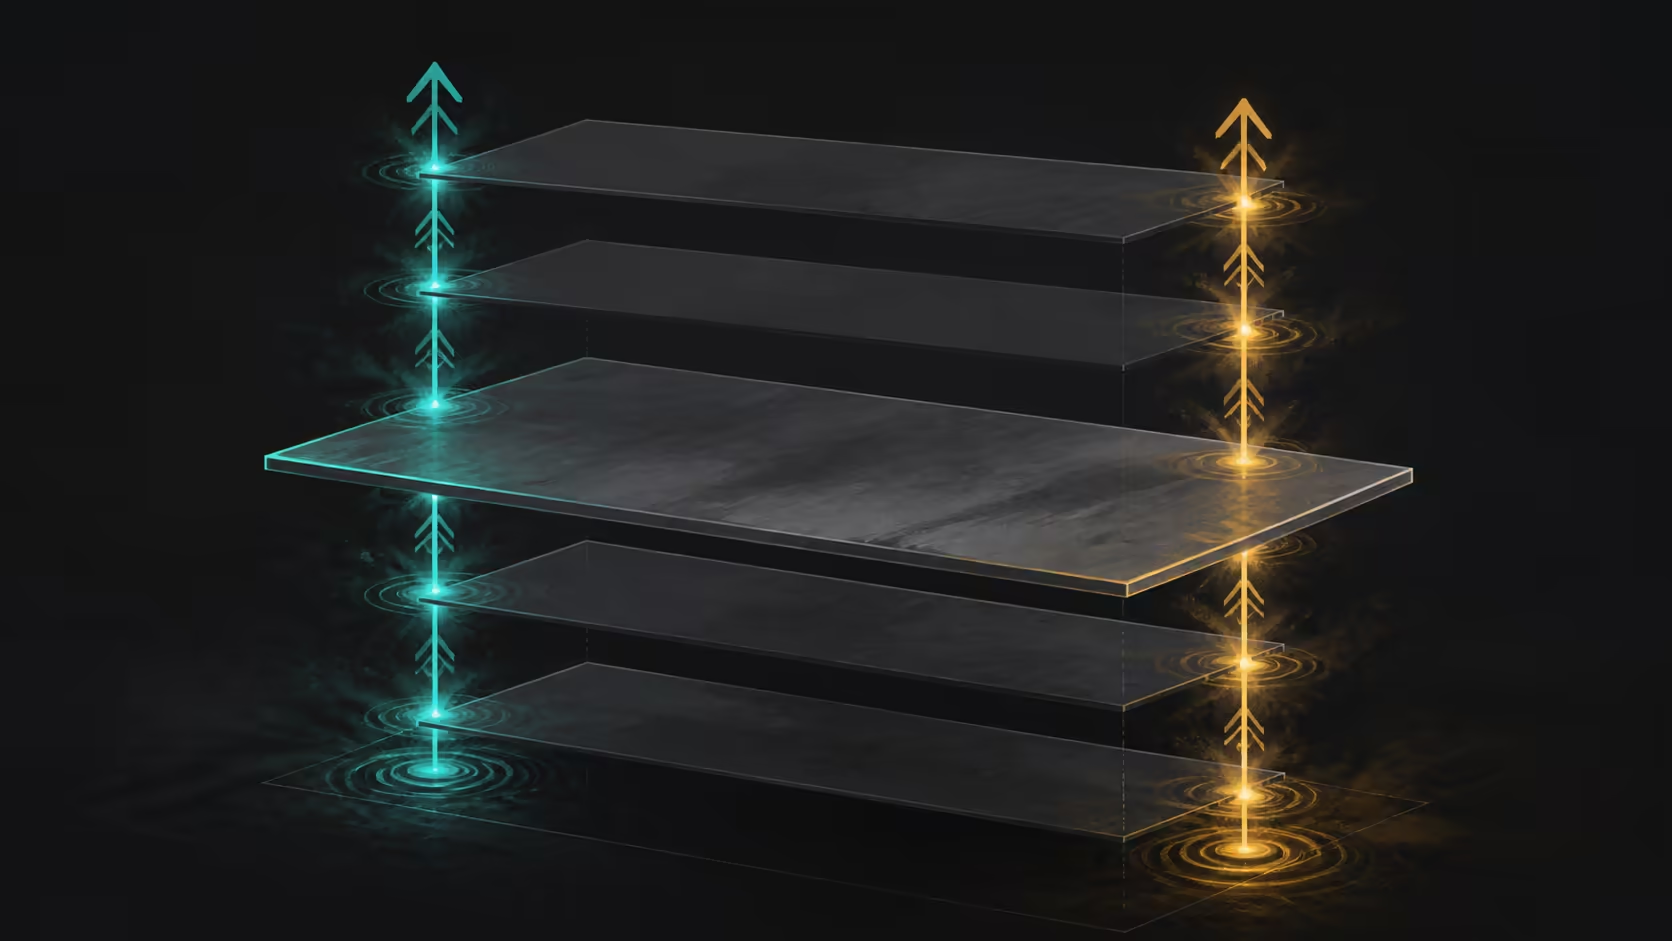
A safe setup procedure must match the hardware actually in front of the builder. This dual-motor height-adjustable gaming desk setup guide applies the AutoFull A4 Pro's two-motor mechanism, 125kg limit and 710-1170mm travel directly.
Set up the A4 Pro by assembling its dual-motor frame, balancing the desktop load, routing cables for 710-1170mm travel and storing four safe heights.
The A4 Pro uses a two-motor frame with a 125kg limit, precision adjustment and a solid-wood worktop containing Albizia. Protect the top, follow the model instructions and test movement in a controlled sequence.
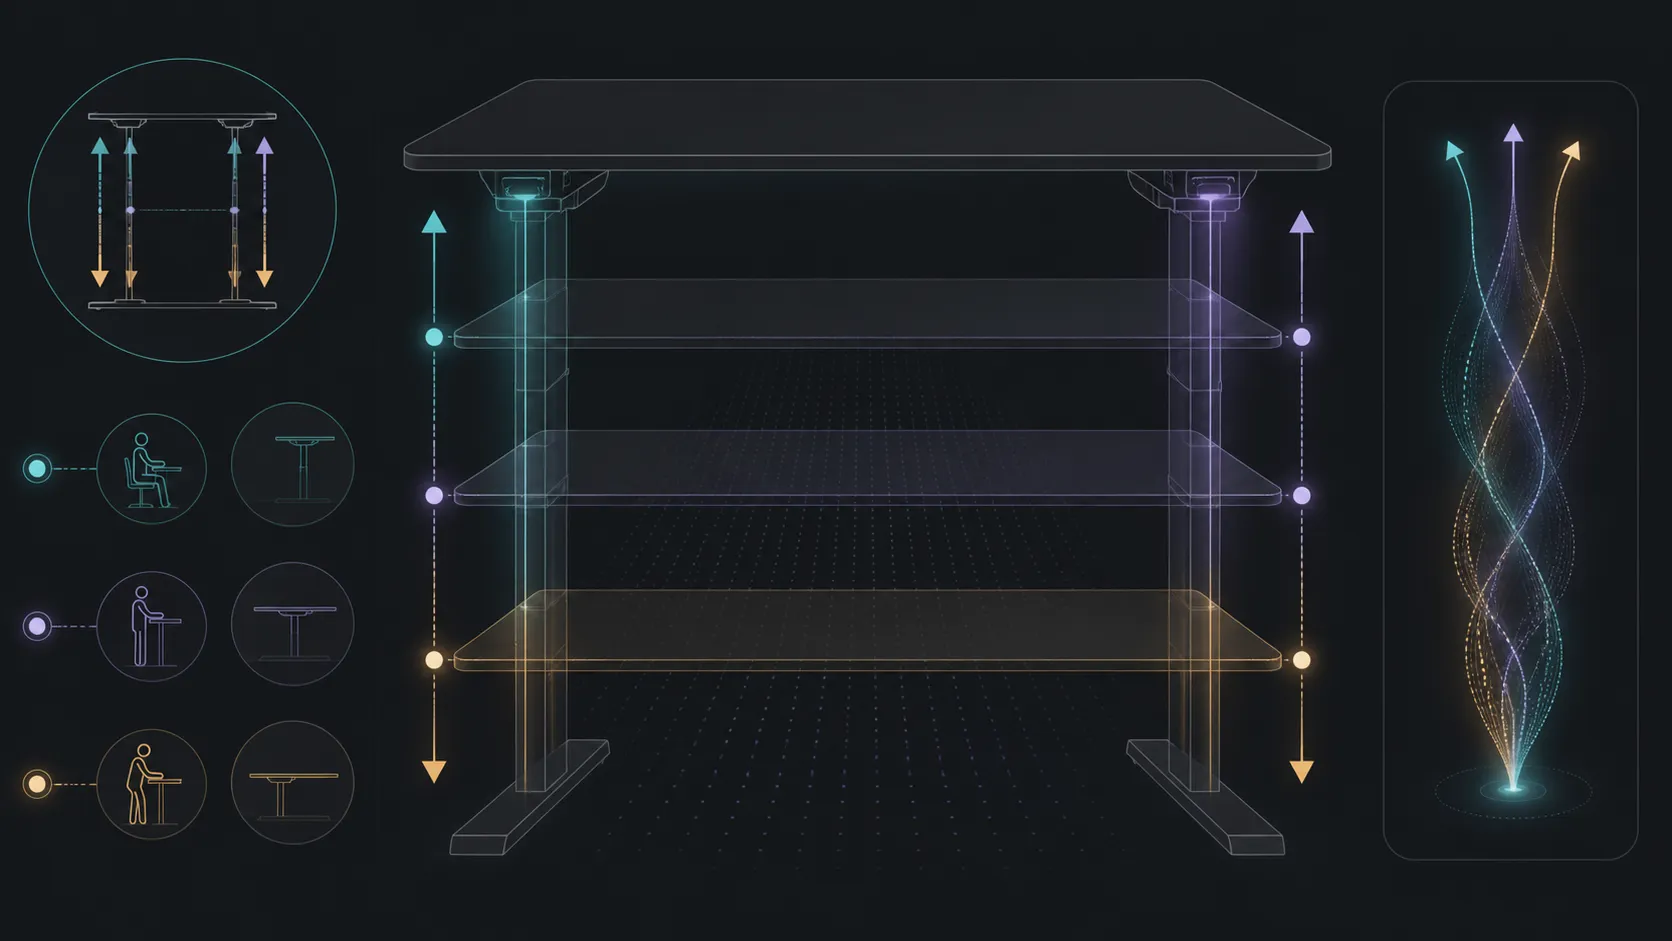
Match the packaging, frame and manual to the exact desk. Identify the lifting architecture, controller and required assembly sequence before positioning parts. A general dual-motor video can illustrate concepts but should not override the model's instructions.
The A4 Pro's precision adjustment and 125kg limit operate through a dual-motor drive. Review Evetech's gaming desk selection with motor type, load and controller features recorded separately for each alternative.
Prepare a clear assembly area that supports the solid wood desktop without damaging its carbon fibre surface. The A4 Pro uses Malaysian Albizia in the core and includes a full-coverage mousepad; keep loose hardware and tools controlled during setup.
Place the cup holder, headset stand and full mousepad according to the correct instructions. Do not create attachment points or cable compartments that are not part of the model procedure.
Before loading the complete gaming setup, clear the movement path and learn the exact controls. Check the positions used in practice without assuming a preset sequence, speed or travel range. Stop if movement or sound differs from the model guidance.
Route leads only after the desk can move as intended. Evetech's gaming accessories range supplies context for the equipment that will eventually share the surface.
Build the load from documented component weights and keep the final sum within 125kg. Add major items deliberately, watching distribution and cable freedom. Monitor mounts need their own worktop-fit checks.
The 15W pad should be tested with a compatible device after assembly. At R10,399, the finished evaluation should cover dual-motor movement, capacity, adjustment, surface and accessories.
Retain all packaging and fastener identification until the desk has passed its model-approved movement check. Similar-looking parts are not a reason to improvise placement. If a step is unclear, pause and resolve it from the exact instructions before loading the worktop.
Cable organisers belong after basic operation. First establish that the frame changes position normally; then route the computer, display and peripheral connections for the heights in use. This order helps separate assembly questions from cable-induced obstructions.
Photograph the final equipment and connections for future changes. When a heavier display or new accessory arrives, the record makes it easier to update the 125kg total and reproduce the routes that already worked.
Store the exact model instructions with that record. Future owners or household users can then identify the correct controls and assembly details without relying on a generic dual-motor tutorial.
Before the first lift, confirm that equipment stays within 125kg and no lead becomes taut at either endpoint. Test four-level anti-collision rebound with an appropriate safe obstruction rather than valuable hardware. The motors should operate below 45dB and move smoothly. Once sitting and standing positions are comfortable, save them through the control panel and enable the movement reminder if it suits the routine.
The exact model's instructions should control frame, dual motors, wiring and controller steps throughout assembly.
After the frame is upright, move it without equipment through the full 710-1170mm range. Add hardware in stages, keep the total below 125kg and save the final sitting and standing levels only after the cable paths remain free at both endpoints.
Only when documentation identifies two motors for the precise desk; otherwise use the procedure provided for the actual mechanism.
The A4 Pro supports 125kg in total, so all equipment and accessories must remain within that combined rating.
Clear the path, learn the model controls and try the needed positions cautiously before adding the complete gaming load.
Protect the Malaysian Albizia-core solid wood top and its carbon fibre surface from loose tools and assembly hardware.
The included full mousepad, cup holder, headset stand and charging area each need a deliberate place in the completed layout.
Ready to assemble only from model-matched instructions? Compare Evetech's gaming desks after verifying the exact mechanism, then plan a staged load and movement test for the selected frame.
The exact model's instructions should control frame, dual motors, wiring and controller steps throughout assembly. After the frame is upright, move it without equipment through the full 710-1170mm range. Add hardware in stages, keep the total below 125kg and save the final sitting and standing levels only after the cable paths remain free at both endpoints.
Only when documentation identifies two motors for the precise desk; otherwise use the procedure provided for the actual mechanism.
The A4 Pro supports 125kg in total, so all equipment and accessories must remain within that combined rating.
Clear the path, learn the model controls and try the needed positions cautiously before adding the complete gaming load.
Protect the Malaysian Albizia-core solid wood top and its carbon fibre surface from loose tools and assembly hardware.
The included full mousepad, cup holder, headset stand and charging area each need a deliberate place in the completed layout.
550W for RTX 5080 Super needs a full-build check, not a simple yes. Review GPU guidance, CPU draw, transient load, connectors, PSU quality, and upgrade plans before deciding.
Read more
8000Hz polling is overrated for most SA gamers because gains can be tiny next to battery drain and monitor limits. Mbombela players should weigh mouse feel, game support, and system stability before chasing the number.
Read more
Magnetic switches are taking over SA gaming keyboards because actuation can be tuned. For Sandton gamers, rapid trigger, reset control, and profile depth can help, but layout, key feel, and software quality still matter.
Read more
Polokwane oled monitor value questions need cautious SA context because pricing can move with availability, exchange rates, specs, and warranty support. Treat the trend as a planning signal, not a fixed price promise.
Read more
Arc B580 budget builds for Midrand gamers can shift with exchange rates, supply, specs, and model tier. Treat the title as a buying prompt, then compare SA warranty, timing, and build priorities.
Read more
ROG Ally X may beat the LCD Steam Deck for SA gamers who value stronger handheld performance, more memory, and Windows flexibility. Compare battery life, controls, game libraries, and Polokwane support needs before deciding.
Read more
Minisforum's M2 Pro pairs Core Ultra X7, Arc B390 graphics and 32GB onboard memory in 1.8 litres. SA buyers should weigh its fixed memory and $1,439 launch offer against local mini PCs.

Lenovo says Legion Go failures linked to BIOS N3CN42WW are not user error. Affected SA owners should stop retrying the update, preserve proof and open a support case.

Smart monitors can add apps and convenience, but they also add privacy settings and unwanted-software risk. SA buyers should audit the operating system before paying for extras.

A fake 113GB GTA VI ISO reportedly used empty padding around a small malware payload. SA gamers should delete unofficial builds, keep Windows security active and wait for official channels.
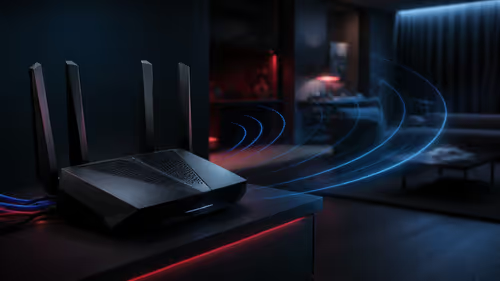
ASUS calls the ROG GT-BN98 the first Wi-Fi 8 gaming router. SA buyers should fix coverage and client limits before paying for a future wireless standard.
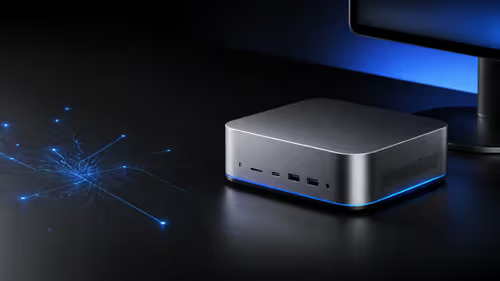
Apple's M6 Mac mini adds faster AI, graphics and networking in the same compact format. SA buyers should wait for a rand listing before comparing value.
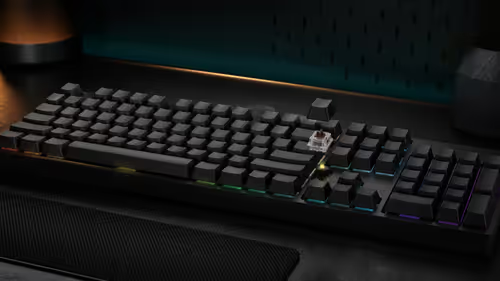
The Vulcan II XP adds hot-swappable switches, sound damping and gaming controls to a full-size wired board. SA buyers should compare feel before features.

Microsoft says Windows on Arm now has over 7,000 verified apps and games. SA buyers should still check each driver, game and work tool before switching.

Xbox Insiders can test disc-to-digital from 31 August 2026. Supported Xbox One and Series X discs gain a digital entitlement, but older discs, regions and title coverage still need exact checks.
ViewSonic's XG2738 pairs QHD QD-OLED with 240Hz and automatic panel care. SA buyers should compare warranty, brightness, ports and burn-in protection against today's R9,999-plus OLED shelf.

NVIDIA's final Windows 10 Game Ready driver is due in October 2026. SA gamers can keep using their GPU, but new game optimisations move on while critical security fixes continue quarterly.

JBL's new Quantum 520, 520X and 120 headsets cover wireless, Xbox-certified and wired use. SA buyers should compare connection, comfort and microphone needs before paying for a new badge.