


How to Fix FPS Drops on an RTX 5090 Build
FPS drops on an RTX 5090 build often have a fixable cause. Check settings, drivers, thermals, background tasks, network conditions, and bottlenecks before assuming a part must be replaced.
Read moreVertical Mount Your RX 9070 XT: Guide. Step-by-step instructions with SA-specific tips, common pitfalls to avoid & expert recommendations.
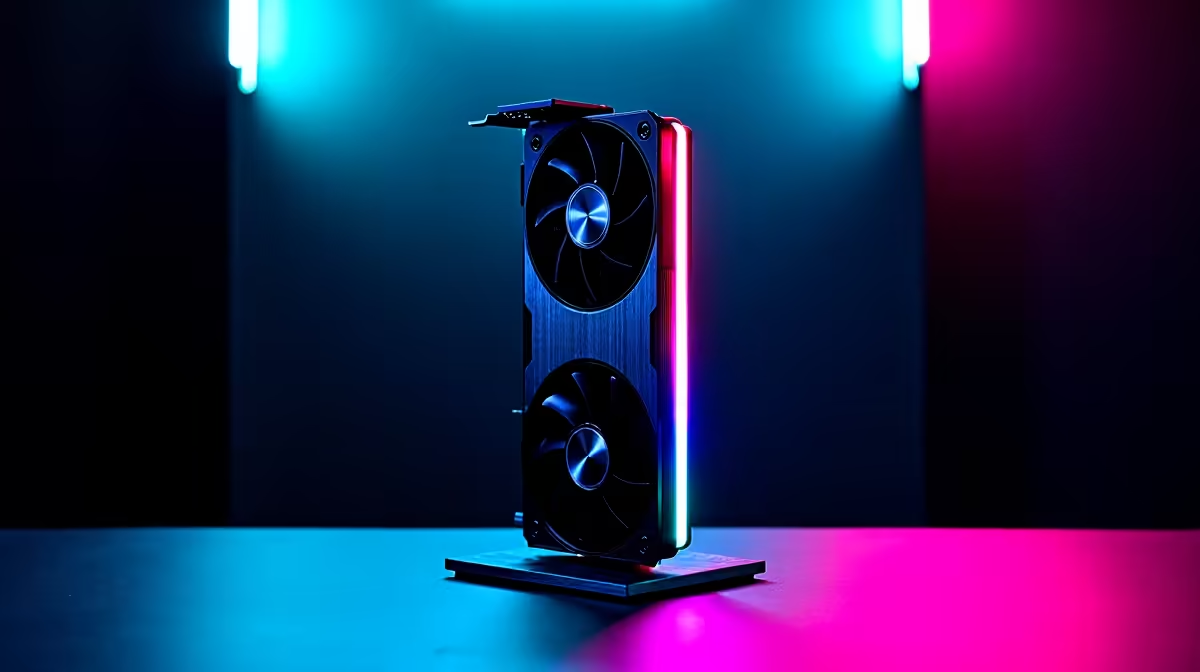
South African gamers know the feeling. You just dropped serious ZAR on AMD's latest pixel-pushing beast. Laying it flat in your case feels like hiding a masterpiece. If you want to show off those gorgeous cooler shrouds, you need to vertical mount your RX 9070 XT. It is not just about raw aesthetics... this setup actually helps prevent motherboard damage from heavy GPU sag. Let us get building.
Modern GPUs are massive. The RX 9070 XT is no exception. When you buy graphics cards of this size, gravity becomes your enemy. A standard horizontal installation puts immense strain on your PCIe slot. Vertical mounting shifts that weight directly onto your chassis. This keeps your motherboard safe while putting your hardware front and centre.
Airflow is another crucial factor. Many custom PC builders in Mzansi worry about choking their fans against the glass side panel. However, modern cases are designed with generous clearances to keep temperatures low. If you are browsing the best gaming PC deals right now, look for chassis models specifically built for vertical GPU layouts to maximise cooling efficiency.
Before you rip open your PC, you need the right gear. First, grab a high-quality PCIe 4.0 riser cable. Do not cheap out here. A budget cable will bottleneck your performance and cause frustrating crashes. You also need a Phillips head screwdriver and a case with vertical PCIe slots.
If you prefer skipping the DIY route entirely, you can always explore our pre-built PC deals where our technicians handle the heavy lifting for you.
Always test your riser cable before fully screwing everything into the case. Plug the cable into your motherboard, connect the GPU, and boot into Windows. This saves you from having to disassemble your entire rig if the cable turns out to be faulty!
Ready to transform your rig? Follow these simple steps to vertical mount your RX 9070 XT safely.
Power down your PC and unplug the power cable. Remove your glass side panel and unscrew the PCIe slot covers at the back of your chassis.
Carefully plug your riser cable into the top PCIe x16 slot on your motherboard. Make sure it clicks securely into place. Screw the base of the riser bracket into your case to keep it stable.
Gently lower your RX 9070 XT into the riser cable slot. Secure the graphics card bracket to the back of the case using your thumbscrews. Finally, plug in your PCIe power cables.
If you are constantly on the move and cannot lug a massive desktop around, you might want to check out the latest notebooks for sale in South Africa. But for pure desktop glory, nothing beats a vertically mounted powerhouse.
Boot up your system and check your fan clearance. Ensure the GPU fans are spinning and not scraping against the glass. Monitor your temperatures during your first gaming session to ensure optimal airflow. If you need extra cooling fans or RGB strips to complete the look, keep an eye on our weekly tech specials to save some Rands.
Ready to Build Your Dream Rig? Upgrading your PC is a rewarding experience, but finding the right parts at the right price is crucial. For maximum power, choice, and value in South Africa, Evetech is hard to beat. Explore our massive range of PC components and find the perfect hardware to conquer your world.
How to Vertical Mount Your RX 9070 XT: S available at Evetech.co.za with local warranty and fast delivery.
How to Vertical Mount Your RX 9070 XT: S - check Evetech for latest stock and SA pricing.
Depends on your use case. How to Vertical Mount Your RX offers good value at current Rand pricing.
FPS drops on an RTX 5090 build often have a fixable cause. Check settings, drivers, thermals, background tasks, network conditions, and bottlenecks before assuming a part must be replaced.
Read more
How to fix low FPS on 240Hz monitor starts with refresh rate, GPU load, and game caps. In South Africa, also check power mode, thermals, and display cable quality before assuming your PC cannot keep up.
Read more
31.5-inch 4K OLED gives SA gamers sharp work space and rich contrast for play. It suits buyers who want one high-end display for study, streaming, or editing by day, then immersive gaming after hours. Check desk depth and panel care first.
Read more
All-in-One PCs are niche in SA because they package the display and desktop into one tidy unit. That helps with space and setup, but SA buyers should weigh repair access, upgrade limits, monitor choice, and gaming expectations.
Read more
All-in-One PCs are niche in SA because the neat design comes with upgrade, repair, and performance trade-offs. They appeal to tidy desks and shared spaces, but buyers often compare them against laptops, towers, and separate monitors.
Read more
ARGB Cases In Mid-Tier SA Builds can change budget, compatibility or upgrade plans. SA PC builders should compare fit, warranty, platform needs and real workload value before committing.
Read more
Pre-Black Friday AIO cooler needs practical checks before buyers act. Build the shortlist around specs, warranty, fit, and real discount checks before campaign prices or ranges change. Keep it guide-safe for South African readers.
Used parts can lower the build cost, while buying new gives the SA warranty angle named in the title.
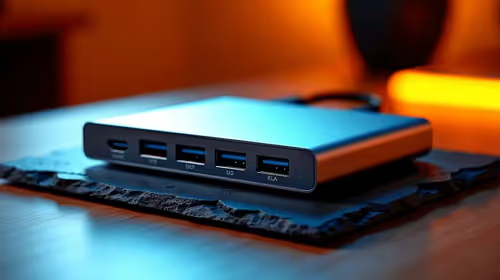
Choosing the right USB-C hub is essential for a clean, efficient desk setup. 🖥️ Discover exactly how many ports you need to replace your bulky desktop docking station without sacrificing performance or connectivity. ⚡
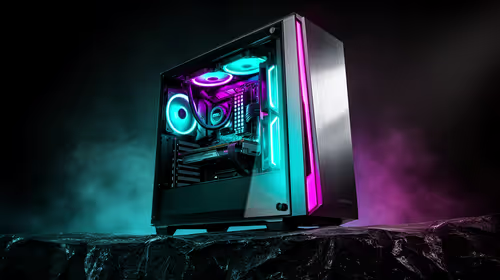
Black Friday Gaming PC Wait can help if your PC need is flexible. On a R5,000 SA budget, compare deal risk, component balance, warranty, and timing before waiting.
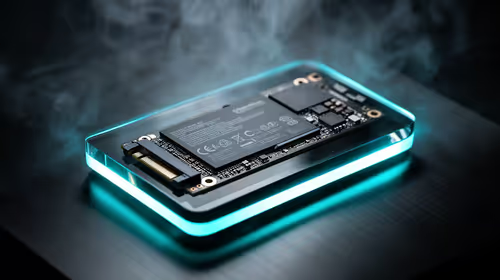
A recovery drive and system restore points turn a failed driver or BIOS update on a gaming pc from a full reinstall into a five-minute fix. Setting both up takes about 15 minutes, and Evetech recommends doing it the week you unbox a new build, before tweaking drivers.
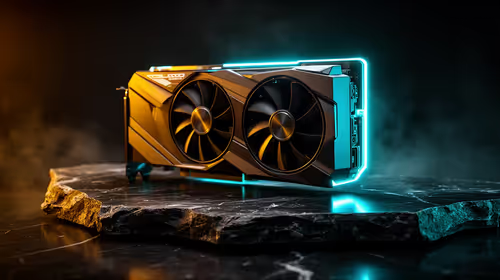
RTX 5090 with a 1000W PSU is a strong compatibility target for high-end builds. SA buyers should still match the exact PSU quality, connector support, CPU choice, case airflow, and upgrade needs to the final system.
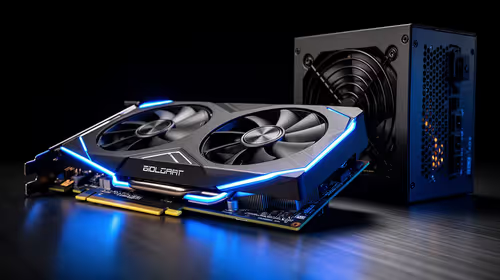
RTX 5090 on a 1000W PSU offers the best headroom in this PSU tier set. SA builders can plan more confidently for top-tier CPUs, cooling, and cautious OC, while still checking cable support and total system load.
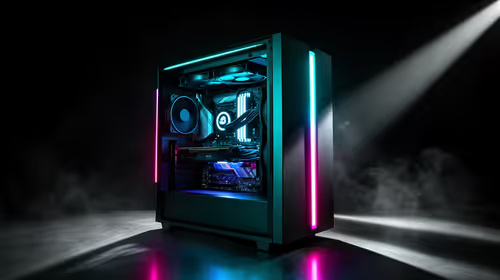
A 550W PSU is a risky fit for an RTX 5080 Super system in SA unless guidance and demand support it. Check CPU draw, cabling, PSU age, cooling, and upgrade margin before deciding whether the setup is safe enough.
FPS drops on an RTX 5090 build often have a fixable cause. Check settings, drivers, thermals, background tasks, network conditions, and bottlenecks before assuming a part must be replaced.
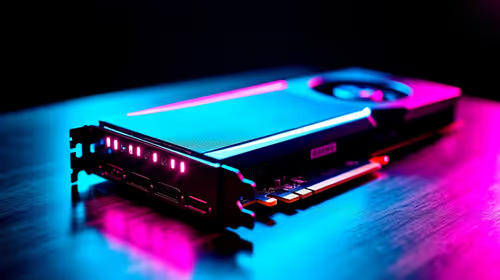
The real world difference between PCIe 5.0 and PCIe 4.0 in competitive esports is rarely raw FPS. SA esports players should compare GPU lane needs, CPU limits, latency goals, and NVMe loading before upgrading.
How to fix low FPS on 240Hz monitor starts with refresh rate, GPU load, and game caps. In South Africa, also check power mode, thermals, and display cable quality before assuming your PC cannot keep up.
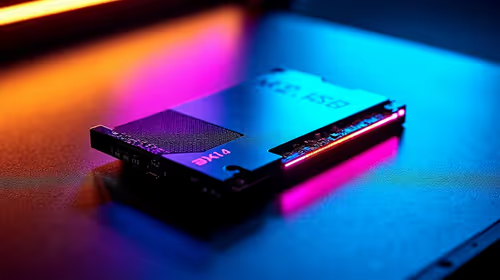
PCIe 5.0 vs PCIe 4.0 for aAA single-player gaming buyers - what changes is mostly about compatibility, budget, upgrade path, and setup fit. SA buyers should check device support and real needs before expecting a clear win from either option.