You hit start on a resin print, walked away, came back to a clean build plate and an empty vat, and nothing in between. The model never made it. Nothing on the build plate after a resin print almost always means the very first layers failed to weld themselves to the metal, so the part either stayed glued to the FEP film at the bottom of the vat or dissolved back into the resin during the next lift.
Quick Answer
Three settings cause an empty plate: bottom exposure too short, too few bottom layers, and a plate that drifted out of level. Push bottom exposure to roughly 6 to 10 times your normal layer time (often 25 to 40 seconds on a mono LCD), run 5 to 8 bottom layers, and re-level so a sheet of paper drags with light resistance under all four corners.
Why the First Layers Decide Everything
A resin printer cures upside down. The plate dips into the vat, the LCD flashes a pattern, and the bottom layers have to grab the plate harder than they grab the flexible FEP sheet beneath them. If those layers are undercured, the lift motion peels them off the plate instead, and every later layer has nothing to build on.
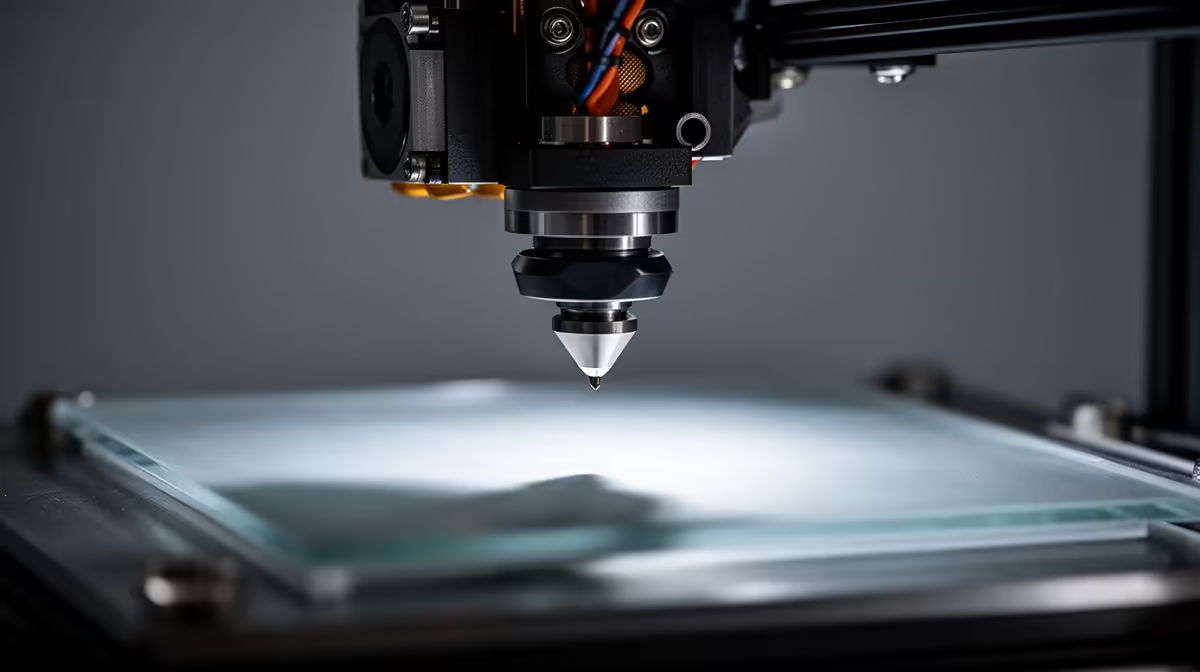
Bottom exposure is the single biggest lever. A normal layer might cure in 2 to 3 seconds on a modern mono screen, but the bottom layers need far longer to bite into bare metal. If yours are set near the normal time, the print is doomed before layer four. A resin printer suited to this kind of detailed work is worth checking against the current 3D printer lineup before you assume the machine itself is faulty.
The Fix, Setting by Setting
Start with bottom exposure. Add 8 to 10 seconds, reslice, and try a small test like a calibration disc. If the disc sticks, you have your floor. Next, raise bottom layers to between 5 and 8 so the transition to normal exposure is gradual rather than a sudden cliff.
Then check levelling. Loosen the plate, drop it onto the bare LCD with a sheet of paper underneath, apply gentle even pressure, and lock it down. The paper should move with slight drag at every corner. A plate that sits a fraction high leaves a gap the first layer cannot bridge.
Rule Out the FEP and the Resin
If exposure and levelling are correct and the plate is still bare, look at the FEP film. A cloudy, scratched, or slack sheet scatters the light so the bottom layers never reach full cure. Tension the screws on the vat frame or replace the film if it looks milky. Cold resin matters too: below about 20C it thickens and bonds poorly, so warm the room or the bottle before a winter print. A clean, lightly sanded plate (200 to 400 grit) also grips far better than a polished one. A microfibre cloth and isopropyl from the accessories best sellers keep the surface degreased between attempts.
Frequently Asked Questions
How long should bottom exposure be on a mono LCD printer?
Aim for roughly 6 to 10 times your normal layer exposure. On most current mono screens that lands between 25 and 40 seconds, though your resin brand and colour shift the exact number. Calibrate with a test print rather than copying a stranger's profile.
Why does my print stick to the FEP instead of the plate?
The bottom layers bonded to the film more strongly than to the metal, which points to weak plate adhesion from short exposure, a high or uneven plate, or a polished surface. Increase bottom exposure and re-level first.
Do I need to re-level after every print?
No, but you should re-level after replacing the FEP, bumping the plate, or any failed print where the model crashed into the vat. Levelling drift is a common silent cause of empty plates.
Can cold weather really stop prints from sticking?
Yes. Resin below about 20C is more viscous and cures less efficiently, so the bottom layers under-cure. Warm the workspace or stand the bottle in warm water before printing on a cold morning.
Should I sand my build plate?
A light pass with 200 to 400 grit creates micro-grooves that help the first layers key in. Sand evenly, clean off the dust, and degrease before printing. Avoid heavy gouges that ruin levelling consistency.
Sorting your bottom-layer settings is half the battle, the right machine is the other half. Compare current resin and FDM machines in the Evetech 3D printer range and pair it with cleaning supplies so your next print actually reaches the plate.