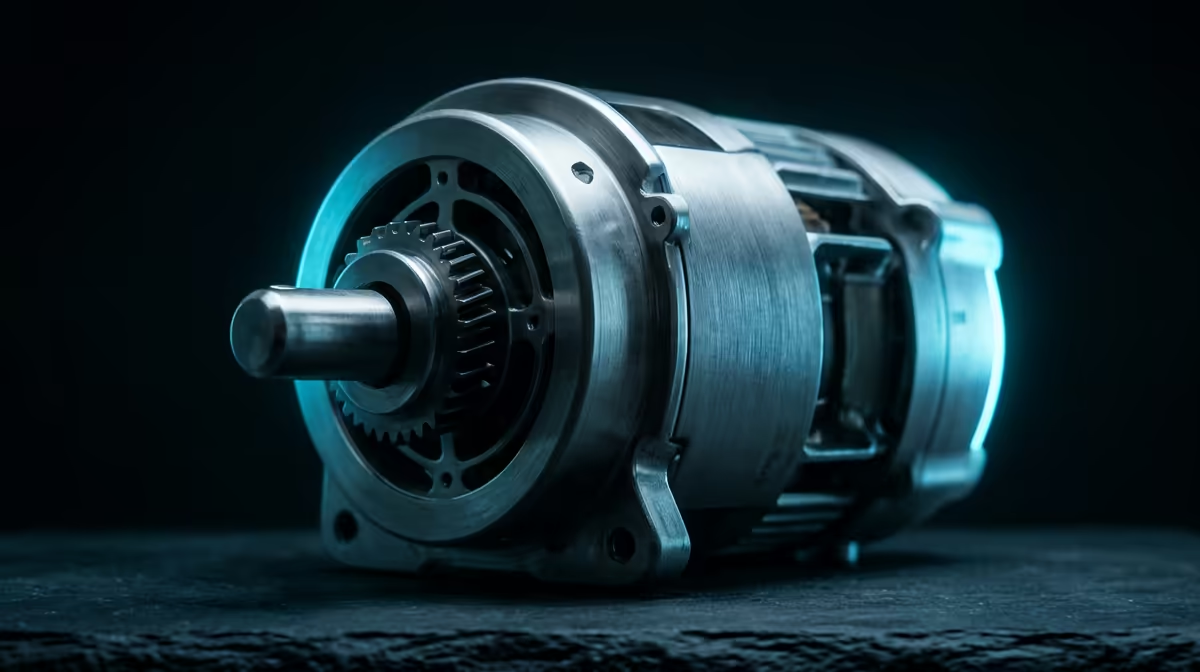
You wired everything up, the code uploads, the lights blink, and the wheels just sit there. A robot that will not move is almost never a broken motor. Nine times out of ten it is a power problem: you asked a microcontroller pin to do a job it physically cannot do, and the motor never stood a chance.
Quick Answer
A hobby DC motor draws far more current than any microcontroller GPIO pin can supply, so wiring a motor straight to a pin will never spin it. The fix is to drive the motor through a motor driver or H-bridge, such as an L298N, powered from its own separate supply. Do that and the motor turns reliably and permanently.
Why the GPIO pin cannot drive a motor
A pin on an Arduino, ESP32 or similar board is designed for logic signals, not power delivery. It can source only a small amount of current, typically around 20 to 40 milliamps. A small hobby DC motor wants hundreds of milliamps just to start turning, and more under load.
Ask the pin for that and one of two things happens: the motor sits dead because there is nowhere near enough current, or you damage the pin trying. The voltage may look correct on a multimeter, but voltage without enough current behind it cannot do mechanical work. This is the single most common reason a first robot refuses to move.
The fix: a motor driver and its own power supply
A motor driver sits between your controller and the motors. The controller sends a small, safe logic signal to the driver, and the driver uses a separate, beefier power source to actually push current through the motor. The L298N is the classic beginner board for exactly this.
Two things make it work, and both matter:
- The H-bridge inside the driver switches the motor on, off and into reverse, all triggered by your control pins.
- A separate power supply, a battery pack rather than the controller's own pins, feeds the motors. Trying to run motors off the controller's regulator is the mistake that started the problem.
Wiring it in plain terms
Connect your motor's two leads to the driver's output terminals. Feed the driver's motor-power input from a battery pack sized for your motors. Run the driver's control inputs to spare GPIO pins on your microcontroller. Crucially, join the grounds: the controller ground and the battery ground must connect, or the signals have no shared reference and nothing works.
Quick checks before you blame the hardware
If the motor still will not turn after adding a driver, work through these in order:
- Confirm the battery pack is charged and actually delivering voltage to the driver.
- Check that all grounds are tied together, including controller and battery.
- Make sure the driver's enable pins are set high (the L298N needs these on, and the jumpers are a common gotcha).
- Test the motor directly off the battery for a second to prove the motor itself spins.
Most "dead motor" robots come back to life at step two or three. If you are starting fresh and want parts that are known to play nicely together, browsing a smart-home and robotics range saves the guesswork of mismatched boards. A few spare jumper wires and connectors from the accessories shelf are worth keeping on hand too, since a loose ground is often the real fault.
Frequently Asked Questions
Can I ever connect a motor directly to an Arduino pin?
No, not a standard DC motor. The pin cannot supply the current the motor needs and you risk damaging the board. Always use a motor driver or H-bridge between the pin and the motor.
What does the L298N actually do?
It is an H-bridge motor driver. It takes small control signals from your microcontroller and uses a separate power supply to drive the motors, including reversing their direction. It lets a low-power pin command a higher-power motor safely.
Why do I need a separate power supply for the motors?
Motors draw too much current for a microcontroller's regulator to handle, and motor noise can crash the controller. A dedicated battery pack gives the motors clean power while the controller runs undisturbed on its own supply.
My motor still will not turn after adding the driver. What now?
Check that all grounds are connected together, the battery is charged, and the driver's enable pins are active. Then test the motor straight off the battery to confirm the motor itself is fine before suspecting the code.
Building a robot that finally moves comes down to the right driver, a proper power source and tidy wiring. Pick up motor drivers, controllers and connectors from Evetech and get those wheels turning for good.