


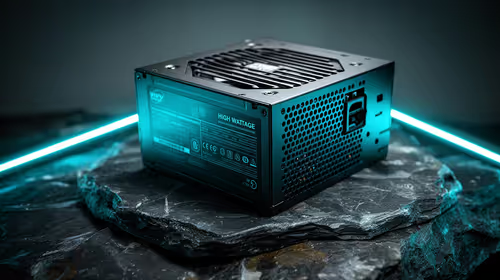
550W PSU Planning for RTX 5080 Super Builds in SA
550W for RTX 5080 Super needs a full-build check, not a simple yes. Review GPU guidance, CPU draw, transient load, connectors, PSU quality, and upgrade plans before deciding.
Read moreSolve under-extrusion by checking material feed, the direct drive path, nozzle condition and print settings in sequence. The Neptune 4 Plus pairs direct drive with a 300C nozzle. Keep the material constant while diagnosis isolates each part of that path.

Solving under-extrusion with a direct drive 3D printer requires following the material from spool to nozzle. A consistent diagnostic order separates feed resistance, drive behaviour, nozzle condition and profile choices without hiding the cause behind several simultaneous changes.
The Neptune 4 Plus combats under-extrusion with a dual-gear direct drive, 5.2:1 reduction ratio, 60W heater and active nozzle PID calibration.
The R7,799 Neptune 4 Plus places material delivery near a hot end whose nozzle reaches 300C. Keep one known filament loaded, inspect the spool route, verify its settings, test conservatively and adjust only one factor per attempt.
Observe the spool and filament before opening the extruder. A snag, sharp path or poor spool movement can reduce delivery even when the drive mechanism itself is sound.
Listen for clicking and inspect accessible filament for grinding or deformation. Follow Neptune maintenance steps for unloading and access rather than transferring mechanical settings from another extruder design.
Direct drive identifies the layout; it does not certify every material or automatically prevent flow problems.
Match nozzle temperature to the exact filament requirements. The 300C figure is a maximum boundary, not the universal answer to a thin line.
Check that the chosen material is suitable for the complete printer path and workspace. Avoid repeated thermal increases when a mechanical obstruction or incorrect feed setting remains possible.
Find 3D printing filament through Evetech after defining the full compatibility checklist.
Return to moderate motion before testing. The Neptune can reach 500mm/s through Klipper, but a high rate can obscure whether the feed path works at baseline.
Use the model's extrusion and print procedure while watching for continuous lines and repeatable width. If the symptom remains, stop and revisit one stage rather than changing speed, temperature and flow together.
Compare direct drive systems among large-format 3D printers at Evetech with maintenance access included.
Once flow is sound, reintroduce the normal model and speed in steps. Confirm the first layer after automatic levelling before trusting a tall print inside the 385mm height.
Browse Evetech's 3D printer range if a different extrusion or capacity setup is needed.
Record the material, symptom, action and accepted sample. The useful outcome is a repeatable path, not a temporary improvement whose cause remains unknown.
Inspect the result again after a normal unload and reload. A one-off clean line immediately after handling the extruder may not reproduce through the routine used between jobs.
When several operators share the printer, keep a simple fault card beside the machine. It should identify spool movement, visible feed condition, verified temperature, baseline speed and the exact point where the symptom appears. This prevents each person from starting diagnosis with a different unrecorded adjustment.
Photograph or retain the failing line and the recovered sample. A visible comparison is more useful than describing the fault from memory, especially when intermittent under-extrusion returns after several apparently successful layers.
Keep the accepted extrusion test with its exact spool identity, printer profile, visible line result, operator note, working temperature, observed machine condition and completion date for reliable future workshop troubleshooting reference.
Inspect the spool path, gear grip and titanium throat before raising temperature. The 300C hot end supports several materials, but each spool needs a suitable profile. Retest with one known filament, then separate feed restriction, heat instability and excessive speed instead of compensating all three at once.
At higher profiles, under-extrusion can arise even when the hardware is clean because the requested flow exceeds what the material and temperature can sustain. Return to the 250mm/s standard range, compare the same wall and increase pace only after feed is stable. Pressure advance should refine transitions, not hide a starved melt zone.
Keep the removed filament sample so bite marks and heat deformation can be inspected afterward.
Begin at the spool and trace filament movement through the accessible direct drive path toward the nozzle.
The Neptune 4 Plus places a direct drive extruder close to its hot-end and nozzle.
No. Feed resistance, drive contact, nozzle condition, material and motion can produce under-extrusion symptoms too.
The nozzle can reach 300C, while the selected filament determines the correct working range.
No. Preserve a controlled baseline and alter one relevant variable per test so the result remains attributable.
It does not; confirm each spool against the whole printer, surface, temperature and workspace requirements.
Need to find where material delivery is breaking down? Compare direct drive printers and filament at Evetech with the spool-to-nozzle diagnostic route clearly mapped.
Begin at the spool and trace filament movement through the accessible direct drive path toward the nozzle.
The Neptune 4 Plus places a direct drive extruder close to its hot-end and nozzle.
No. Feed resistance, drive contact, nozzle condition, material and motion can produce under-extrusion symptoms too.
The nozzle can reach 300C, while the selected filament determines the correct working range.
No. Preserve a controlled baseline and alter one relevant variable per test so the result remains attributable.
It does not; confirm each spool against the whole printer, surface, temperature and workspace requirements.
550W for RTX 5080 Super needs a full-build check, not a simple yes. Review GPU guidance, CPU draw, transient load, connectors, PSU quality, and upgrade plans before deciding.
Read more
8000Hz polling is overrated for most SA gamers because gains can be tiny next to battery drain and monitor limits. Mbombela players should weigh mouse feel, game support, and system stability before chasing the number.
Read more
Magnetic switches are taking over SA gaming keyboards because actuation can be tuned. For Sandton gamers, rapid trigger, reset control, and profile depth can help, but layout, key feel, and software quality still matter.
Read more
Polokwane oled monitor value questions need cautious SA context because pricing can move with availability, exchange rates, specs, and warranty support. Treat the trend as a planning signal, not a fixed price promise.
Read more
Arc B580 budget builds for Midrand gamers can shift with exchange rates, supply, specs, and model tier. Treat the title as a buying prompt, then compare SA warranty, timing, and build priorities.
Read more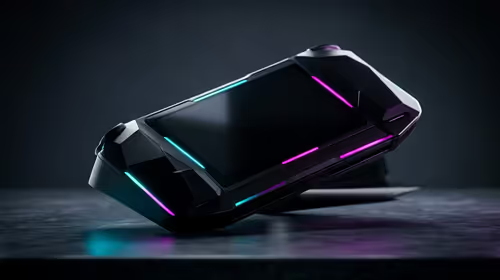
ROG Ally X may beat the LCD Steam Deck for SA gamers who value stronger handheld performance, more memory, and Windows flexibility. Compare battery life, controls, game libraries, and Polokwane support needs before deciding.
Read more
Minisforum's M2 Pro pairs Core Ultra X7, Arc B390 graphics and 32GB onboard memory in 1.8 litres. SA buyers should weigh its fixed memory and $1,439 launch offer against local mini PCs.

Lenovo says Legion Go failures linked to BIOS N3CN42WW are not user error. Affected SA owners should stop retrying the update, preserve proof and open a support case.

Smart monitors can add apps and convenience, but they also add privacy settings and unwanted-software risk. SA buyers should audit the operating system before paying for extras.

A fake 113GB GTA VI ISO reportedly used empty padding around a small malware payload. SA gamers should delete unofficial builds, keep Windows security active and wait for official channels.
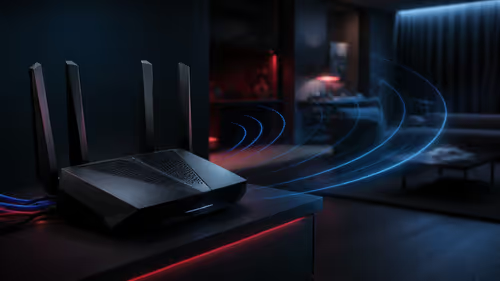
ASUS calls the ROG GT-BN98 the first Wi-Fi 8 gaming router. SA buyers should fix coverage and client limits before paying for a future wireless standard.
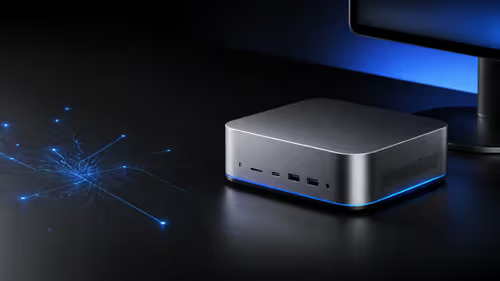
Apple's M6 Mac mini adds faster AI, graphics and networking in the same compact format. SA buyers should wait for a rand listing before comparing value.
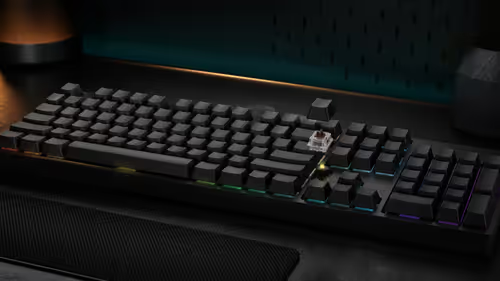
The Vulcan II XP adds hot-swappable switches, sound damping and gaming controls to a full-size wired board. SA buyers should compare feel before features.

Microsoft says Windows on Arm now has over 7,000 verified apps and games. SA buyers should still check each driver, game and work tool before switching.

Xbox Insiders can test disc-to-digital from 31 August 2026. Supported Xbox One and Series X discs gain a digital entitlement, but older discs, regions and title coverage still need exact checks.

ViewSonic's XG2738 pairs QHD QD-OLED with 240Hz and automatic panel care. SA buyers should compare warranty, brightness, ports and burn-in protection against today's R9,999-plus OLED shelf.

NVIDIA's final Windows 10 Game Ready driver is due in October 2026. SA gamers can keep using their GPU, but new game optimisations move on while critical security fixes continue quarterly.

JBL's new Quantum 520, 520X and 120 headsets cover wireless, Xbox-certified and wired use. SA buyers should compare connection, comfort and microphone needs before paying for a new badge.