


550W PSU Planning for RTX 5080 Super Builds in SA
550W for RTX 5080 Super needs a full-build check, not a simple yes. Review GPU guidance, CPU draw, transient load, connectors, PSU quality, and upgrade plans before deciding.
Read moreUneven first layers call for a simple bed-wide test that shows where the nozzle-to-plate relationship changes. Use the printer's proper setup method, correct one cause at a time and retest the affected zones.

An uneven first layer across a wide bed is best treated as a map of changing contact. Solving uneven first layers on a large 3D printer bed requires a repeatable zone test and the correct setup process for the exact machine.
Uneven first layers should be addressed through the Neptune 4 Max's full 121-point mesh, a correctly seated clean plate and one broad diagnostic print.
Lay out a low diagnostic design covering the middle, outer zones and corners, then label where lines are too separate, too compressed or consistent. Follow the printer's proper levelling and first-layer routine, change one cause and repeat the same map. The R9,399 Neptune 4 Max offers a 420 x 420mm bed within its 420 x 420 x 480mm build volume, without that size revealing the levelling mechanism.
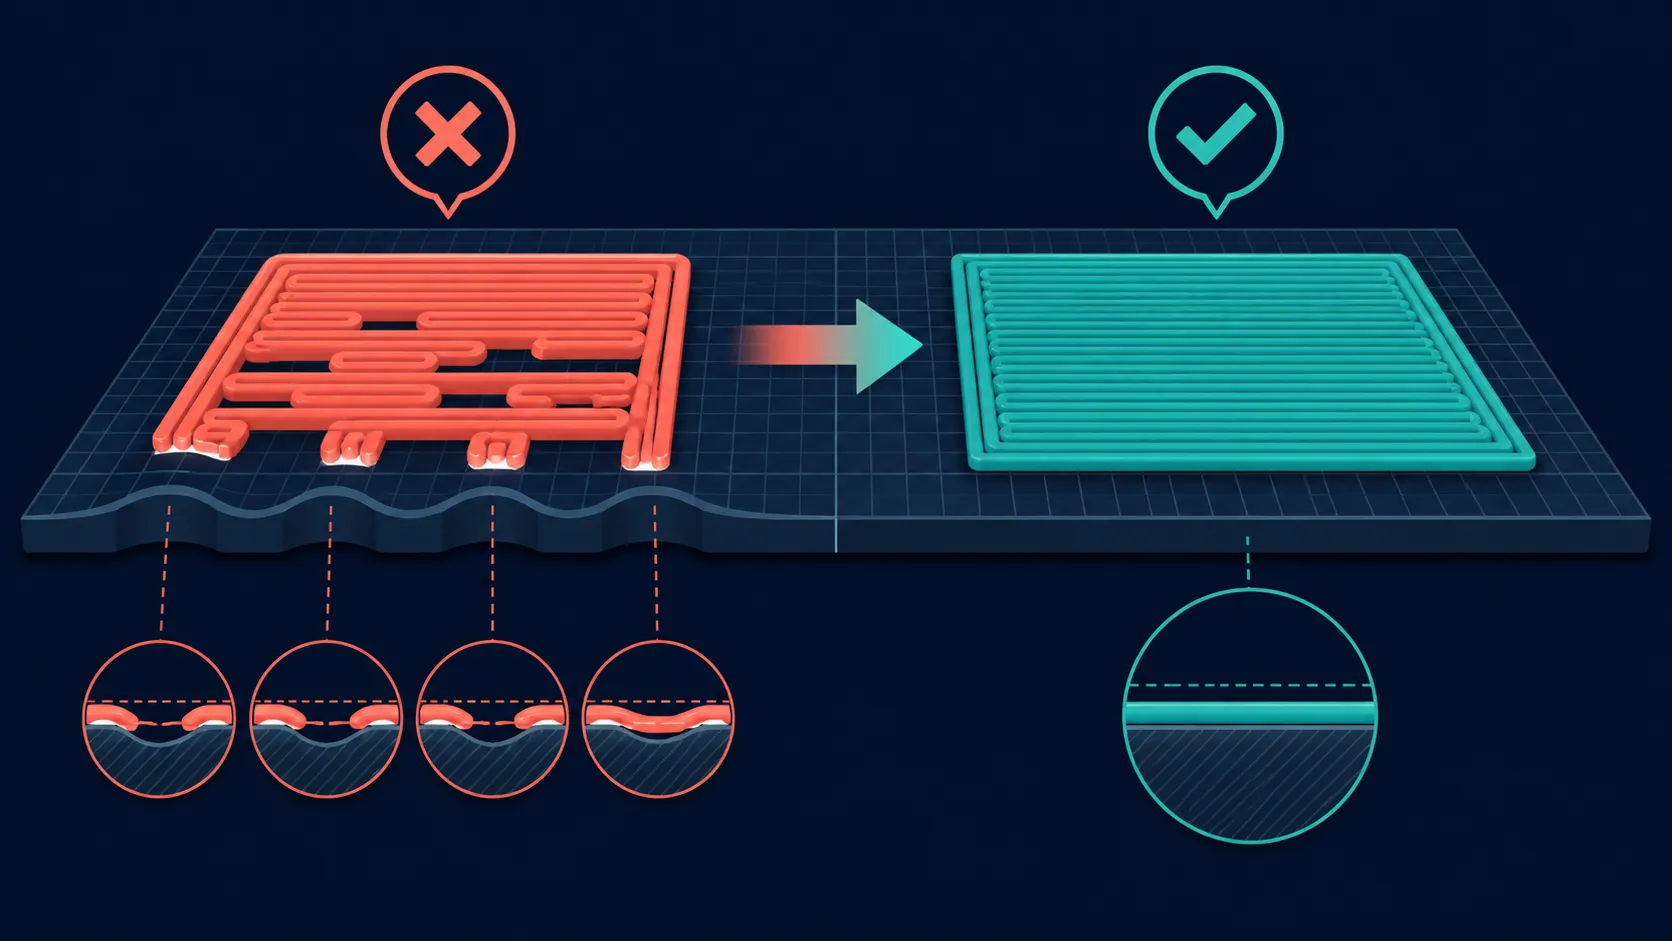
Divide the printable area into a small number of named regions. The pattern should use the same line style in each zone so differences are easy to compare. Avoid a complex model whose geometry changes at the same time as bed position.
Keep the plate face, filament and profile fixed. Write the zone labels on a sketch or annotate a photograph. Makers comparing wide-bed printers at Evetech can use the same map approach without assuming each machine shares a setup method.
Use the levelling, calibration and initial-gap sequence intended for the exact printer. Do not describe the Neptune 4 Max as automatic, sensor-based or manual without exact evidence. The resulting pattern matters more than a guessed mechanism.
After the routine, print the map unchanged. If the whole surface shifts in the same direction, review the common baseline. If only one area remains different, keep the diagnosis local and inspect the conditions affecting that region.
The Neptune's upgraded build plate has two usable faces. Identify side A and side B, then test only one while correcting the layer. Material, coating and preparation cannot be inferred from that design description.
Clean the chosen face according to its confirmed instructions and support the 420mm surface during handling. Turning it mid-test produces a new surface baseline. Compare other 3D printers through Evetech with plate care treated separately from bed size.
Once the diagnostic map passes, place a reduced outline or representative section where the final model will sit. The job may use only a subset of the bed, so its acceptance test should emphasise those zones while retaining enough surrounding evidence.
The printer's 300C nozzle and 500mm/s capability do not supply first-layer values. Select exact material guidance from the Evetech filament category and keep the initial verification conservative before testing faster motion.
Retain the passing map, side identifier, profile name and date. Repeat it after maintenance, transport or a plate change to establish whether the surface relationship has moved.
Add a second diagnostic only when the first map cannot resolve the pattern. For example, a denser set of lines in one outer band can reveal whether a change is gradual or confined to a small patch. Do not enlarge the test everywhere; collect more detail only where the initial evidence asks for it.
When the full map finally passes, keep one printed sample in the maintenance box. Its labelled underside provides a physical reference for the next operator and shortens future comparison.
The 11x11 system measures irregularities across 420x420mm, giving the control software more local information than a few manual points. It cannot remove debris or repair a damaged surface. Compare centre, edges and corners, then change only the identified offset, temperature or extrusion factor. Keep the successful mesh with the plate orientation so a later flip or removal explains any changed result.
A low, repeated line pattern spread across labelled bed zones exposes changes without adding complicated model geometry.
No. Use the process intended for the precise machine. Build volume and price do not disclose how levelling is performed.
Look for symptoms shared across every zone versus differences isolated to one location. That split guides the next single correction.
Yes. Treat each face as its own controlled surface until testing proves that preparation and behaviour can be shared.
Its build volume begins with a 420 x 420mm footprint and extends to 480mm in printable height.
The unchanged map shows whether that action improved the target area without disturbing regions that had already passed.
Ready to replace guesswork with a labelled bed map? Compare large 3D printers and filament at Evetech while carrying the same zone-based first-layer check into every setup.
A low, repeated line pattern spread across labelled bed zones exposes changes without adding complicated model geometry.
No. Use the process intended for the precise machine. Build volume and price do not disclose how levelling is performed.
Look for symptoms shared across every zone versus differences isolated to one location. That split guides the next single correction.
Yes. Treat each face as its own controlled surface until testing proves that preparation and behaviour can be shared.
Its build volume begins with a 420 x 420mm footprint and extends to 480mm in printable height.
The unchanged map shows whether that action improved the target area without disturbing regions that had already passed.
550W for RTX 5080 Super needs a full-build check, not a simple yes. Review GPU guidance, CPU draw, transient load, connectors, PSU quality, and upgrade plans before deciding.
Read more
8000Hz polling is overrated for most SA gamers because gains can be tiny next to battery drain and monitor limits. Mbombela players should weigh mouse feel, game support, and system stability before chasing the number.
Read more
Magnetic switches are taking over SA gaming keyboards because actuation can be tuned. For Sandton gamers, rapid trigger, reset control, and profile depth can help, but layout, key feel, and software quality still matter.
Read more
Polokwane oled monitor value questions need cautious SA context because pricing can move with availability, exchange rates, specs, and warranty support. Treat the trend as a planning signal, not a fixed price promise.
Read more
Arc B580 budget builds for Midrand gamers can shift with exchange rates, supply, specs, and model tier. Treat the title as a buying prompt, then compare SA warranty, timing, and build priorities.
Read more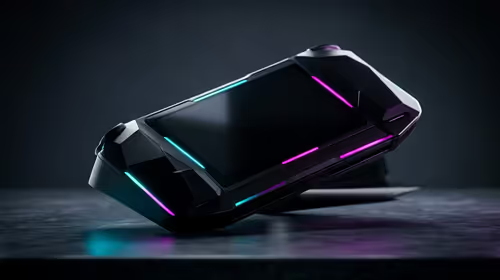
ROG Ally X may beat the LCD Steam Deck for SA gamers who value stronger handheld performance, more memory, and Windows flexibility. Compare battery life, controls, game libraries, and Polokwane support needs before deciding.
Read more
Minisforum's M2 Pro pairs Core Ultra X7, Arc B390 graphics and 32GB onboard memory in 1.8 litres. SA buyers should weigh its fixed memory and $1,439 launch offer against local mini PCs.

Lenovo says Legion Go failures linked to BIOS N3CN42WW are not user error. Affected SA owners should stop retrying the update, preserve proof and open a support case.

Smart monitors can add apps and convenience, but they also add privacy settings and unwanted-software risk. SA buyers should audit the operating system before paying for extras.

A fake 113GB GTA VI ISO reportedly used empty padding around a small malware payload. SA gamers should delete unofficial builds, keep Windows security active and wait for official channels.

ASUS calls the ROG GT-BN98 the first Wi-Fi 8 gaming router. SA buyers should fix coverage and client limits before paying for a future wireless standard.
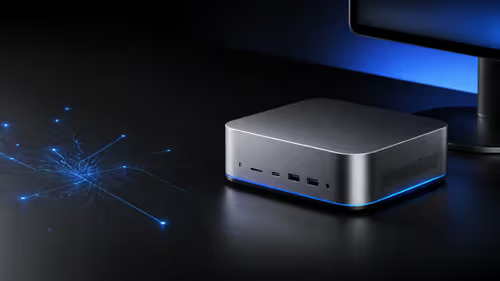
Apple's M6 Mac mini adds faster AI, graphics and networking in the same compact format. SA buyers should wait for a rand listing before comparing value.
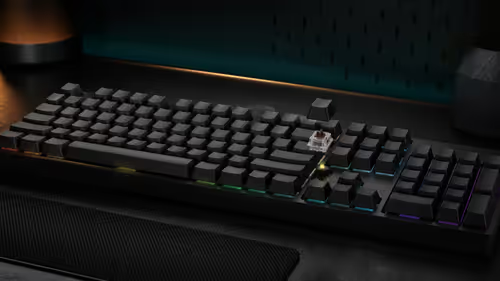
The Vulcan II XP adds hot-swappable switches, sound damping and gaming controls to a full-size wired board. SA buyers should compare feel before features.

Microsoft says Windows on Arm now has over 7,000 verified apps and games. SA buyers should still check each driver, game and work tool before switching.

Xbox Insiders can test disc-to-digital from 31 August 2026. Supported Xbox One and Series X discs gain a digital entitlement, but older discs, regions and title coverage still need exact checks.

ViewSonic's XG2738 pairs QHD QD-OLED with 240Hz and automatic panel care. SA buyers should compare warranty, brightness, ports and burn-in protection against today's R9,999-plus OLED shelf.

NVIDIA's final Windows 10 Game Ready driver is due in October 2026. SA gamers can keep using their GPU, but new game optimisations move on while critical security fixes continue quarterly.

JBL's new Quantum 520, 520X and 120 headsets cover wireless, Xbox-certified and wired use. SA buyers should compare connection, comfort and microphone needs before paying for a new badge.