


550W PSU Planning for RTX 5080 Super Builds in SA
550W for RTX 5080 Super needs a full-build check, not a simple yes. Review GPU guidance, CPU draw, transient load, connectors, PSU quality, and upgrade plans before deciding.
Read moreAn uneven first layer can come from surface condition, levelling, initial settings or inconsistent extrusion. The Neptune 4 Plus includes automatic bed levelling across a 320 x 320mm area, so test one region and variable at a time before a full-size print.

When a first layer is uneven on a large 3D printer, diagnose the surface by region and change one variable at a time. A broad bed can show local differences that a small centre print misses, while levelling remains only one part of the starting condition.
For an uneven Neptune 4 Plus first layer, clean the correct face of its double-sided plate, rerun automatic levelling and isolate offset from extrusion.
The R7,799 Neptune 4 Plus includes automatic levelling across a 320 x 320mm bed. Clean the exact plate correctly, run the model's routine, print a broad low-risk pattern and isolate surface, initial setting or extrusion causes before starting a full-size job.
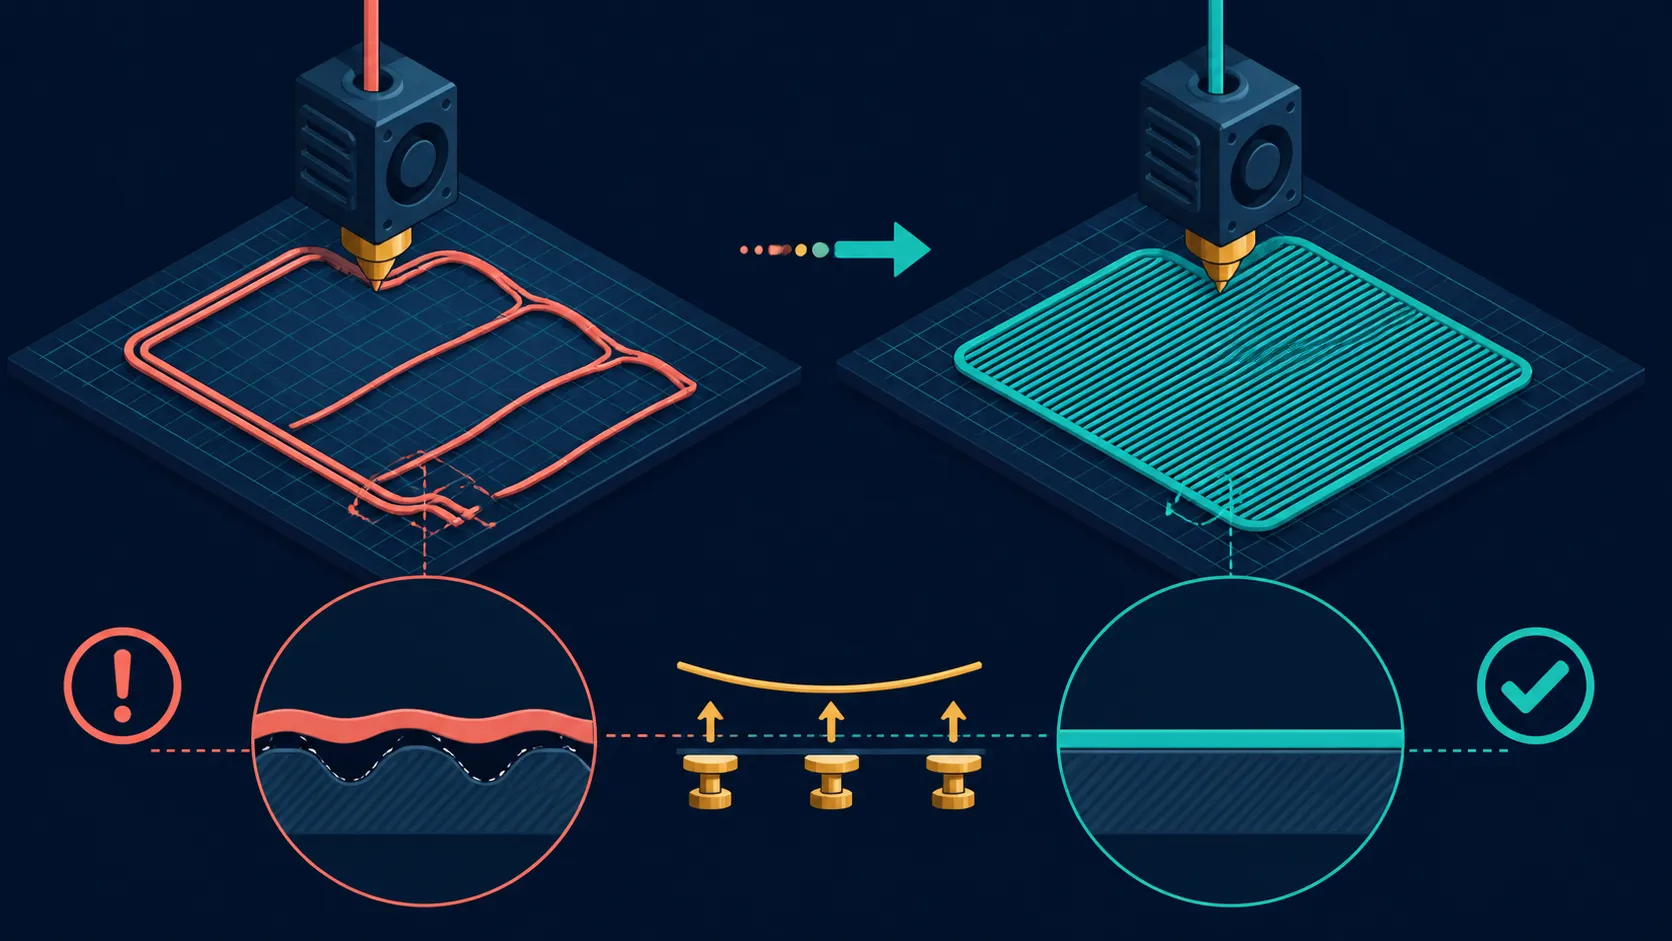
Stop the test before poor contact threatens the nozzle or build surface. Note whether the issue appears in one corner, an edge, the centre or across the entire pattern.
Remove the test and inspect for residue, fingerprints or leftover material. Choose the low-temperature PLA coating when printing that polymer; turn to the textured PEI side for ABS, flexible TPU or carbon-filled filament, then follow the care method for the active face.
Check the nozzle area for material that could alter the starting distance. Use the exact machine procedure rather than scraping or heating without guidance.
The printer provides automatic bed levelling. Confirm its control sequence and any required user step, then let the routine complete without disturbing the frame or surface.
Do not guess a probe type, mesh size or manual mesh-editing process. If a method-specific intervention is required, identify it for the Neptune 4 Plus before changing values.
Compare setup systems among large 3D printers through Evetech using a verified first-layer workflow.
Use one known material and a conservative profile. Watch whether the direct drive extruder delivers continuous lines. A missing or thin section can arise from flow as well as bed relationship.
The 300C nozzle limit does not justify an arbitrary temperature increase. Follow the material requirements and compare flow at a correct baseline.
Choose test filament from Evetech's 3D printing material range only after confirming the complete route.
Repeat the pattern across the regions the final model will occupy. When the layer is consistent, scale to a modest part before filling the full 320 x 320 x 385mm envelope.
Browse FDM 3D printers at Evetech if another bed size or workflow better suits the project.
Keep a note of the affected region, cleaning step, levelling cycle, filament and result. A clearly documented baseline is faster to recover than several simultaneous changes.
Rotate the diagnostic model only when orientation itself is the variable under test. Otherwise, preserve its placement so a regional difference does not become confused with a new geometry path.
If the first layer improves in one area but worsens elsewhere, stop before compensation becomes a sequence of guesses. Return to the correct model-specific bed process, confirm surface condition and reproduce the same test. A large bed rewards mapped evidence because an edge problem can consume substantial time once a wide part begins.
PLA belongs on the specialised low-temperature surface, while the reverse PEI face grips tougher flexible, engineering and reinforced materials. Print a 320mm-wide diagnostic pattern only after the dual-gear extruder feeds consistently. Change one cause at a time so a dirty patch is not mistaken for a levelling fault.
Watch the extrusion line as well as its contact with the plate. A 5.2:1 dual-gear feeder, active PID control and a clean nozzle should deliver a consistent bead. If line width changes everywhere, investigate feed; if only one bed region differs, return to surface and levelling causes.
Let the plate cool fully before using release behaviour as evidence of adhesion quality.
Map where the problem occurs, stop the print safely and inspect surface condition before changing settings.
The bed area measures 320 x 320mm, with 385mm available on the vertical axis.
No. Surface contamination, initial settings and inconsistent extrusion can create similar first-layer symptoms.
Only follow mesh or adjustment steps confirmed for the exact Neptune 4 Plus process; do not copy another printer.
Hold material and temperature requirements constant, then observe continuous delivery in a small controlled pattern.
Start it after a broad first-layer test is acceptable across the regions the sliced job will use.
No. A 320 x 320mm dimension describes area, not the surface material or its cleaning method.
Troubleshooting the exact region rather than repeating a full job? Explore large-bed printers and filament at Evetech with surface, levelling and flow checked in a controlled order.
Map where the problem occurs, stop the print safely and inspect surface condition before changing settings.
The bed area measures 320 x 320mm, with 385mm available on the vertical axis.
No. Surface contamination, initial settings and inconsistent extrusion can create similar first-layer symptoms.
Only follow mesh or adjustment steps confirmed for the exact Neptune 4 Plus process; do not copy another printer.
Hold material and temperature requirements constant, then observe continuous delivery in a small controlled pattern.
Start it after a broad first-layer test is acceptable across the regions the sliced job will use.
No. A 320 x 320mm dimension describes area, not the surface material or its cleaning method.
550W for RTX 5080 Super needs a full-build check, not a simple yes. Review GPU guidance, CPU draw, transient load, connectors, PSU quality, and upgrade plans before deciding.
Read more
8000Hz polling is overrated for most SA gamers because gains can be tiny next to battery drain and monitor limits. Mbombela players should weigh mouse feel, game support, and system stability before chasing the number.
Read more
Magnetic switches are taking over SA gaming keyboards because actuation can be tuned. For Sandton gamers, rapid trigger, reset control, and profile depth can help, but layout, key feel, and software quality still matter.
Read more
Polokwane oled monitor value questions need cautious SA context because pricing can move with availability, exchange rates, specs, and warranty support. Treat the trend as a planning signal, not a fixed price promise.
Read more
Arc B580 budget builds for Midrand gamers can shift with exchange rates, supply, specs, and model tier. Treat the title as a buying prompt, then compare SA warranty, timing, and build priorities.
Read more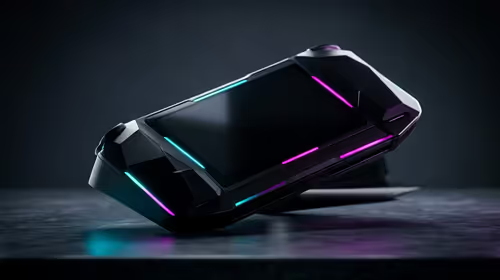
ROG Ally X may beat the LCD Steam Deck for SA gamers who value stronger handheld performance, more memory, and Windows flexibility. Compare battery life, controls, game libraries, and Polokwane support needs before deciding.
Read more
Minisforum's M2 Pro pairs Core Ultra X7, Arc B390 graphics and 32GB onboard memory in 1.8 litres. SA buyers should weigh its fixed memory and $1,439 launch offer against local mini PCs.

Lenovo says Legion Go failures linked to BIOS N3CN42WW are not user error. Affected SA owners should stop retrying the update, preserve proof and open a support case.

Smart monitors can add apps and convenience, but they also add privacy settings and unwanted-software risk. SA buyers should audit the operating system before paying for extras.

A fake 113GB GTA VI ISO reportedly used empty padding around a small malware payload. SA gamers should delete unofficial builds, keep Windows security active and wait for official channels.

ASUS calls the ROG GT-BN98 the first Wi-Fi 8 gaming router. SA buyers should fix coverage and client limits before paying for a future wireless standard.
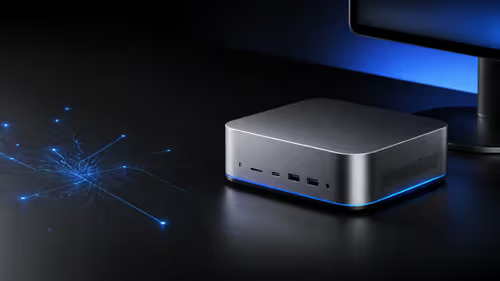
Apple's M6 Mac mini adds faster AI, graphics and networking in the same compact format. SA buyers should wait for a rand listing before comparing value.
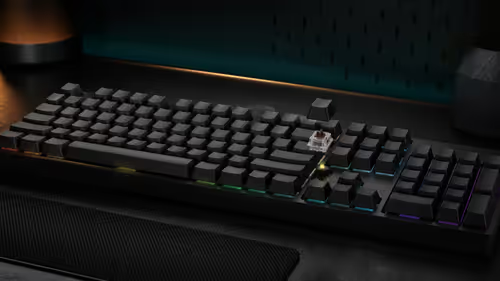
The Vulcan II XP adds hot-swappable switches, sound damping and gaming controls to a full-size wired board. SA buyers should compare feel before features.

Microsoft says Windows on Arm now has over 7,000 verified apps and games. SA buyers should still check each driver, game and work tool before switching.

Xbox Insiders can test disc-to-digital from 31 August 2026. Supported Xbox One and Series X discs gain a digital entitlement, but older discs, regions and title coverage still need exact checks.

ViewSonic's XG2738 pairs QHD QD-OLED with 240Hz and automatic panel care. SA buyers should compare warranty, brightness, ports and burn-in protection against today's R9,999-plus OLED shelf.

NVIDIA's final Windows 10 Game Ready driver is due in October 2026. SA gamers can keep using their GPU, but new game optimisations move on while critical security fixes continue quarterly.

JBL's new Quantum 520, 520X and 120 headsets cover wireless, Xbox-certified and wired use. SA buyers should compare connection, comfort and microphone needs before paying for a new badge.