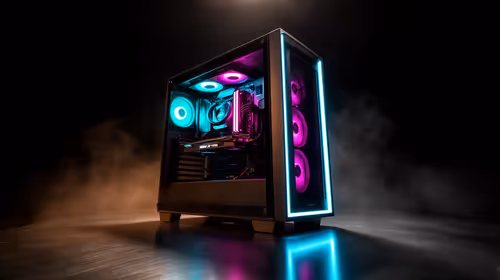
So, that shiny new Evetech box has arrived. Awesome! Inside is the heart of your PC's next evolution. Feeling that mix of pure excitement and a little bit of "where do I even start?"... We get it. But don't stress. To install an Evetech upgrade kit is way easier than it looks. This guide will walk you through every step, turning that box of potential into a high-performance gaming rig. Let's get building! 🚀
First Things First: What's in an Upgrade Kit?
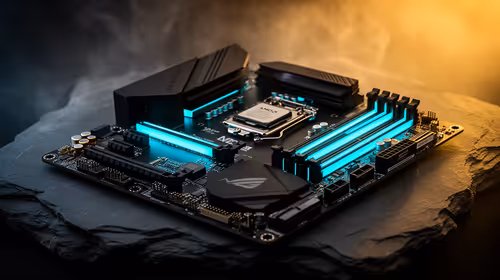
Before we get our hands dirty, let's quickly cover what you've got. An Evetech upgrade kit, often called a "barebones bundle," is a perfectly matched trio of core components:
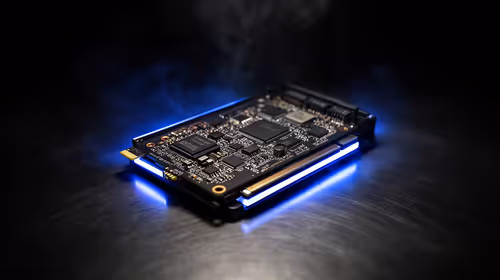
- Motherboard: The foundation of your PC where everything connects.
- CPU (Processor): The brain of the operation.
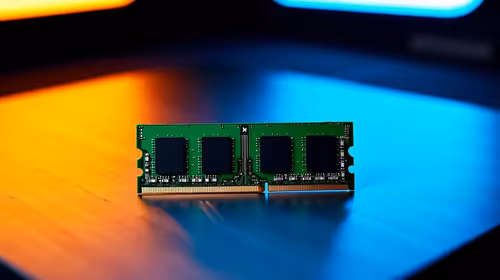
- RAM (Memory): The short-term memory for running games and apps.
The biggest advantage? We've already handled the compatibility checks for you. No more worrying if your CPU fits the motherboard socket or if the RAM is the right speed. This bundle is guaranteed to work together seamlessly.
Preparing to Install Your Evetech Upgrade Kit 🔧
A good installation starts with good preparation. You wouldn't start a braai without charcoal, right? Same principle applies here.
Your Toolkit
You don't need a massive workshop. Just grab these essentials:
- A Philips head screwdriver (preferably with a magnetic tip).
- Cable ties or velcro straps for tidy cable management.
- A clear, well-lit workspace. Your dining room table will do just fine.
- An anti-static wrist strap (highly recommended to protect your new parts from static electricity).
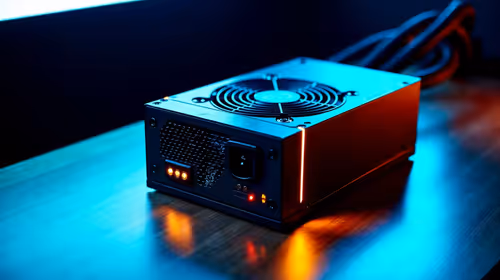
Before you begin, shut down your PC, switch off the power supply at the back, and unplug it from the wall. This is non-negotiable! It’s also a great time to back up any important data, just in case. Whether you've chosen one of our powerful Intel barebone kits or a Ryzen-powered alternative, the prep work is always the same.
The Main Event: Your Step-by-Step Installation Guide
Alright, it's go-time. Take a deep breath... this is the fun part. The goal of this Evetech upgrade kit installation is to replace your old motherboard, CPU, and RAM with the new bundle.
1. Open Up and Remove the Old Parts
Lay your PC case on its side and remove the side panel. First, unplug all the cables connected to your old motherboard: the main 24-pin power, the smaller CPU power cable (usually near the top left), your graphics card, and your storage drives. Once everything is disconnected, carefully unscrew the motherboard from the case standoffs and lift it out.
2. Install the New Heart of Your PC
Your new motherboard came with a shiny metal plate called an I/O shield. Pop that into the rectangular cutout at the back of your case first! Now, gently lower your new motherboard combo into the case, aligning the screw holes with the standoffs. Secure it with the screws, but don't overtighten them... just snug is perfect.
Front Panel Connector Tip ⚡
Those tiny little pins for the power button, reset switch, and LEDs can be a real pain. Check your motherboard's manual! It will have a clear diagram showing exactly where each one goes. Taking a quick photo of the old connections before you unplug them can also be a lifesaver.
3. Reconnect Everything
Now, work in reverse. Plug everything back into the new motherboard:
- Main 24-pin and CPU 8-pin power cables.
- Front panel connectors (using the tip above!).
- Re-install your graphics card into the top PCIe slot.
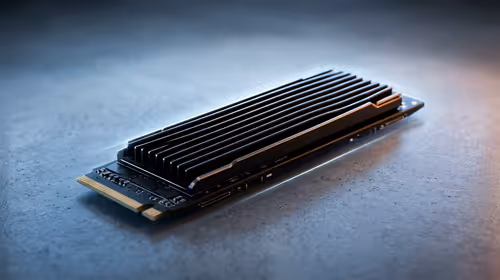
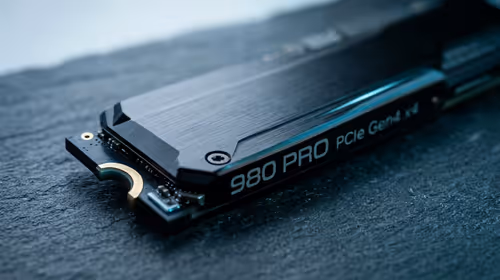
- Connect your SATA SSDs or HDDs.
- Plug in any case fans.
The performance uplift from our modern AMD barebone kits is often tied to fast memory, so ensuring everything is connected properly is key to unlocking that speed.
4. The First Boot... ✨
Close up the case, plug everything back in, and press the power button. If it lights up and you see a display, congratulations! You've successfully managed to install your Evetech upgrade kit. Your next step is to enter the BIOS (usually by pressing DEL or F2 on startup) and enable the XMP or EXPO profile. This ensures your RAM runs at its advertised top speed, which is crucial for getting the most out of the new CPU processors in your system. After that, install your drivers, and get back to gaming!
Ready to Unleash Your PC's True Power? The feeling of a successful DIY upgrade is unbeatable. Now that you know how it's done, the only thing left is choosing the perfect core for your machine. Explore our full range of PC Upgrade Kits and find the bundle that will dominate for years to come.