
RTX 5070 Ti 16GB for Video Editing and AI Workflows
RTX 5070 Ti 16GB for video editing powers faster renders and AI-assisted workflows, speed up Premiere and Resolve exports, and optimize inference. 🎬🤖
Read moreLearn how to overclock your PC for DeepSeek to unlock faster inference and training speeds. This guide provides safe, step-by-step instructions for overclocking your GPU and CPU, helping you maximize your hardware's potential for demanding AI workloads. Ready to boost your performance? 🚀 Let's dive in!

The new DeepSeek AI models are creating a huge buzz, but are you leaving performance on the table? Running these powerful tools on a stock-speed PC is like driving a supercar in first gear. To truly unlock its potential, you need to push your hardware further. This guide provides a safe, step-by-step process to overclock your PC for DeepSeek, giving you the raw power you need to stay ahead of the curve. Let's get started. 🚀
So, why bother with overclocking for an AI model? Unlike many everyday applications, AI workloads like DeepSeek are incredibly demanding. They push your computer's processor (CPU), graphics card (GPU), and memory (RAM) to their absolute limits. When you overclock your PC for DeepSeek, you're manually increasing the operational speed of these components beyond their factory settings.
This translates directly into tangible benefits:
Essentially, a solid overclocking strategy can be the difference between a sluggish AI experience and a lightning-fast one.
Before you dive into your PC's BIOS, hold on. A successful and safe overclock requires the right foundation. Pushing your components harder generates more heat and draws more power, so your system needs to be prepared.
Here’s what you need to check:
Keeping a close eye on your system's vitals is the most important part of overclocking. Use a tool like HWiNFO64 to monitor your CPU and GPU temperatures, clock speeds, and power draw in real-time. If your CPU temperature exceeds 90-95°C during a stress test, it's a clear sign to dial back your settings. Safety first!
Ready to get your hands dirty? We'll take this one component at a time. Remember to change only one setting at a time and test thoroughly for stability before moving on.
Before you change anything, run a benchmark like Cinebench (CPU) and a graphics benchmark. Note down your scores and your peak temperatures under load. This is your "before" picture, which you'll use to measure your success.
This is typically done in your computer’s BIOS/UEFI.
For the GPU, we'll use MSI Afterburner inside Windows. The process is similar for both NVIDIA and AMD cards, making it a great way to boost performance on everything from entry-level cards to the most powerful AMD Radeon gaming PCs.
Now for the fun part. It’s time to see how your AI performance guide paid off. Go back to the DeepSeek application or whatever AI tool you're using. Run the same tasks you did when you established your baseline.
Did the response time improve? Can it process your request faster? The difference might be a few seconds per query, but over hours of use, this adds up significantly. For professionals relying on these tools, that saved time is invaluable. If you need guaranteed, rock-solid performance for heavy AI workloads without the hassle of manual tuning, exploring purpose-built Workstation PCs is a fantastic option.
This hands-on approach of overclocking gives you a deeper understanding of your hardware and lets you extract every last drop of performance you paid for.
Ready to Build Your Ultimate AI Rig? Overclocking is rewarding, but starting with the right foundation is key. Whether you're upgrading or building from scratch, our state-of-the-art components give you the power to push the limits. Design your dream machine with the Evetech PC Builder and craft a PC perfectly tuned for AI and gaming.
Yes, overclocking your GPU and CPU can significantly improve performance for AI tasks. It increases processing speeds, reducing the time needed for training and inference.
Follow a safe overclocking guide for your PC. Start with small, incremental increases to clock speeds and voltage, using stress-testing software to ensure stability after each change.
For most LLMs like DeepSeek, GPU overclocking provides the biggest performance boost. These tasks are heavily reliant on the GPU's parallel processing capabilities.
There is a risk. Excessive voltage or inadequate cooling can damage components. Following our guide helps you manage thermals and voltages to minimize these risks.
Popular tools like MSI Afterburner or EVGA Precision X1 are excellent for overclocking your GPU. They allow you to easily adjust clock speeds, voltage, and fan curves.
Absolutely. Increasing VRAM speed is a key part of GPU overclocking. It allows the model's data to be accessed more quickly, reducing bottlenecks and improving throughput.
Performance gains typically range from 5% to 15%, depending on your specific hardware, cooling solution, and the overall stability of your final overclock settings.
RTX 5070 Ti 16GB for video editing powers faster renders and AI-assisted workflows, speed up Premiere and Resolve exports, and optimize inference. 🎬🤖
Read more
- Assess longevity - Embrace scalable AI - Plan upgrade paths AI upscaling for gaming boosts visuals and FPS while extending GPU life, helping you future-proof your rig with smart upgrades ⚡🎮
Read more
RTX 5060 Ti for AI workflows delivers cost-effective tensor performance to accelerate training, inference, and data prep. Learn tuning tips, memory/driver setup, and benchmark gains to boost daily AI productivity. ⚡️💡
Read more
RX 9060 XT for machine learning: Explore whether the RX 9060 XT can handle local AI and ML tasks, plus practical tips, benchmarks, and configuration advice. ✅🔧
Read more
AI NAS combines storage and on-device AI by adding a neural processing unit (NPU). Learn how an AI NAS speeds inference, secures data, and boosts backups. 🤖💾
Read more
Edge computing smart home setups reduce latency, boost privacy, and enable on-device AI for future-proof automation and security. Learn hardware picks and upgrade tips. 🔒🤖
Read more
Discover webcams that automatically adjust light and color for crystal-clear video calls 🎥✨. Boost your streaming quality today!
Read more
Discover webcams that blend into your workflow 🎯 Capture moments while you work, stream, or create. Upgrade your setup with smart, multitasking tech!
Read more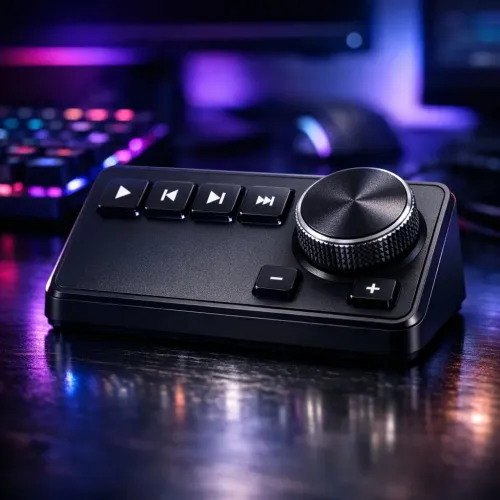
Dedicated media keys give streamers one-touch control to mute, switch scenes, clip highlights, and adjust audio — cutting task time and boosting consistency 🎛️⚡
Read more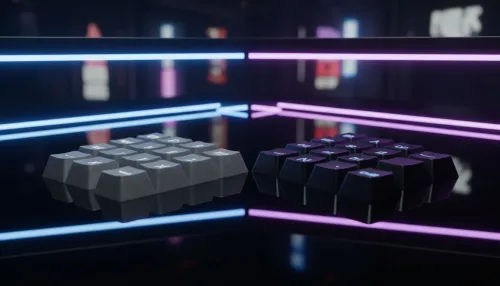
PBT vs ABS keycaps: Clear, local guide for South African gamers—compare feel, sound, durability and where to buy. Find the best material for your budget and playstyle 🎮🇿🇦
Read more
- Multi-Function Digital Dial: define benefits - Show gamer setups and macros - Offer buying and setup tips Multi-Function Digital Dial puts programmable control at your fingertips for faster actions and smoother streaming. 🎮⚙️
Read more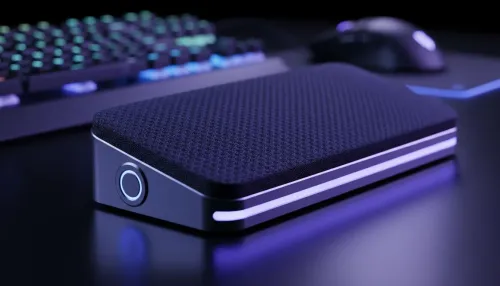
- Explain benefits; - Show the science; - Compare options; - Recommend picks. Magnetic wrist rest for gaming cuts wrist strain and boosts comfort during long sessions 🕹️✨
Read more