Building a first PC and fitting braided extensions for the first time in the same afternoon is entirely manageable, provided the job is worked through in a fixed order rather than approached lead by lead as the mood strikes. A plan from shutdown to final inspection removes most of the guesswork.
Quick Answer
Fit braided extensions in order, working one lead at a time from the board outward. Shut down, unplug at the wall and take both panels off first. Route, seat, then comb, and inspect before the panels go back.
🔌 Before touching anything
Shut the machine down properly and unplug it at the wall, then let it sit for a moment before starting. Take both side panels off before doing anything else, since reaching the motherboard tray and routing cable behind it needs access from both sides of the case, not just the one facing you.
🎯 Which lead to tackle first
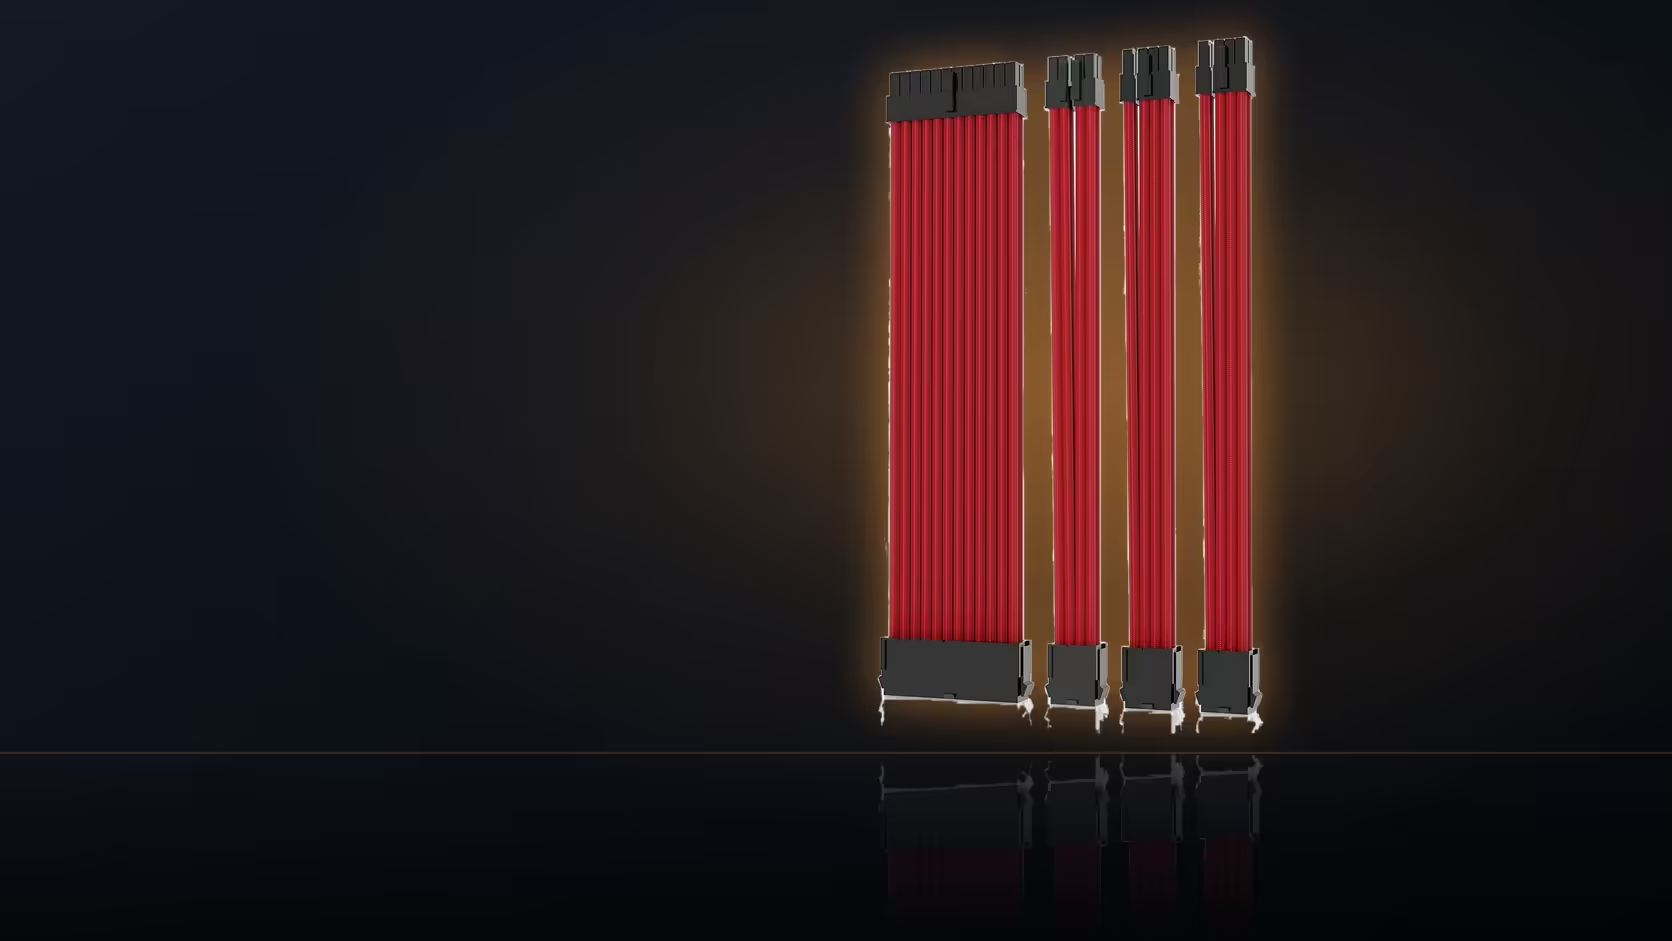
Start with the board lead - the 24-pin ATX extension. It is the widest and generally the most awkward of the four pieces to route cleanly, and getting it settled first makes the remaining three considerably easier, since the main routing space and grommet positions are already sorted out by the time you reach them.
🔩 Confirming a connector is properly seated
Push each connector until it stops moving entirely and the housing sits flush against the socket. A lead that still rocks slightly under light pressure has not fully seated and needs another firm push - this is worth checking deliberately on every single connector rather than assuming a satisfying click means the job is done.
🧵 When the combs go on
Combs go on last on each individual run, only once that lead's cable is fully routed and shaped into its final curve. Fitting combs earlier locks in a shape before you have actually settled where the cable should sit, which is the same ordering mistake that produces an untidy result on any one of these extensions.
✅ What the final inspection needs to cover
Give yourself proper light and a few unhurried minutes for this step rather than rushing straight to closing the panels once the last cable is combed - most of the mistakes an inspection catches are only visible when you are actually looking for them rather than admiring the finished routing, and a five-minute check now is a great deal cheaper in time and frustration than a second teardown a week later. Before closing everything up, check every plug sits flush and fully seated, confirm no lead is resting against a fan blade or touching anything that spins, make sure the junctions between factory leads and extensions are tucked away out of sight, and test that both panels close fully without pressing against a bundled cable anywhere. It is entirely normal for a first attempt to need adjusting - routing frequently looks fine with the panel off and only reveals a problem once everything is closed up, which is exactly why the inspection step matters more than working through the job quickly. If the machine does not power on afterwards, open the case back up and recheck every connector individually rather than guessing at the cause - an unseated board or processor lead is by far the most likely culprit after any cable work. This kit's wider range lives at cable solutions, and it is worth knowing what a fully custom alternative from individually sleeved premium cables would cost for whatever build comes after this first one.
Frequently Asked Questions
What comes first before touching anything?
Shut the machine down and unplug it at the wall, then let it stand a moment. Both side panels come off next so the tray is reachable.
Which lead should be tackled first?
The board lead, because it is the widest and the most awkward to route. Everything else is easier once that run has found its path.
How do I know a connector is fully seated?
Push until it stops moving and the housing sits flush. A lead that still rocks slightly has not gone home and needs another firm press.
At what point do the combs go on?
Last on each run, once the cable is routed and shaped. Fitting them earlier locks a curve before you have settled where it should sit.
What should the final inspection cover?
Every plug seated flush, no lead touching a fan, the junctions tucked away, and both panels able to close without pressing on anything.
Is it normal for the first attempt to need redoing?
Common enough. Routing often looks right until the panel goes on, which is why the inspection step matters more than working quickly.
What if something does not power on afterwards?
Open up and recheck each connector rather than guessing. An unseated board or processor lead is by far the likeliest cause.
Fitting sleeved cables on your very first build?
Browse Evetech's power supply range and work through the install one lead at a time, starting with the board cable.