Fitting order matters more than it seems whenever a product arrives with its own control box. On the Aurora Learn cable cover, doing things in the wrong sequence genuinely means undoing work you have already finished, so deciding where the controller lives before the shell goes on is worth the two minutes it takes.
Quick Answer
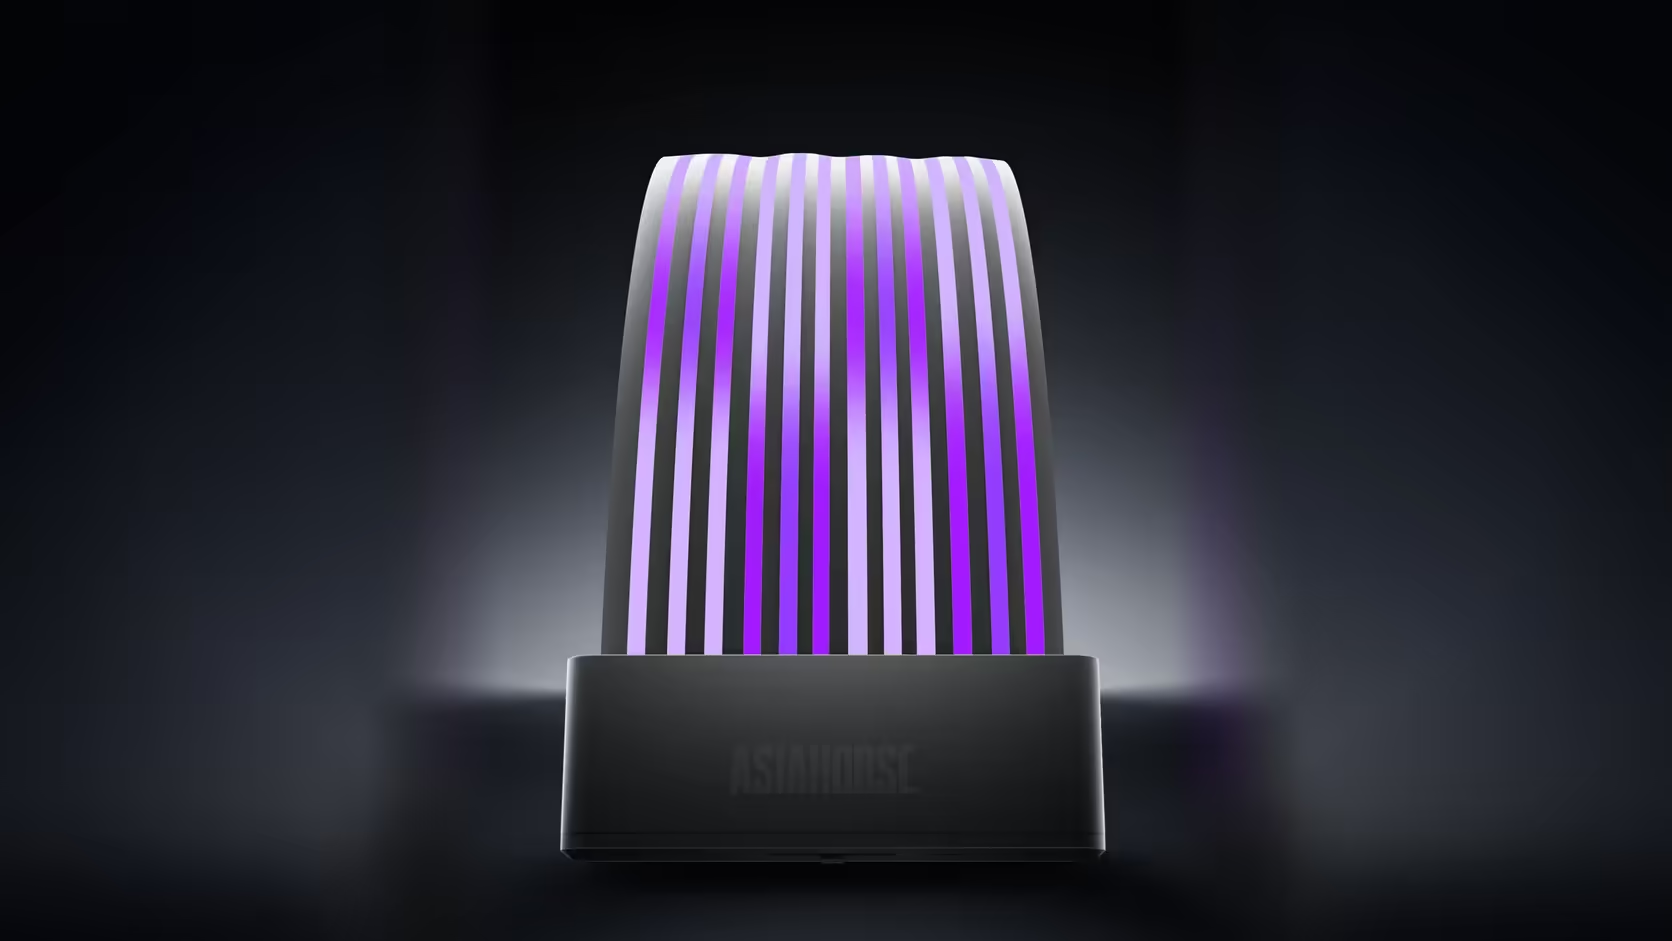
Choose a home for the Aurora Learn controller before clipping the R599 cover into place, because the controller needs SATA power and a lead running back to the shell, making it a physical box to position rather than just an abstract connection. Fitting the cover first often means having to unclip it again once the controller's position turns out to be wrong. Settling the controller's spot first is the simpler order to work in.
🧭 What the controller's position actually depends on
A reachable SATA connector
The controller needs a SATA connector within reach of wherever it ends up, drawn from your power supply's available leads, so its position is partly decided by where that connector already sits.
A workable path to the cover
A lead of fixed length runs from the controller to the shell, so the controller cannot simply go wherever is convenient behind the tray; it has to be within that lead's reach of wherever the cover ends up.
Somewhere it can be secured
A controller left loose behind the tray can rattle or work its connections loose over time, so somewhere it can be fixed down, even loosely, is worth choosing over just tucking it into a gap.
🛠️ Why settling this first avoids rework
The lead between controller and cover has a fixed length, and a cover fitted first can leave the controller stranded further away than that lead will reach. Working out the controller's home first, then routing the cover's fitting around it, is the order that avoids having to unclip a shell that was already in place.
📶 Does the remote change where the controller can go?
A handheld remote generally needs a path to its receiver, so burying the controller too deeply behind the tray is worth avoiding even where space allows it, since that can affect how reliably the remote reaches it once the case lighting elsewhere in the build is also finished.
🗺️ A simple order to work through
Confirm the SATA connector first
Before anything else is decided, find the actual free connector on your supply and treat that as a fixed point, since everything else about the controller's position follows from there.
Dry-fit the cover without clipping it shut
Holding the shell loosely in position, without committing the clips, lets you check the lead reaches the chosen controller spot before anything is permanently closed.
Only then tie the leads down
Once both the cover's position and the controller's home are confirmed to work together, securing the cables and finally clipping the shell shut is the last step rather than the first.
🧯 A quick sanity check before the final clip
Before closing the shell for good, gently tug the lead running to the controller to confirm it has genuine slack rather than sitting taut, since a lead under tension from day one is more likely to work loose or strain a connector over months of normal case handling.
🔁 What this saves compared with fitting the cover first
Skipping straight to clipping the cover on, then discovering the controller has nowhere workable to sit, typically means unclipping a shell that just went on, moving the controller, and refitting the cover a second time. Working through the order above the first time round avoids that entirely.
Frequently Asked Questions
What does the controller need positioned around it?
A reachable SATA connector, a workable path to the cover, and somewhere it can be secured so it does not shift or rattle loose.
Where do most builds end up placing it?
Behind the motherboard tray, where the SATA lead already runs and the box stays out of sight from any side window.
Why decide this before fitting the cover?
Because the lead between them is a fixed length, and a cover fitted first can leave the controller stranded too far from it.
Does the remote need a clear line to the controller?
A handheld remote generally does, which is worth confirming before tucking the controller too deeply out of reach.
Is securing the controller worth the extra step?
Yes, securing it stops movement during transport and keeps its two connections from gradually working loose over time.
What if the tray space is genuinely too tight?
The basement area beside the power supply is an alternative, provided the lead still reaches the cover from that position.
Does switching to board sync change where it should go?
The controller stays in the circuit either way, so its position matters whether you are running the remote or board sync.
Planning an Aurora Learn install from scratch?
Check Evetech's power supply and case lighting ranges before deciding where the controller will sit.