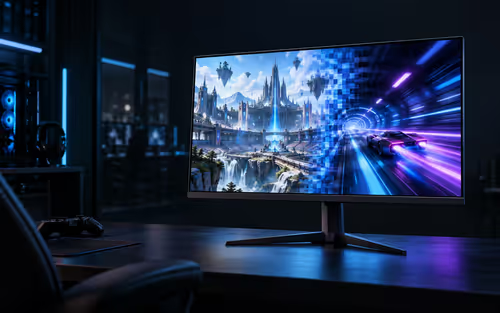
When a 240Hz monitor upgrade leaves you staring at a no-signal message, the calm move is to walk the signal path one link at a time instead of swapping parts.
Quick Answer
Start at the GPU ports, use a cable rated for the panel (a 240Hz panel needs DisplayPort 1.4 or HDMI 2.1), and pick the matching input on the monitor menu. If that fails, reseat the card, check the 8-pin and 12VHPWR power, then reinstall the driver and run Windows Detect. Worth restating for this exact case, since the details rarely transfer cleanly.
Isolate cable, port, and panel
Test one monitor, one cable, one GPU output before adding anything back. If a second screen lights on the same port, the original panel or its cable is the suspect; if no screen works on that port but another port is fine, the output or its driver is the issue. Multi-monitor setups hide the fault, so simplify to a single chain while diagnosing. That single discipline is what separates a tidy a 240Hz monitor upgrade build from a frustrating one.
Set BIOS display priority correctly
Enter BIOS and look for primary display, initial display output, or integrated graphics options. On platforms with CPU graphics the board may default to the wrong source, so set PCIe or the dedicated GPU as primary, save, and reboot. Change only the settings you understand so a failed test never creates a second fault you then have to unwind. Applied to a 240Hz monitor upgrade, the difference shows up within a single test session.
Walk the physical signal path first
Power the monitor off at the wall for ten seconds, then back on, and select the input manually because auto-detect often lands on the wrong source after a hardware change. Move the cable to a second port on the graphics card and try a known-good cable; a R900 HDMI lead that handled 1080p60 can choke once you push higher resolution or refresh. If the system has a dedicated card, ignore the motherboard outputs entirely until you have proven the GPU path. For a 240Hz monitor upgrade, write the result down so you never repeat a passed test.
FAQ
Should I clear CMOS before replacing parts?
Clearing CMOS is a low-risk reset that wipes bad display or overclock settings. Power down, pull the plug, use the clear jumper or pull the battery for a minute, then retest with stock settings. It resolves many no-detect cases without spending a cent. For a 240Hz monitor upgrade, the right call now saves a return and a wasted weekend.
Will reseating the RAM help a no-display fault?
Sometimes. A poorly seated stick can stop a system from posting, which looks identical to no display. Try one stick in the first slot, confirm a POST image, then add the rest. Pair that with a GPU reseat for the fastest path to a stable baseline. Most a 240Hz monitor upgrade questions in SA come down to exactly this point.
Does a 240Hz monitor upgrade need a special cable for the GPU?
Match the cable to what you are driving. For 1440p at 144Hz or any 240Hz panel, use DisplayPort 1.4 or HDMI 2.1; an older HDMI lead can train down to 60Hz or drop the signal. A quality cable runs around R450 to R1,200 and is far cheaper than the parts people swap by mistake. On a 240Hz monitor upgrade, a calm second test beats a panicked parts order every time.
Buy for the resolution your GPU can drive After the signal path is stable, shortlist Evetech panels that match your card so you pay for refresh and resolution you will actually see, not headline numbers. That stays true here even when a similar guide suggests otherwise.