Swapping four components at once and testing at the end is a recipe for a fault report with four equally plausible causes. When a build has several lighting branches running from one hub or board, isolate one branch before changing anything, because a single run has far fewer variables than the whole installation connected at once.
Quick Answer
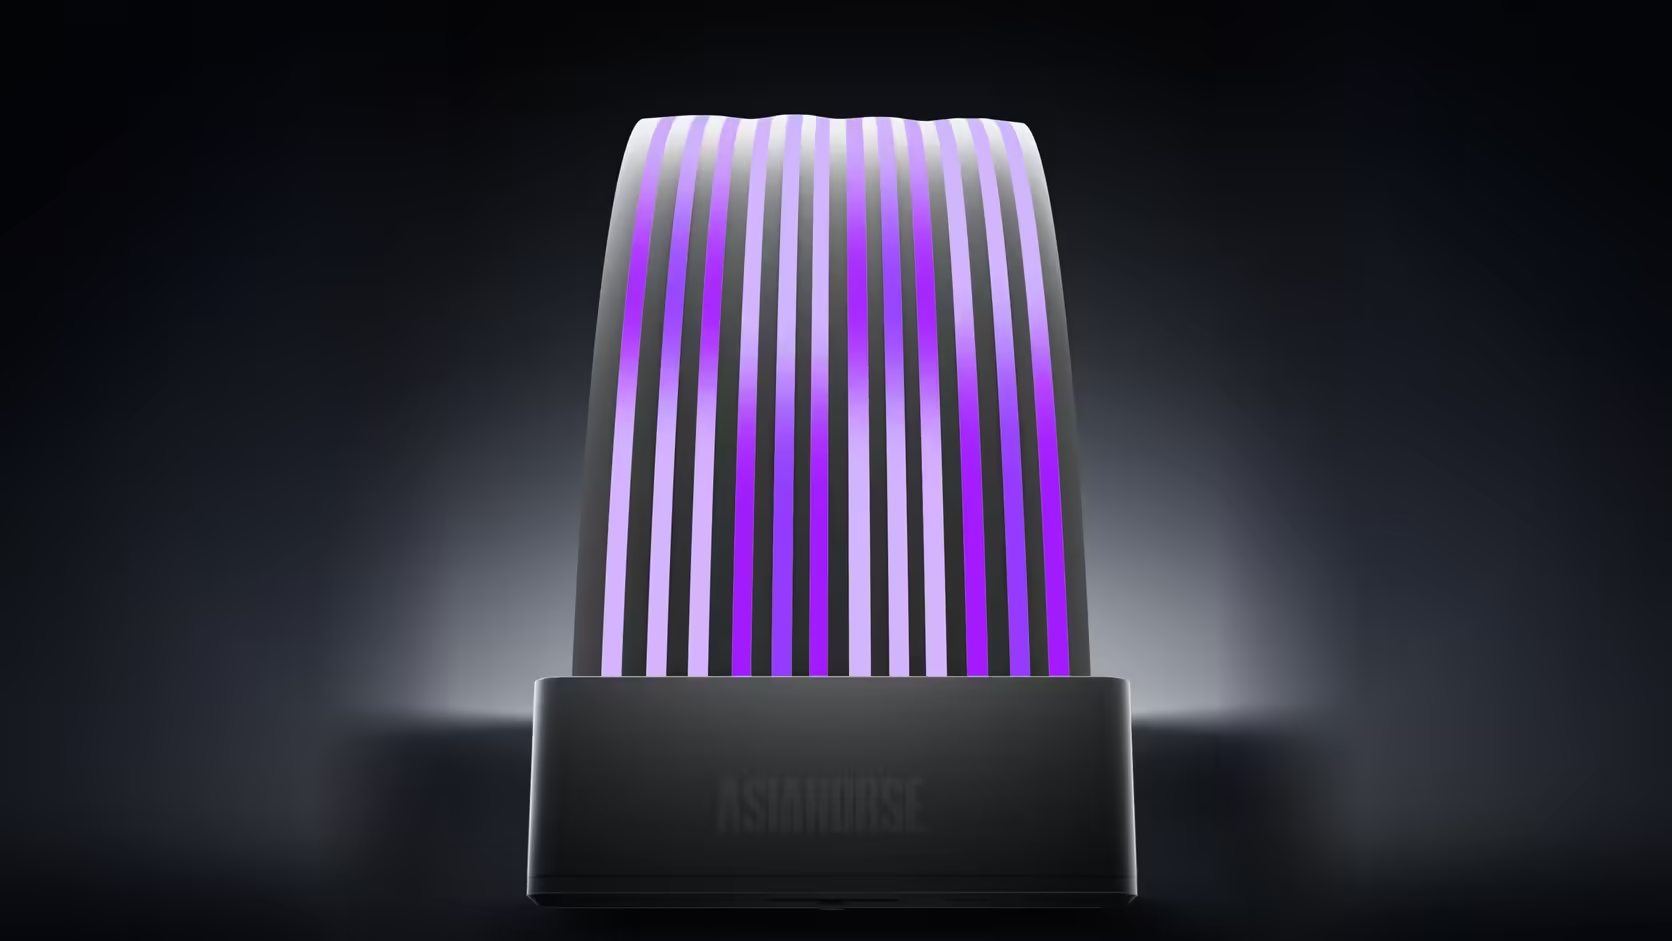
Disconnect every branch except the one under investigation before swapping any component. A build with everything connected means a fault could be coming from anywhere in the installation, while an isolated single branch narrows the search to whatever sits on that one run. The AsiaHorse ASH-S1, priced at R349, is what makes this practical, since each of its nine ports can be disconnected individually without disturbing the rest of the build.
🔌 Why isolation removes the guesswork
A fault on one lighting branch can sometimes affect what appears on another - shared power draw, a marginal connection elsewhere pulling voltage, or software behaving unexpectedly across multiple headers - which means testing with everything connected leaves genuine ambiguity about where a problem actually originates. Reducing the installation down to a single branch removes that uncertainty entirely: whatever you see is coming from that branch alone, nothing else.
The hub makes this straightforward
With nine separate 5V three-pin ARGB ports and nine 4-pin PWM fan ports, each branch running from the ASH-S1 can be unplugged individually at the hub itself, rather than requiring you to trace cables back through a crowded case to find where one branch ends and another begins.
🧪 What to test once a branch is isolated
Confirm two things on the isolated branch: whether every device connected to it actually lights, and whether the effect or pattern behaves as expected along its full length. Only once both of these have been checked on a single, controlled branch does it make sense to start swapping individual components, since any change now has a clear before-and-after result to compare against.
🔋 Rule out capacity before blaming any one device
A hub has a rated limit, and it is worth knowing that number before assuming an isolated fault is a bad device rather than a shared resource running short. The ASH-S1 is rated for up to 377 LEDs across its nine 5V three-pin ARGB ports combined, and a build running close to that ceiling can show dimming or flicker that looks like a single-branch fault but is actually the whole hub under load. Isolating one branch at a time, as above, also happens to be the fastest way to notice this, since a device that behaves perfectly alone but misbehaves once several other branches are reconnected is telling you it is a capacity issue rather than a fault with that specific part.
The hub's own remote is a useful isolation tool in its own right, separate from the branch-by-branch approach. Because the ASH-S1 runs in remote, auto-temp or motherboard-sync mode, switching to remote control for a test takes the motherboard's own lighting software out of the picture entirely - if a branch behaves correctly under the remote's 20 built-in presets but not under board software, the fault sits with the software path rather than the branch itself, which is a distinction worth settling before any hardware gets swapped.
📝 Keep track as you go
A sequence of tests across several branches is genuinely easy to lose track of once more than two or three have been tried, so noting down which branch was isolated, what was tested, and what result it gave is worth the minute it takes. This record becomes especially useful if a support conversation is needed later, since it demonstrates exactly what has already been ruled out.
If the fault disappears once isolated
A fault that vanishes the moment a branch is isolated points toward capacity or interaction between branches rather than a single faulty device - worth checking against the hub or header's rated limit rather than assuming any one component is at fault. Cable routing for keeping isolated branches physically separate during testing is available in the cable solutions range.
Frequently Asked Questions
Why isolate a branch before testing anything?
Because a fault on one branch can sometimes affect what appears on another, so reducing the installation to a single run removes that uncertainty entirely.
How is a branch actually isolated?
By disconnecting the others at the relevant header or hub port, leaving only the branch under investigation connected to the system.
Does a hub make this process easier?
Considerably - nine separate ports on the ASH-S1 mean each branch can be unplugged individually without disturbing anything else in the build.
What should be tested once a branch is isolated?
Whether every device on that branch lights correctly, and whether the pattern or effect behaves as expected along its full length.
At what point should components actually be swapped?
Only once a branch is isolated and the fault is reproducible on it, so any change made has a clear before-and-after comparison.
Is it worth recording the results of each test?
Yes - a sequence of tests across multiple branches is easy to lose track of, and a written record helps if support is contacted later.
What does it mean if the fault disappears once isolated?
That points toward capacity or interaction between branches rather than one specific device, and is worth checking against the hub's rated port limit.
Tracking down a fault across several lighting branches?
Browse hubs and mounting hardware in the case accessories category, plus routing gear in the cable solutions range to keep each branch separate.