



Fix Monitor stuck at 60Hz checks on DDR5 build
Monitor stuck at 60Hz on DDR5 build needs careful display-chain checks, not a single-part blame. Test the screen, cable, port, scaling, drivers, and setup context before replacing hardware.
Read moreMark which processor extension serves which socket before either goes near the cooler. Both leads are identical and the corner is cramped. A moment with tape now saves tracing a lead by sight behind a fitted tower cooler.
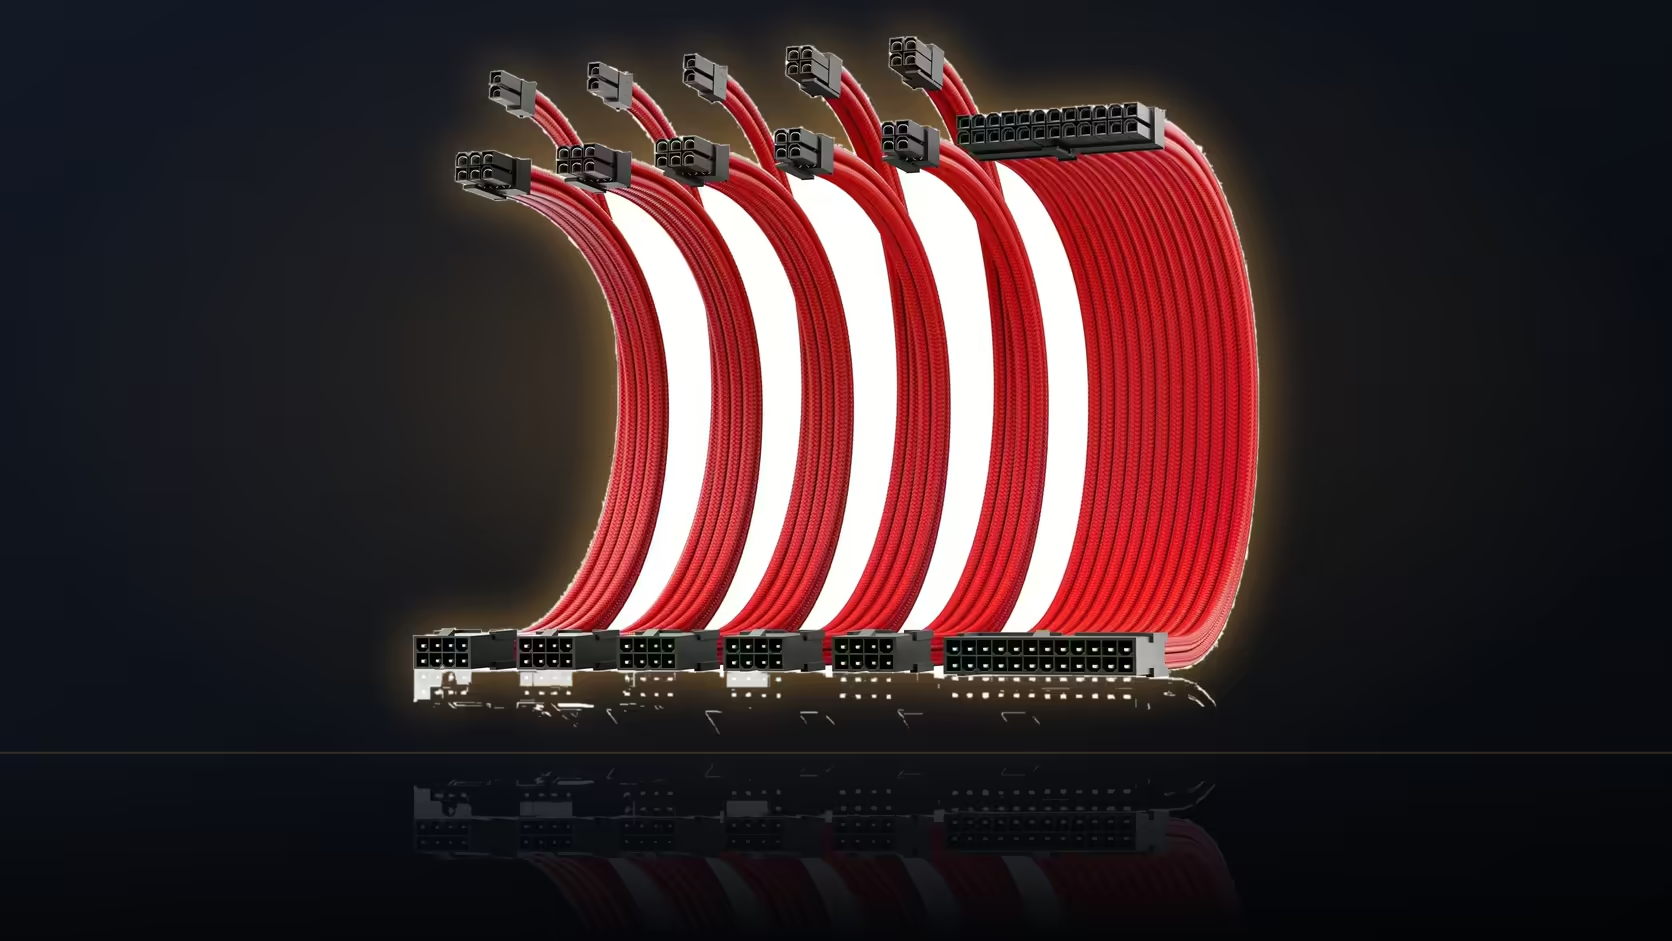
Two identical processor extensions are trivially easy to tell apart while they sit loose on a workbench. Fit both near a tall cooler, and that easy identification disappears entirely the moment one needs attention again.
Mark which processor extension serves which socket before either goes near the cooler. Both leads are identical and the corner is cramped. A moment with tape now saves tracing a lead by sight behind a fitted tower cooler.
The two EPS extensions in this kit are genuinely identical pieces, which is exactly why labelling them feels unnecessary at first - but they stop being functionally interchangeable the moment each is fitted to a specific socket and routed into its final position. Once fitted, knowing precisely which is which becomes important the day one needs reseating, troubleshooting, or removing entirely, and by that point a large cooler may be sitting directly over the corner where both plugs live, making visual identification genuinely difficult.
The label does not need to be elaborate - simply noting which socket a given lead serves is enough information to settle any future question without needing to trace the cable by hand. A short flag of tape positioned near the junction end, where it stays hidden from the window once the build is finished, does this job perfectly well without compromising the finished sleeved look at all.
Do the labelling before either lead goes anywhere near the board, while both pieces are still loose in your hands and telling them apart is completely trivial. Waiting until after fitting means working backward from a position where identification has already become the hard part - label first, and the whole problem is avoided entirely rather than solved after the fact.
A large tower cooler can genuinely shade the entire processor socket area from directly above, leaving only a narrow approach from the side and almost no clear view of the plugs themselves once the cooler is mounted. If the cooler in question is particularly large and the sockets are already awkwardly placed, fitting both leads before the cooler goes on is considerably easier than trying to work around a fully assembled tower afterwards - sequence the build with that in mind if the option is available to you.
If a lead somehow ends up fitted without a label, follow it by hand from the junction end rather than trying to trace it visually - tracing at the tray side, where there is more room to work, is considerably easier than attempting to see clearly behind a fitted cooler. This particular identification problem is largely specific to the processor corner too: it applies far less to the card leads, since graphics card sockets are usually fully visible once the card is installed, making this cramped top-of-board area the one place identification genuinely becomes a real difficulty. The category this piece sits in is at cable solutions, and a particularly tall cooler that defeats a standard extension is a case for individually sleeved premium cables instead.
A quick photo of each labelled lead before it disappears behind a cooler, saved to a phone, is a second layer of insurance beyond the tape itself - useful the day a label peels off or fades and the physical marker is no longer legible, months or years after the original build session is a distant memory.
Because they stop being interchangeable once fitted. Knowing which is which matters when one needs reseating behind a fitted cooler.
Which socket it serves is enough. A short tape flag near the junction end, where it stays hidden, does the job without spoiling the run.
Before the leads go anywhere near the board, while both are still loose in your hands and telling them apart is trivial.
It can shade the whole socket area from above, leaving a narrow approach from the side and almost no view of the plugs.
If it is a large tower and the sockets are awkward, fitting the leads before the cooler is far easier than working around it afterwards.
Follow it by hand from the junction rather than by eye. Tracing at the tray side is easier than trying to see behind the cooler.
Less so, since those sockets are usually visible. The processor corner is the one place identification genuinely becomes difficult.
Fitting dual processor leads around a tall cooler? See Evetech's power supply range and label each lead before the cooler goes anywhere near the socket.
Because they stop being interchangeable once fitted. Knowing which is which matters when one needs reseating behind a fitted cooler.
Which socket it serves is enough. A short tape flag near the junction end, where it stays hidden, does the job without spoiling the run.
Before the leads go anywhere near the board, while both are still loose in your hands and telling them apart is trivial.
It can shade the whole socket area from above, leaving a narrow approach from the side and almost no view of the plugs.
If it is a large tower and the sockets are awkward, fitting the leads before the cooler is far easier than working around it afterwards.
Follow it by hand from the junction rather than by eye. Tracing at the tray side is easier than trying to see behind the cooler.
Less so, since those sockets are usually visible. The processor corner is the one place identification genuinely becomes difficult.
Monitor stuck at 60Hz on DDR5 build needs careful display-chain checks, not a single-part blame. Test the screen, cable, port, scaling, drivers, and setup context before replacing hardware.
Read more
Recommended build for Genshin Impact at R60 000 should justify the spend with high-end parts that help beyond one title. SA buyers should prioritise GPU headroom, large SSD space, reliable power and quiet cooling for long-term use.
Read more
Atomic Heart stuttering on RX 9070 XT points to frame pacing, driver, or settings issues first. Check display mode, shader cache, overlays, background load, and thermals before replacing parts.
Read more
Cell C Fibre Polokwane packet loss can come from Wi-Fi, drivers, router settings, Ethernet, line faults, or game-server routing. Start with local checks before replacing parts or escalating support.
Read more
University of Cape Town residence: compact should be shortlisted around the job it must do. South African buyers should compare wattage, efficiency, protection, and connector support, warranty path, and upgrade room before treating any pick as best.
Read more
Setting up a running local LLMs rig in Hermanus should be shortlisted around the job it must do. South African buyers should compare fit, performance, compatibility, and upgrade room, warranty path, and upgrade room before treating any pick as best.
Read more
Windows 11 spatial sound greyed out needs an output-device check before a headset purchase. Select the intended playback device and look for Windows Sonic for Headphones. Speaker, HDMI and headphone routes can expose different spatial sound options.
DisplayPort 2.1 vs DisplayPort 1.4 for aAA single-player gaming Difference explained is mostly about compatibility, budget, upgrade path, and setup fit. SA buyers should check device support and real needs before expecting a clear win from either.
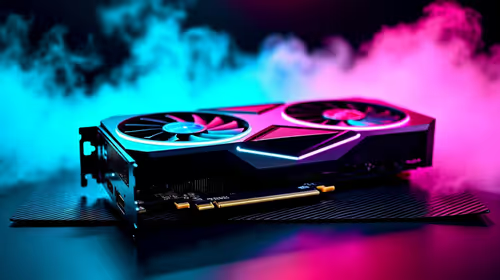
RTX 4080 too expensive? Cheaper SA alternatives should solve the exact workload without overbuying. Compare nearby options by GPU tier, VRAM, cooling, and PSU headroom, local warranty path, and total build balance before moving to a product page.
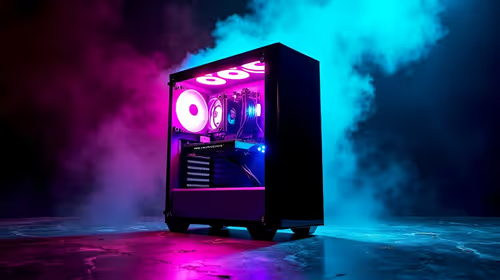
Recommended build for Hollow Knight Silksong at R100 000 SA buyer's guide frames a dream-class PC around more than one game. Balance flagship graphics, premium CPU, 32GB or more RAM, fast SSDs, quiet cooling and power quality.

Windows 11 Ethernet unidentified network needs a cable, router and PC comparison before a reset. Test a second device and run the network troubleshooter. Save adapter drivers and custom settings before using network reset as the final step.
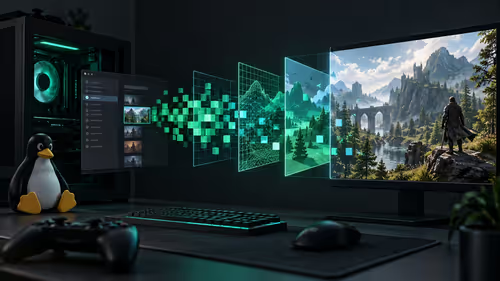
Steam processing Vulkan shaders is graphics preparation rather than a normal game download. On Linux, compare progress and repeat launches before deleting caches. A driver or game change can alter the work, so gather evidence before paying for a new GPU.

Steam discounts and events are moving towards personalised recommendations in early 2027. A firm start date is still pending. The change concerns promotional visibility, so compare the actual rand price and game requirements before making a purchase.
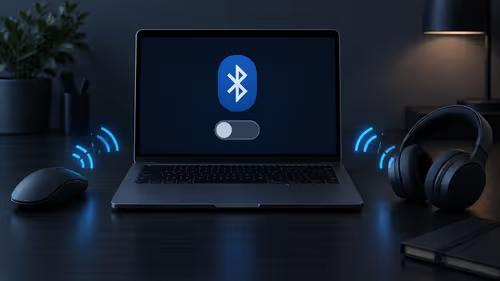
Windows 11 Bluetooth toggle missing can mean the radio is not being detected or enabled. Start with a complete power-off, then check the adapter and drivers. Pairing a new mouse cannot repair an absent Bluetooth control, so isolate the PC first.
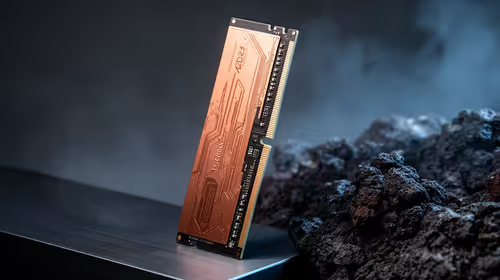
DDR5-6000 and AM5 Builds can affect SA PC builder decisions through cost, compatibility, stability, cooling, or upgrade planning. Use it as cautious context, not a fixed rule for every build.
Where Johannesburg gamers buy a AIO liquid should be shortlisted around the job it must do. South African buyers should compare airflow, clearance, noise, and upgrade room, warranty path, and upgrade room before treating any pick as best.

Steam Deck can fit Kimberley gamers who want portable PC-style play without a full desk setup. SA buyers should compare game compatibility, storage, battery life, screen comfort, and docking needs before choosing.
Sandton RTX 5070 buyers should focus on GPU variant, monitor fit, cooling, and warranty cover. Compare power needs, case clearance, CPU balance, and SA delivery terms before choosing a card or complete desktop.