Cardboard and imagination only get a vertical-mount build so far. At some point, the only way to know whether a riser cable route actually works is to hold the graphics card where it is going to live and look at what stands in its way.
Quick Answer
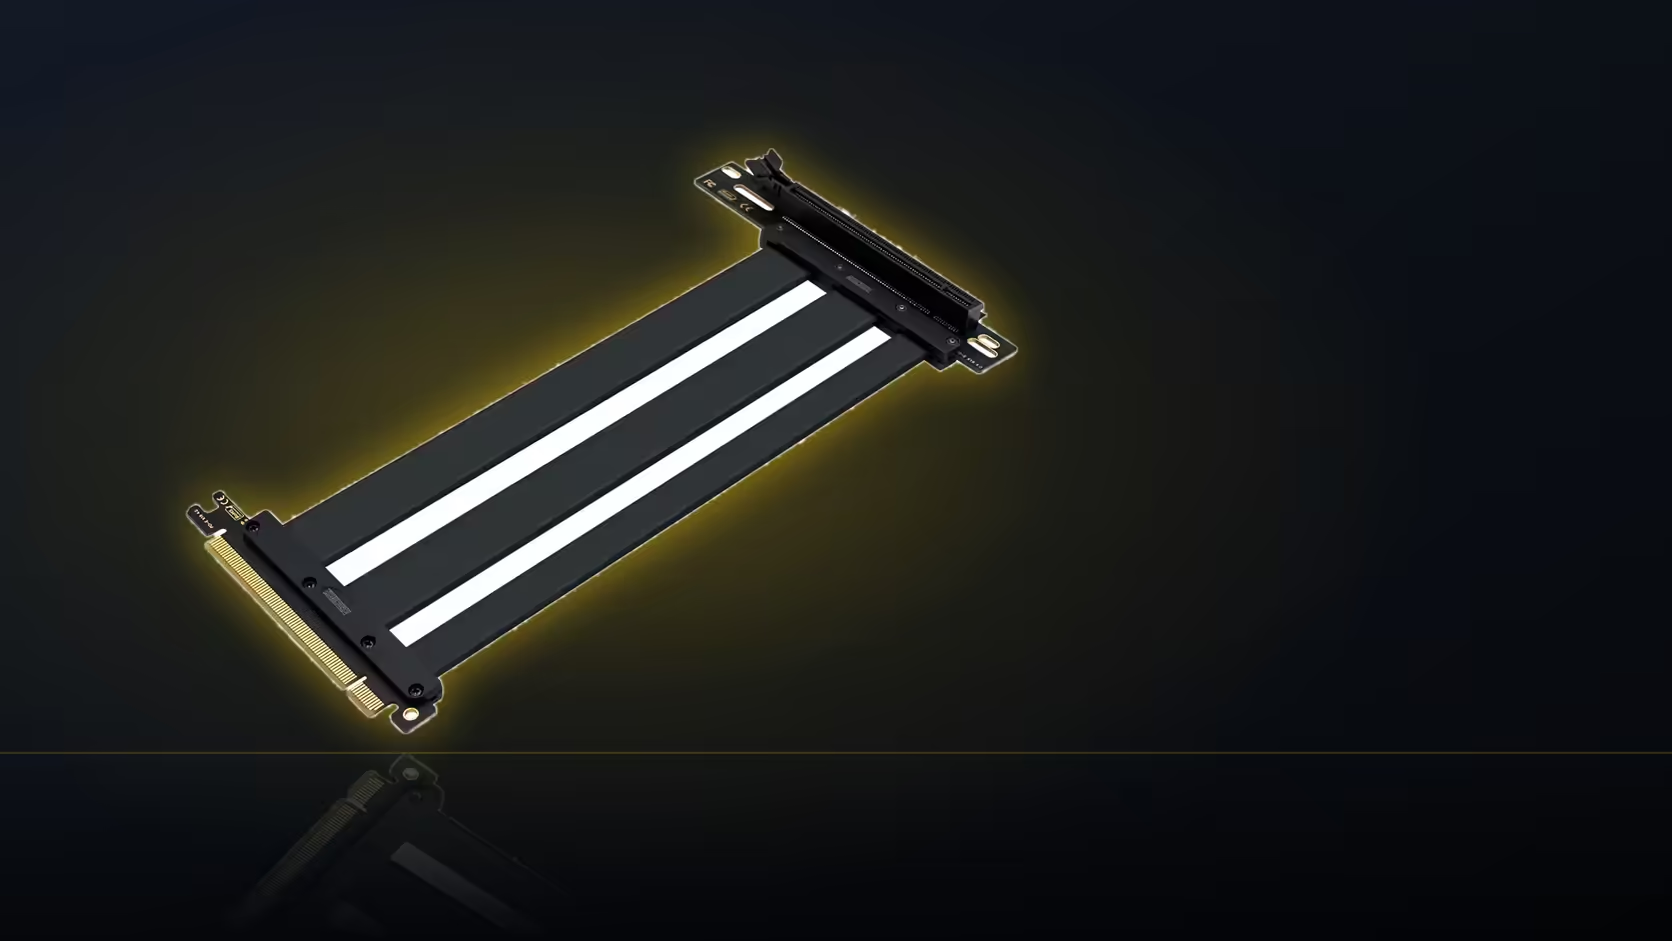
Physically mock up the card's intended vertical position before deciding where the AsiaHorse riser's ribbon will run. At R1,299 including VAT, the cable is cheap enough that guessing wrong is a minor cost, but the time lost fitting and refitting it is not, and a quick mock-up avoids most of that.
🧱 Why a mock-up beats a plan on paper
A graphics card is a bulky object, and bulk changes what is physically possible in ways that are hard to picture accurately without the card in your hands. Its cooler shroud, its fans, and the thickness of the whole assembly all compete for space with whatever else lives near the bracket position, and none of that is obvious from a case's spec sheet or a rough sketch of where things should go.
Holding the card in position, even loosely propped rather than fully secured, reveals how much room is actually left around it. That is the information a mock-up gives you that no amount of measuring the case alone can replicate.
What the mock-up should show
Three things matter most once the card is roughly in place. First, exactly where its connector sits, since that is the point the riser's ribbon has to reach. Second, how much clear space remains beside the card for the ribbon to pass without being pinched or forced into a tight bend. Third, where the ribbon can actually exit that space cleanly, whether that is behind the card, beneath it, or along one edge.
🔧 Does the bracket need to be fitted first?
It helps, since the bracket is what fixes the card's final position and any mock-up done before that is fitted is necessarily approximate. That said, holding the card roughly in place without a fully fitted bracket is still useful for a first look, particularly for ruling out routes that clearly will not work regardless of the exact final position.
If a bracket is already available, fitting it before the mock-up gives a far more accurate picture, and is worth the extra ten minutes it takes.
🚧 What usually gets in the way
A few things come up repeatedly once people actually do this check. The card's own cooler bulk is the most common surprise, since modern coolers are considerably thicker than the card's PCB alone, and that extra depth eats into the clearance a mock-up on paper never accounts for. Power cabling reaching the card's top edge is another, since those leads need their own space and often compete directly with the ribbon for the same gap. And in shallower cases, the side panel itself becomes the limiting factor, with the rotated card sitting closer to the glass than expected.
Behind the card or beneath it
Most routes end up choosing between passing the ribbon behind the card or beneath it, and the mock-up is exactly where that decision gets made properly. Behind the card is often the shorter path but the tighter one, since clearance between the card and the case tray can be minimal on a close-fitting vertical mount. Beneath the card is usually roomier but travels a longer distance to the connector, using more of the 200mm the cable provides.
🔌 Don't forget the power cables
It is easy to plan a ribbon route while mentally clearing the space of everything else, but the power cables reaching the card's top edge are there too, in the real build, sharing the same limited space. A mock-up that only considers the ribbon and ignores the power leads can produce a route that looks clean on its own and then fails once the full cabling is in place.
A look through case accessories is worth doing at this stage as well, since some brackets are designed with cable routing channels built in specifically to solve this problem.
⏱️ Why a few minutes now saves hours later
Evetech's graphics card accessories range is worth a look too, for brackets and mounts built with exactly this kind of vertical placement in mind. The whole exercise takes a few minutes with the case open and the parts on hand. Set against the alternative, discovering the route does not work after the bracket is fitted, the riser is bought, and the build is mostly assembled, those few minutes pay for themselves many times over. It is far easier to change plans at the mock-up stage than to unpick a half-finished build because the ribbon will not reach where it needs to.
Frequently Asked Questions
Why mock the card position up physically rather than just planning it?
Because a graphics card is bulky, and its actual dimensions determine which routes are physically possible around it.
What should the mock-up reveal?
Where the card's connector sits, how much space remains beside it, and where the ribbon can exit cleanly.
Does the bracket need fitting before the mock-up?
It helps considerably, since the bracket fixes the final position, though a rough hold without it still rules out obviously bad routes.
What commonly gets in the way of a clean route?
The card's own cooler bulk, power cables reaching its top edge, and limited depth to the side panel in shallower cases.
Does the ribbon usually pass behind or beneath the card?
Both are used depending on layout, and the mock-up is exactly where that choice gets decided properly.
How long does a mock-up realistically take?
A few minutes with the case open, well worth it against the cost of discovering the route fails after the build is assembled.
Ready to mock up your own vertical GPU layout?
Browse Evetech's graphics card range to plan your build around the exact card you'll be mounting.