Preparing a Laptop for RMA: Backups, Locks, Passwords
Quick Answer
Back up your files before an RMA and verify that the backup opens. Then follow the service centre's written instructions for drive encryption, device locks, firmware passwords and test access.
Do not email your normal account password. If a technician needs Windows access, create a temporary local test account with no personal files, or agree on another secure method.
Remove memory cards, dongles and accessories that are not part of the fault. Photograph the laptop, serial number and packed box. Your aim is a machine the technician can test without exposing your private accounts.
Start With a Verified Backup
Copy documents, photos, save files, project folders and licence information to storage you control. Cloud sync is useful, but it is not proof that every local folder has uploaded.
Open a sample of files from the backup. Check that your browser bookmarks, email archive and game saves are included where they matter.
Assume the storage drive can be erased or replaced during diagnosis. An RMA is a repair process, not a data-recovery service.
If the laptop cannot boot, tell the service centre that the data was not backed up and ask what options exist before authorising work. Do not open the chassis if that could complicate the claim.
Sign Out of Personal Services
Sign out of browsers, cloud storage, messaging apps and game launchers. Deauthorise software that has a limited device count.
Remove saved payment details and browser profiles. Clear any password manager session that opens without a separate master password.
Use the account provider's device page to confirm that the laptop can be removed later if it is replaced. Keep recovery codes somewhere other than the machine being sent away.
Do not delete the supplier's diagnostic tools or the operating-system recovery partition unless instructed.
Deal With Encryption Before Collection
Windows device encryption or BitLocker can block access to the drive. Find the recovery key and store it securely.
Ask whether the centre wants encryption suspended, the drive wiped or the key supplied through a protected channel. Each route has a different privacy trade-off.
Never paste a recovery key into an open support thread unless the organisation confirms that process. A temporary local account may let the technician test the laptop while your personal profile remains inaccessible, but hardware work can still require drive access.
If you remove the drive with approval, confirm whether the fault can be reproduced without it. Some claims need the original storage installed.
Clear Firmware and Device Locks With Care
A BIOS or firmware password can stop a technician changing boot settings or running tools. Remove it before dispatch when the service instructions require access.
Device-tracking locks can also block a replacement or motherboard swap. Check Windows device management and any manufacturer account tied to the serial.
Record what you disabled so you can restore it when the laptop returns. Do not switch off security across your other devices.
If the fault prevents you from clearing a lock, say so on the RMA form and include the exact screen the technician will encounter.
Create a Clean Test Account
Use a local account named for service testing. Give it only the permissions needed for diagnostics and keep it free of personal documents.
Write the temporary password on the RMA's secure field or provide it through the approved channel. Change or remove the account after the laptop returns.
Check that the fault still occurs in this account. If it disappears, a profile or software issue may be part of the diagnosis.
Do not create a fake fault report to steer the outcome. Give the technician the shortest honest path to reproduce the problem.
Remove Extras and Record Condition
Take out SD cards, USB receivers and external drives. Remove a decorative shell or privacy filter unless it is linked to the complaint.
Send the charger when power or charging is involved, and label it with the RMA number. Ask before including a third-party adapter.
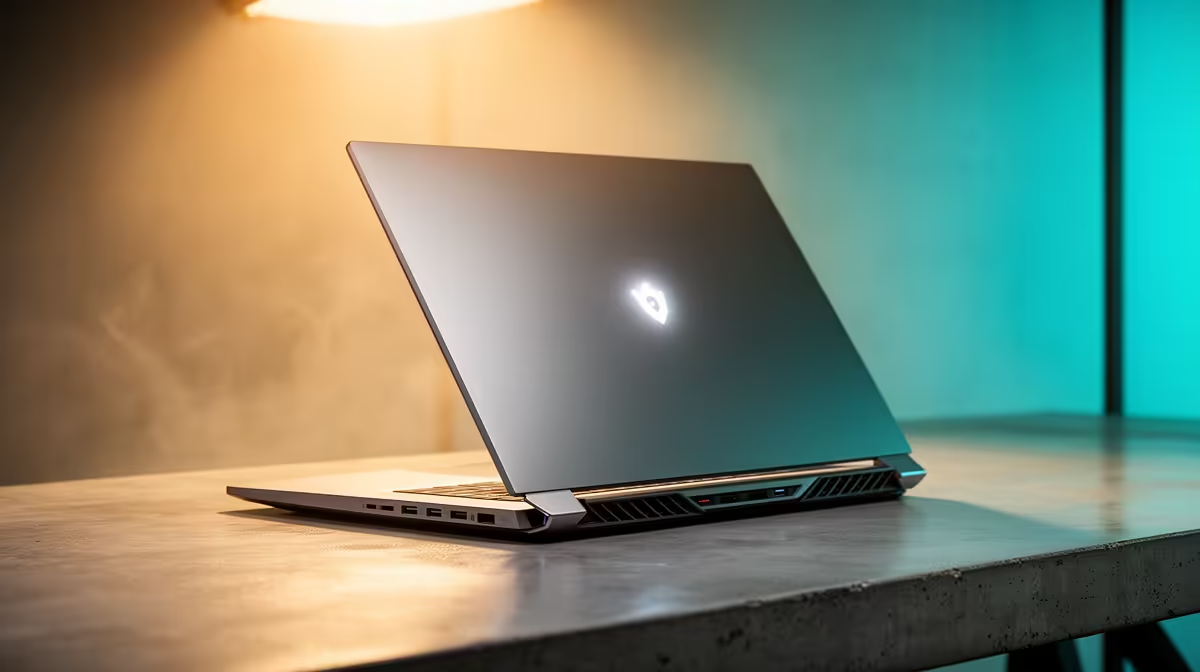
Photograph the screen, lid, base, ports and charger. Note existing scratches on the job card so condition is agreed at handover.
Make a list of everything in the box. A laptop, power brick and detachable cable are three separate pieces to track.
Pack for the Return Journey
Use the original fitted foam when available. Keep pressure away from the screen and prevent the charger from moving against the chassis.
Do not place loose screws, adapters or paperwork on the keyboard. Put documents in a sleeve outside the laptop's protective layer.
Seal the carton after photographing the packing. Keep the courier tracking and collection receipt.
If the battery is swollen or damaged, do not ship it through a normal courier. Ask the service centre for a safe collection process.
Write a Reproducible Fault Note
State what happens, what triggers it and how often. Include error codes, game or application, power state and recent changes.
For a thermal problem, list the measured temperature, tool and workload. For display flicker, state whether it appears in BIOS, Windows and an external monitor.
One page is enough. Add a video link if the fault is intermittent and hard to catch.
Compare the laptops buyers return to and current gaming laptop options if replacement becomes relevant, but keep the RMA focused on the original serial and symptom.
FAQ
Is a factory reset required for every RMA?
No. Follow the service centre's instructions and choose the least intrusive route that still allows the fault to be tested.
Should you give the technician your normal password?
Avoid it. Use a temporary test account or the organisation's secure access method.
What happens if a firmware lock remains?
Testing or board replacement can stall. Tell the centre before collection if you cannot remove the lock.
Verify your backup, prepare a private test account, clear only the locks the service centre needs, and photograph every item before the RMA carton is sealed.