It is easy to plan a build purely by looking at where a part fits, forgetting that at some point a hand has to reach past that part to do something else. Finger space around the motherboard is not decorative, and cosmetic shells fitted without thinking about it turn a five-minute job into a small dismantling project later.
Quick Answer
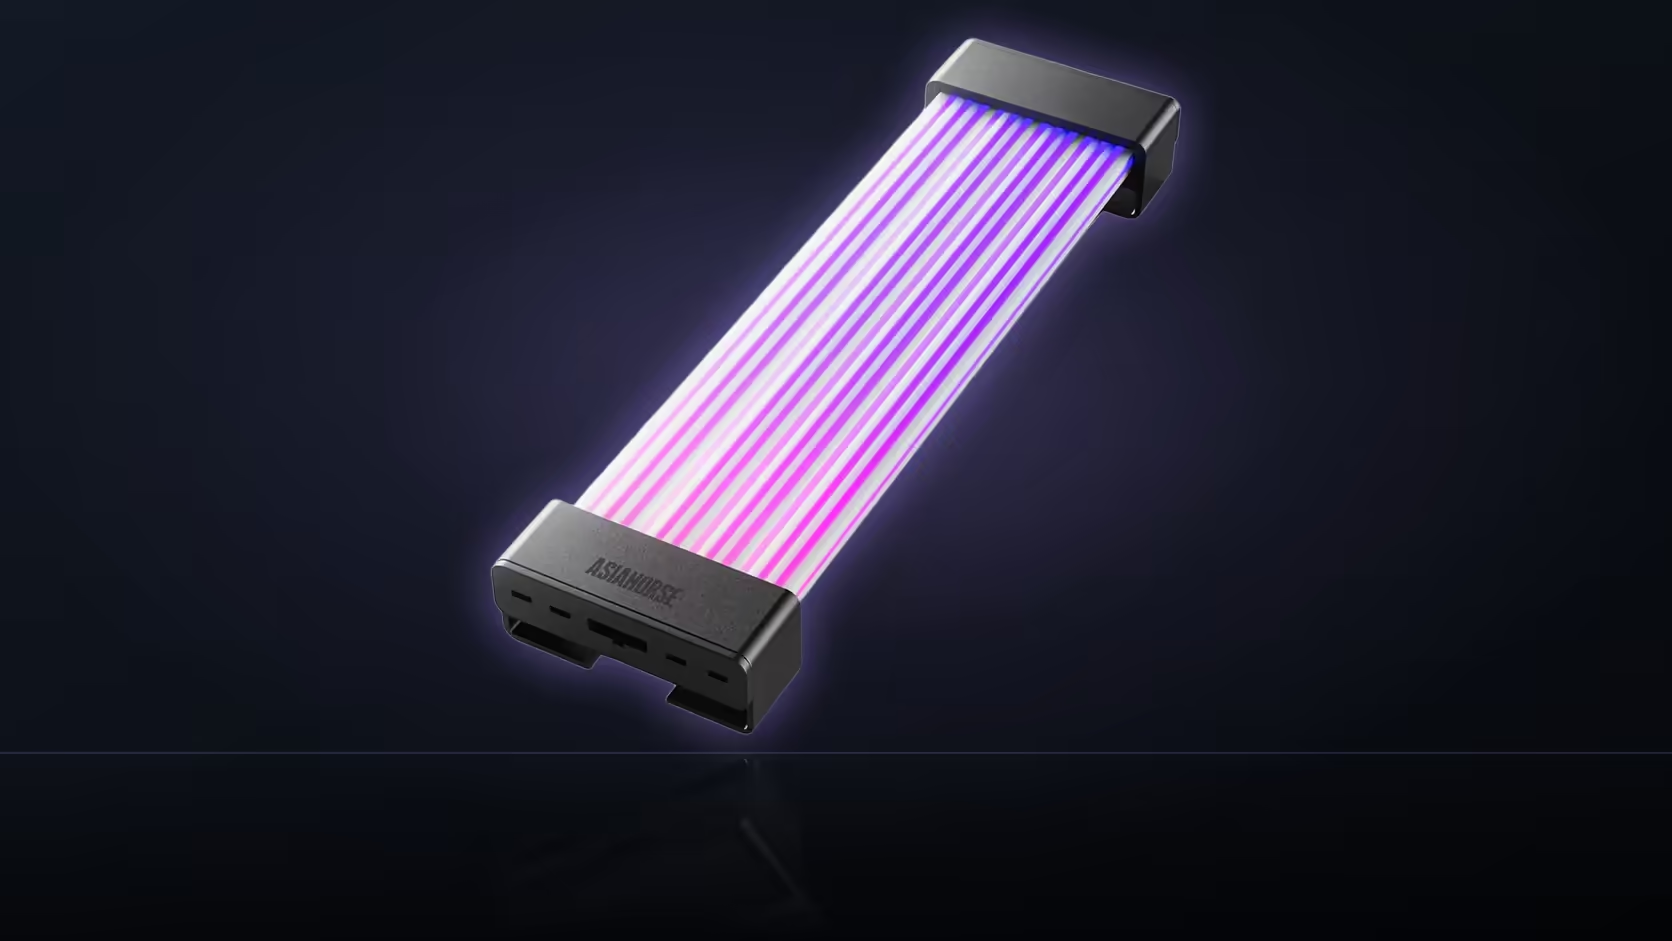
Before fitting any cosmetic accessory, check whether a fingertip can still reach the latches, releases and screws it sits near. Enough clearance for a finger is more than most shells physically need to clear their neighbour but less than most people plan for, and a RAM cover or M.2 heatsink from AsiaHorse, priced from around R199 to R249, is small enough to get away with cutting that margin close.
🖐️ Where the crowding actually happens
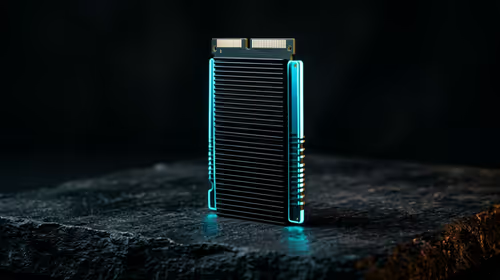
Three areas gain the most extra hardware in this range: the board's power sockets near the 24-pin and EPS headers, the memory slots once a RAM cover goes on, and the M.2 area once a heatsink is fitted. Each of these zones already has something you need to reach eventually, whether that is a latch, a connector release, or a set of mounting screws, and each accessory added there narrows the gap available to actually do that reaching.
🔧 What you will need to reach again
Memory latches are the most common casualty, since a RAM cover sitting close to the slot can make the release lever awkward to press even when the cover itself clears the module physically. Connector releases on cable heads matter too, particularly on anything using a right-angle plug that sits low and close to the board. And the M.2 heatsink's four mounting screws are their own problem, especially in a slot that ends up underneath a graphics card, where removing the drive later means shifting the card out of the way first just to reach the screwdriver.
📐 How much room is actually enough
The rule of thumb is fingertip clearance, not shell clearance. A cover can sit millimetres from its neighbour and still physically fit, but that says nothing about whether a finger can get between them to press a latch. Test this as each accessory goes on rather than waiting until the build is finished, because a conflict found early means moving one part; a conflict found at the end can mean moving several.
🔩 Working around tight spots
A right-angle connector helps keep cable heads low and out of the way under a side panel, but it also gives you less to actually grip when the connector eventually needs pulling free. Where fingers genuinely cannot reach, a thin plastic pick closes the gap, though designing the clearance in from the start remains the more comfortable outcome than relying on a tool every time. Check accessory placement against your board's layout before ordering from Evetech's case accessories range, and confirm the same clearance around any lit case fans mounted close to the board.
🗓️ Building the habit into your workflow
Reaching for a finger test each time a shell goes on is easy to forget once the build is moving quickly and there are still several accessories left to fit. It helps to treat it as a fixed step in the sequence rather than an optional afterthought: fit the accessory, then immediately try reaching the nearest latch or screw before moving on to the next part. This small pause costs seconds and catches problems while the surrounding accessories are still loose enough to reposition easily, rather than after everything nearby has already been clipped, screwed or routed into its final position. Builders who skip this step are not usually careless; they simply run out of patience two-thirds of the way through a long session, which is exactly when a rushed decision on placement is most likely to slip through unnoticed.
Frequently Asked Questions
Which areas of the board get crowded first?
The power sockets around the 24-pin and EPS headers, the memory slots once a cover is fitted, and the M.2 area once a heatsink goes on top of the drive.
What specifically needs reaching later on?
Memory latches, connector releases on cable heads, and the screws holding an M.2 cover in place, none of which can be operated through a fitted shell.
How much clearance actually counts as enough?
Room for a fingertip, which is a stricter test than simply checking that the accessory clears its physical neighbour without touching it.
Which accessory causes the most access problems?
A cover or shell placed close to a memory latch, since the latch can become unreachable even when the shell itself is a clean fit.
When is the best time to check access?
As each accessory is fitted rather than at the end, since a conflict caught early only needs one part moved instead of several.
Do right-angle connectors help with clearance?
They keep the connector low and out of the way under a panel, though they also leave less exposed body to grip when it needs disconnecting later.
Is a tool an acceptable substitute for finger clearance?
A thin plastic pick reaches spots fingers cannot, but it is a workaround rather than a substitute for designing the clearance in from the start.
Adding cosmetic accessories to a build you will need to service later?
Check Evetech's case accessories range and plan clearance around every latch before you fit anything.