A BIOS update is one of the few PC jobs where impatience can turn a working board into a blank screen. The safe process begins with the model name printed on the motherboard, a file from its own support page and a plan for stable power. The flashing step itself is often the shortest part.
Quick Answer
Confirm the exact motherboard model and revision, read the release notes and download the matching BIOS from the manufacturer's support page. Return CPU and RAM tuning to stock, save encryption recovery information and prepare a FAT32 USB drive according to the manual. Flash through the built-in BIOS utility or use the board's dedicated Flashback process. Evetech's in-stock motherboard snapshot carried a R5,999 median in July 2026, so a careful ten-minute preparation is cheap protection for the platform.
🪪 Identify the board without guessing
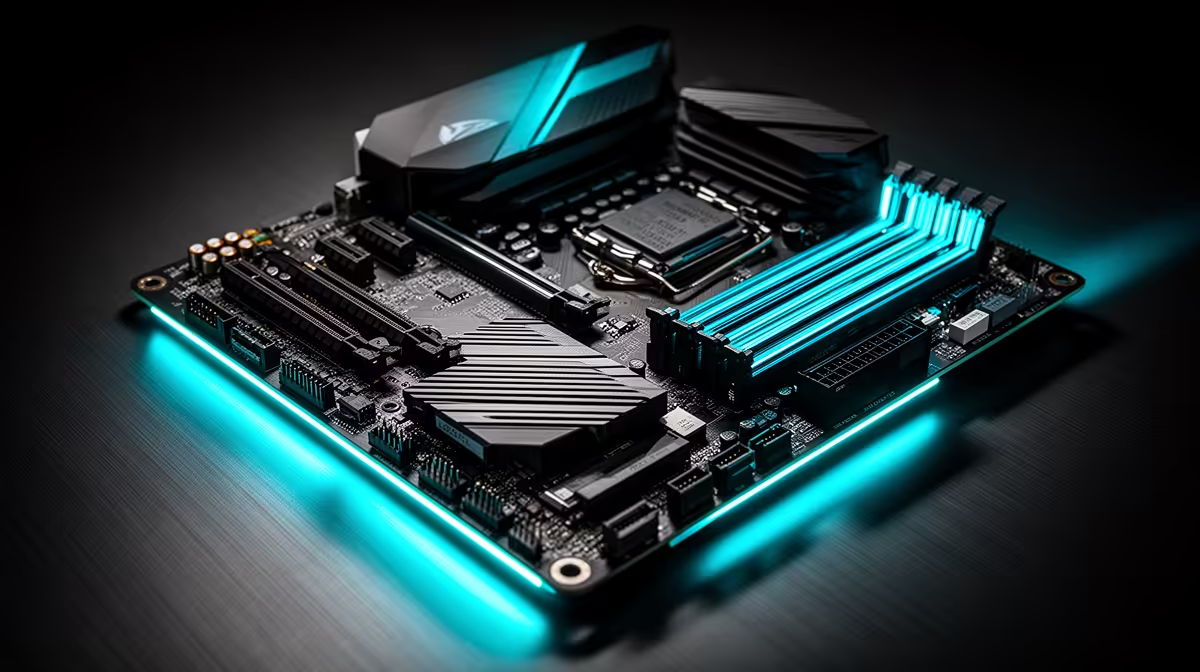
Read the model in Windows System Information, then verify it on the motherboard or purchase record. Pay attention to suffixes such as Wi-Fi, AX, V2 and the PCB revision. A file for a near-identical board can still be unusable.
Open the official support page and read the descriptions from your installed version to the target. Look for required bridge versions, management-engine packages or notes about CPUs that lose support. Avoid a beta release unless it solves a problem you understand and accept.
Download the archive, extract it and check the included instructions. Some Flashback systems require a specific filename produced by a renaming tool. The normal in-BIOS utility may accept the original name.
Evetech's gaming PC deals help with platform comparisons while the actual file remains tied to the board in front of you.
💾 Prepare a clean USB and save your settings
Use a small, dependable USB drive and format it as FAT32 when the manual specifies that format. Place the extracted BIOS file where the board expects it, often in the root directory. Remove unrelated firmware files so you cannot select the wrong one in a hurry.
Photograph fan curves, boot order, storage-controller mode and memory settings. Save any device-encryption recovery key outside the PC. A firmware reset can change boot measurements and ask Windows for recovery even when the data itself is fine.
Return overclocks, undervolts and aggressive memory profiles to defaults. Run the PC at stock long enough to know it is stable. Flashing during an existing crash problem adds risk and makes the result hard to interpret.
🖥️ Use the built-in utility for a working PC
Enter the BIOS, open the maker's flash utility and select the file on the USB drive. Recheck the board and target version shown on screen. Start only when power is stable and you can leave the machine alone.
The progress bar may pause, the display may blank and the board may restart more than once. Do not press reset, remove the USB or cut power. Give the process the full time the manual allows.
If your area has unreliable supply, use a correctly sized UPS or wait for a safer window. The update does not need an internet connection once the correct local file is ready.
🔘 Use Flashback for the situations it supports
Dedicated BIOS Flashback can update a supported board without entering the BIOS and, on some designs, without a working CPU or memory. It needs the specified USB port and button. A normal rear USB socket that happens to sit near a button is not enough evidence.
Follow the manual's filename, power-connector and indicator-light sequence exactly. The light pattern tells you whether the board accepted the file and when writing has finished. If it rejects the drive at once, check format, filename, port and board model before repeating.
Flashback is valuable for a board that cannot recognise a newly installed CPU. It is also a recovery path on some models. It does not make a wrong file safe.
Evetech's PC best-seller page provides current upgrade context if firmware support has become the limiting factor on an older build.
✅ Rebuild the known-good settings after the update
Enter the BIOS after the first successful boot and confirm the new version. Load optimised defaults when the maker directs it, set the correct boot drive and leave memory tuning off for the first Windows start.
Check date, storage, fans and total memory. Boot Windows, allow hardware detection to settle and confirm that encryption and network access behave normally. Then reapply XMP or EXPO, fan curves and any proven tuning one change at a time.
If the system becomes unstable, return to defaults before blaming the new firmware. Your photos and notes should make the previous working setup easy to reconstruct.
Frequently Asked Questions
What file system should the BIOS update USB drive use?
FAT32 is common for motherboard flash tools. Follow the exact manual because requirements can differ.
What is BIOS Flashback and how is it different?
It is a dedicated board feature that can write supported firmware through a marked USB port and button without using the normal BIOS screen.
Can a power outage during a BIOS update brick the motherboard?
Yes. Losing power while firmware is being written can leave the board unable to boot.
Should I match the BIOS file to my exact board revision?
Always. Model suffix and hardware revision can determine which file is valid.
Is the USB method or Flashback safer for beginners?
Use the method documented for your situation. A working PC is usually straightforward through the built-in flash utility; Flashback helps with supported no-boot cases.
Do I need to reset BIOS settings after an update?
Updates often reset settings. Start from defaults, verify a clean boot and restore proven options carefully.
How long does a typical BIOS update take?
It varies by board and method. Follow the manual's timing and do not interrupt a process that appears to pause.
Planning a platform update before a CPU or memory change? Compare current gaming PCs at Evetech, then match the firmware file and method to the exact motherboard on your desk.