Quick Answer
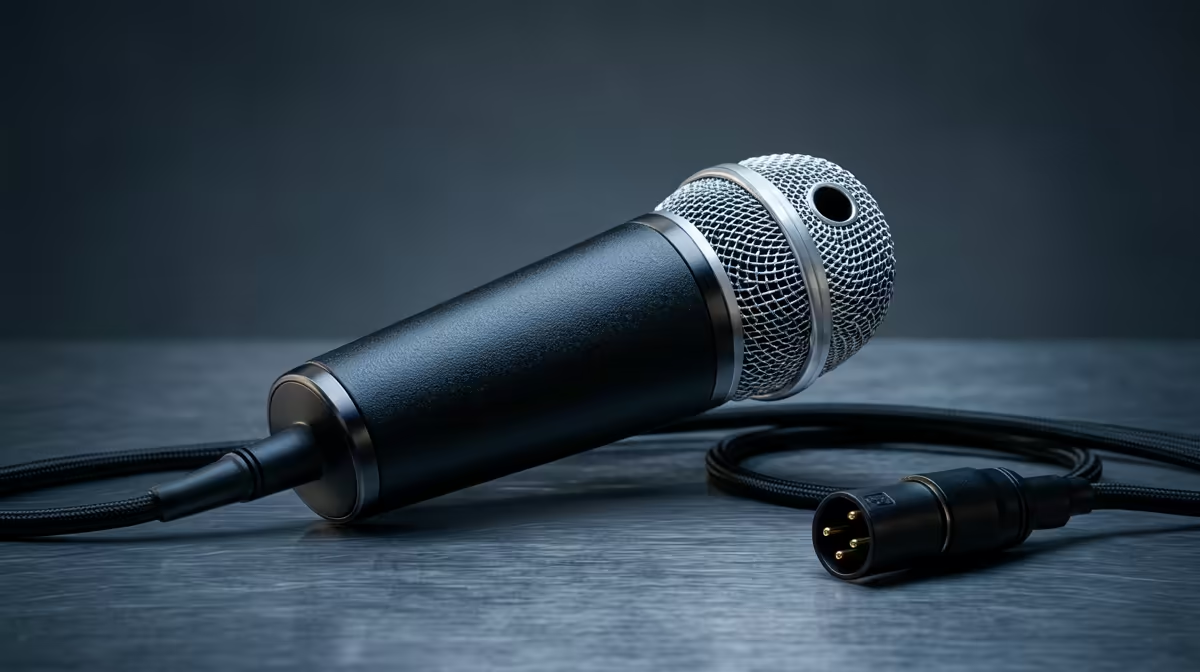
The best way to phase a streaming-microphone upgrade is to start with a quality USB mic, then add acoustic treatment and an interface only if you outgrow it. Buy a R1,200-R2,000 cardioid USB condenser first; that single change improves your sound more than any later add-on.
Phase one: a real microphone
The biggest jump in audio quality is leaving the laptop or headset mic behind. A cardioid USB condenser around R1,200-R2,000 with onboard gain and a headphone monitor jack delivers clean, broadcast-style voice for streams, podcasts and calls, with no interface required. This is where the first money goes.
Phase two: tame the room
Once the mic is sorted, the room becomes the limit. Cheap fixes, a thick rug, curtains or foam behind you, cut echo for almost nothing. A pop filter and shock mount (often R200-R400) clean up plosives and desk thumps. These cost little and matter more than a fancier mic.
Phase three: XLR if you go pro
Only if streaming becomes serious should you move to an XLR dynamic mic plus an interface for the best noise rejection. Most creators never need this; the USB mic plus a treated room sounds excellent.
FAQ
What is the first streaming mic upgrade to make?
Swap your headset or laptop mic for a cardioid USB condenser around R1,200-R2,000. That single change is the largest quality jump you can make, before any treatment or interface.
Do I need acoustic foam?
Not necessarily. Soft furnishings, a rug, curtains and a bookshelf, absorb echo cheaply. Add a pop filter and shock mount before buying dedicated foam.
When should I move to XLR?
Only when streaming becomes a serious pursuit. An XLR dynamic plus interface rejects room noise best but is overkill for casual use, so phase it in last.
on treatment, record a test in your room and listen back on headphones. Often a rug and speaking closer to a good USB mic fix the sound for free, letting you delay any further spend.