A plate size feels genuinely small on a spec sheet and considerably roomier once you actually start arranging real parts on it, because most functional printing simply does not need nearly as much space as people tend to assume. A 220 x 220 x 250mm build volume covers more ground than its modest-sounding numbers suggest.
Quick Answer
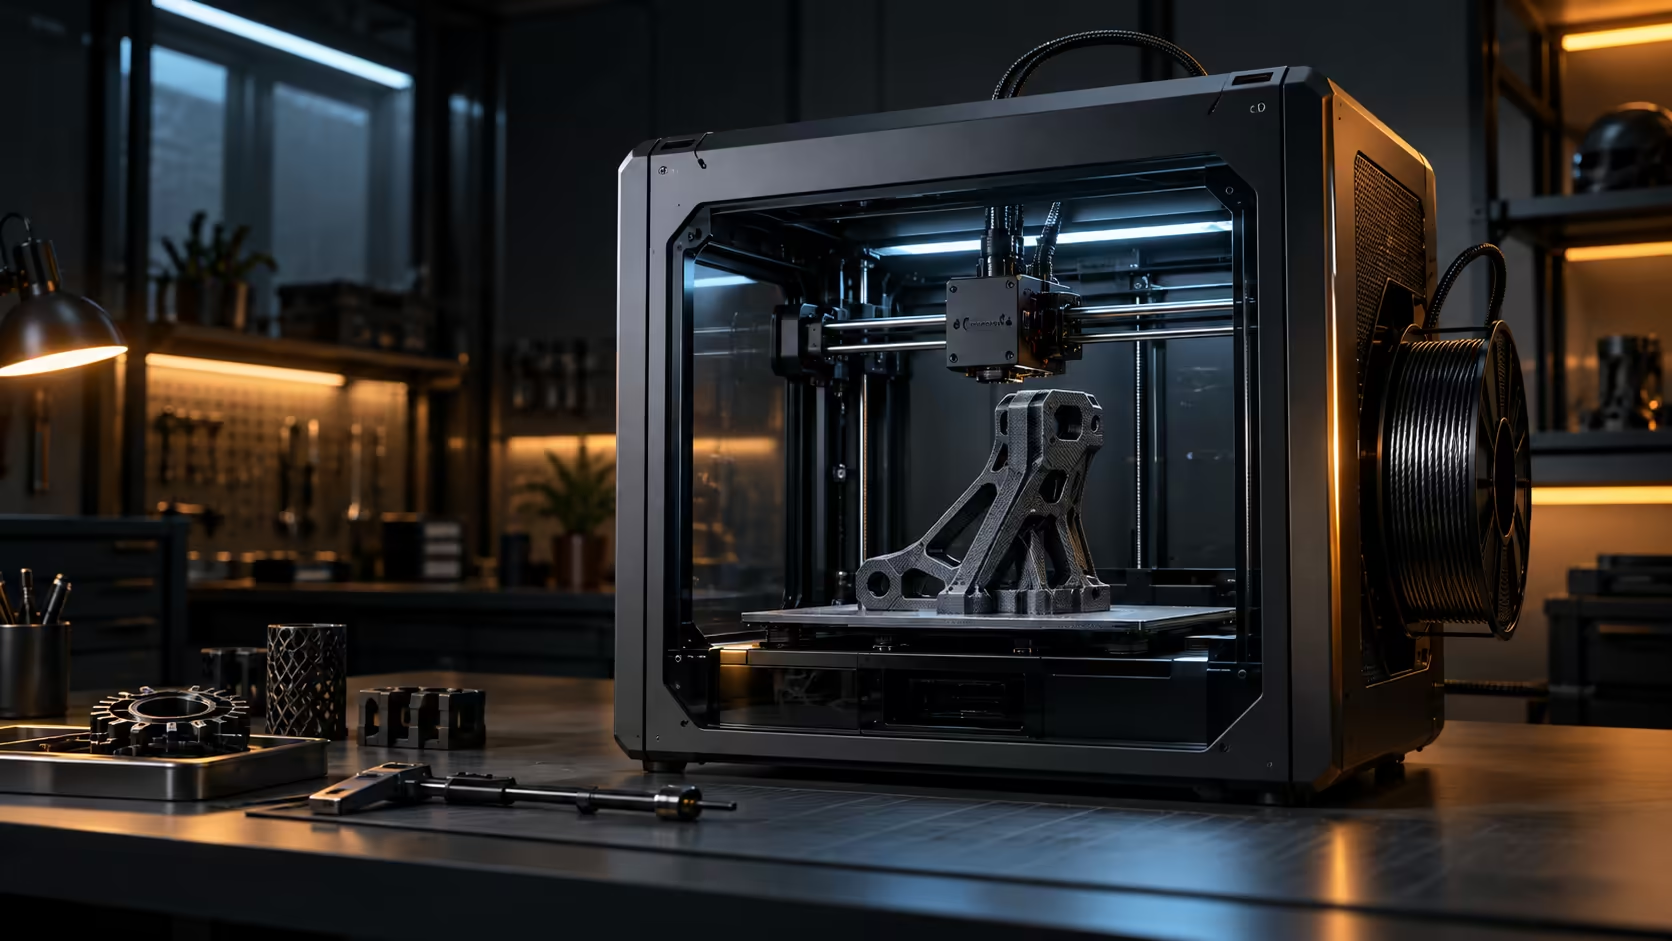
Most functional parts, brackets, enclosures, jigs, mounts, fit inside 220 x 220 x 250mm with room to spare, and the ones that genuinely do not usually print better split into sections anyway for strength or assembly reasons. That volume belongs to the Creality K1C at R12,599, which trades some plate width for a frame stiff enough to hold 20000mm/s2 of acceleration without the model shaking apart at speed.
📐 What actually fits inside this volume
A 220mm-square footprint comfortably holds most enclosure designs, brackets, mounts and general mechanical parts that make up the vast bulk of practical, everyday 3D printing work. The 250mm height gives genuinely useful vertical room for taller single-piece objects, phone stands, small housings, tool organisers, without ever needing to split them into separate pieces at all.
The parts that genuinely exceed this size are usually large props, big planters or full-scale cosplay armour, and even several of those print noticeably better as sections that assemble together afterwards regardless of the machine's own plate size, since a single enormous piece is genuinely harder to handle, transport and finish properly than a few smaller ones joined carefully together afterwards.
🏗️ The trade-off behind a compact plate
A smaller 220mm footprint means a shorter distance between the frame's structural points than a 300mm one, which makes the whole assembly inherently stiffer for the same amount of material used in its construction. That stiffness is what allows a printer this size to run high acceleration without the frame flexing enough to show up as ringing on the finished part.
🧩 Designing around the limit when a part is too big
When a project genuinely exceeds this volume, split the model along a natural seam, a flat face, a joint line, an edge that will not be visible or that can be reinforced afterwards, rather than shrinking the whole design to fit. Modern slicers handle splitting and adding alignment features between sections reasonably well these days, and a genuinely well-planned split line is often completely invisible once fully assembled and painted over.
Browse filament suited to whichever project you are planning, and the model kits shelf doubles as a quick gauge of real-world scale if you have never sized a design against this exact plate before.
🔧 Alignment features that make a split invisible
A split line only ever stays properly hidden if the two halves line up exactly once fully assembled, and dowels or printed alignment pins do that specific job far more reliably than trusting glue alone to hold a flat joint perfectly square. Add 2 or 3 small cylindrical pins, around 4 to 5mm in diameter, directly into one half of the model and matching holes into the other before slicing, so the two finished pieces can only ever go together one single correct way.
Sand the joint face lightly and evenly before gluing, since even a genuinely well-calibrated printer leaves a faint layer texture that a raw, unsanded glued joint will show clearly as a visible seam once the whole part is painted. A thin skim of automotive filler along the joint, sanded back flush afterwards, is standard practice for cosplay and display work generally, and it adds only a few minutes to a project that otherwise took many hours to print in the first place. Skip this entire step on purely functional parts, where a visible seam genuinely costs nothing at all in actual mechanical performance.
📏 Checking your own project list against this volume
Before assuming a project genuinely needs a bigger machine, actually measure your 3 or 4 most recent designs against 220mm on each axis, since it is remarkably easy to overestimate how large a "big" project really is without a tape measure directly involved. Most functional parts, brackets, housings, mounts, comfortably clear this bar without any modification at all, and the ones that do not usually split cleanly along an edge that was already going to need some finishing work regardless of plate size.
Check the 3D printer range for genuinely larger build volumes only once you have confirmed a real, recurring need for one, rather than buying extra size purely as insurance against a hypothetical project that may never actually arrive at all.
Frequently Asked Questions
Is 220 x 220 x 250mm too small for serious functional printing?
No, the majority of brackets, enclosures and mechanical parts fit comfortably within this volume without needing to be split.
What kinds of projects usually need more room than this?
Large props, full cosplay armour pieces and oversized planters are the main categories that regularly exceed this size.
Does a smaller plate really make a printer more accurate at speed?
Yes, a more compact frame is inherently stiffer for the same construction, which helps it resist flexing during fast direction changes.
Is splitting a model a sign of a printer being too small?
Not necessarily; many designers split large models deliberately even on bigger printers, since smaller sections are easier to handle and finish.
How do alignment pins actually help a split model line up?
They force the two halves together in only one correct orientation every time, which is far more reliable in practice than trusting a flat glued joint alone to stay perfectly square during assembly, especially on a part with several separate seams to manage at once.
Should I sand a joint before gluing two printed halves together?
Yes, a light, even sanding pass removes the faint layer texture that would otherwise show through clearly as a visible seam once the joint is glued together and painted over.
How do I know if my typical projects actually need a bigger build volume?
Measure your 3 or 4 most recent designs against 220mm on each axis; most functional parts clear this comfortably, and genuine oversized needs turn out to be considerably rarer in practice than they first appear on paper once actually checked properly against real project dimensions rather than assumed from memory alone.
Wondering if a compact build volume will actually limit your projects?
Check what you actually print regularly before assuming you need a bigger plate.