So, the courier just dropped off your brand new Evetech rig. The smell of fresh components is in the air! But before you dive into your first match, there's the small matter of plugging everything in. Don't stress. This easy PC setup guide will get you from box to boot-up in minutes, so you can focus on what really matters… dominating the lobby. Let's get your new beast wired up and ready for action. 🚀
Unboxing and First Steps
First things first: find a clean, stable surface with good airflow for your PC tower. Unpack everything carefully, keeping all the little bags of screws and manuals to one side. You won't need most of them for a pre-built rig, but it's good practice.
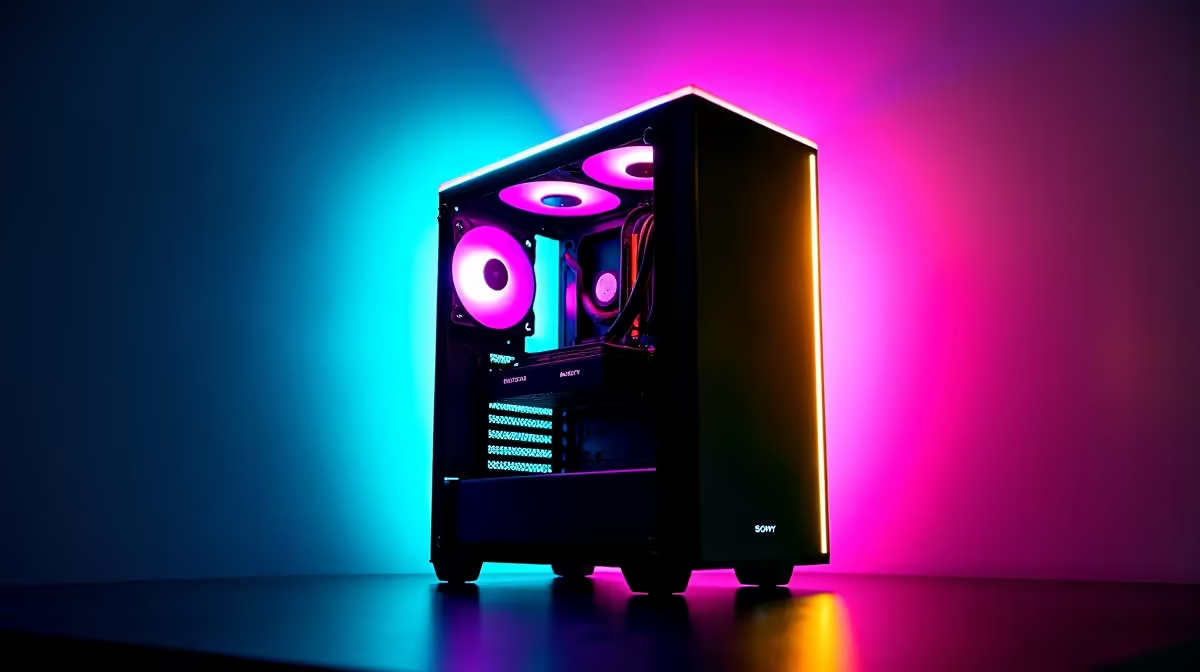
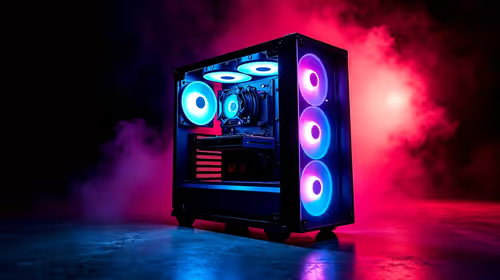
Take a moment to admire your new machine. Now, give the side panel a quick look. Most Evetech PCs have a transparent panel, so you can check that everything, especially the graphics card and RAM sticks, looks snug in its slot after its journey to you.
Your Essential PC Setup Guide to Getting Connected
This is the core of setting up your gaming rig. It's simpler than it looks, we promise. Follow these steps, and you'll be powered up in no time.
Step 1: Connect Your Monitor (The Right Way)
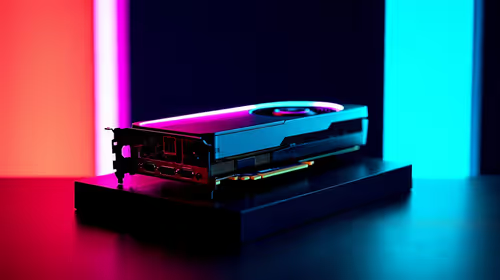
This is the most common rookie mistake. Look at the back of your PC. You'll see a cluster of ports near the top (on the motherboard) and another set of video ports lower down (on your graphics card).
Always plug your main monitor's HDMI or DisplayPort cable into the graphics card. This ensures you're using the powerful GPU you paid for, not the basic onboard graphics.
Step 2: Plug In Your Peripherals
Grab your keyboard, mouse, and headset. These almost always connect via USB. Plug them into any of the available USB ports on the back of your PC. There are usually a few on the front or top of the case too, which are great for things you plug and unplug often, like a memory stick.
Step 3: Powering Up... The Smart Way ⚡
Here in South Africa, just plugging your R20,000+ machine straight into the wall is a massive gamble. Between an unexpected outage, surges, and dips, our grid can be harsh on sensitive electronics. This is where you need a buffer. At a bare minimum, use a quality surge protector. But for true peace of mind, an uninterruptible power supply (UPS) is non-negotiable. It's a battery backup that gives you time to save your game and shut down safely when the power cuts.
Practical Reliability Considerations
A UPS doesn't just protect you from a blackout; it "cleans" the power going into your PC, filtering out the electrical noise and fluctuations that can slowly damage your power supply unit (PSU) and other components over time. Think of it as an essential piece of your setup, not an optional extra.
A solid Titan UPS can be the difference between a minor inconvenience and a catastrophic hardware failure. It's a small price to pay to protect your much larger investment. You don't even need to break the bank; there are fantastic UPS options available for under R1300 that provide more than enough protection for most gaming rigs.
🔧 Pro Tip: Choosing Your UPS
Match the VA (Volt-Ampere) rating of your UPS to your PC's PSU. A PC with a 750W PSU will need at least a 1200VA UPS. This gives you a few crucial minutes to save your progress and perform a safe shutdown during an outage.
The First Boot and Software Setup
With everything connected, plug your UPS into the wall and your PC into the UPS. Flip the switch on the back of the PC's power supply, press the power button on the front, and watch it come to life. ✨
Your PC will likely boot straight into the Windows setup screen. Follow the on-screen prompts. Once you're on the desktop, your first job is to connect to the internet and download the latest graphics drivers from the NVIDIA or AMD website. This is the final, crucial step in this PC setup guide for unlocking your rig's true gaming performance.
Get Your Dream Rig, Ready to Go
Feeling inspired to get a new rig for yourself or a friend? Our expertly crafted PC bundles take the guesswork out of building and come ready for a fast, easy setup. Explore Evetech's PC Bundles today and start your next gaming adventure.