Scored a great deal on a refurbished keyboard, but that 'W' key is sticking right when you’re trying to clutch a round? We’ve all been there. It’s a frustrating issue that can turn a winning streak into a rage quit. But don’t stress, boet. A sticky key is usually a super simple fix. This guide will show you how to fix stuck keys on refurbished keyboards and get you back in the game, fast. ✨
Why Do Keys on a Refurbished Keyboard Get Stuck?
First things first, a sticky key doesn't mean you bought a dud. Refurbished gear is a smart way to get high-end performance for less. Most of the time, the problem is just a bit of leftover grime from the keyboard’s previous life.
The most common culprits are:
- Dust and Debris: Tiny particles can get lodged in the switch mechanism.
- Spill Residue: A drop of a sugary drink from the previous owner can leave a sticky film.
- Gamer Gunk: A combination of dust, skin cells, and snack crumbs (we’re all guilty).
Understanding the cause makes it easier to fix a stuck key on a refurbished keyboard without causing any damage.
Your Step-by-Step Guide to Fix Sticky Keys
Ready to get your keyboard feeling brand new? Let’s dive in. This process is simple and usually takes less than 15 minutes. Even the keyboards on the best gaming laptop deals need a good clean every now and then to stay responsive.
Step 1: Unplug and Prepare
Safety first. Always disconnect your keyboard from your PC before you start cleaning. If you're worried about forgetting the layout, snap a quick photo with your phone. It’s a lifesaver for reassembly.
Step 2: Clear Out Loose Debris
Turn the keyboard upside down and give it a gentle shake. You might be surprised what falls out. For a deeper clean, grab a can of compressed air. Use short bursts to blow dust and crumbs out from under the keys. Focus on the area around the sticking key.
Pro Tip 💡
No compressed air? A soft, clean paintbrush or makeup brush is an excellent tool for gently sweeping dust out from between the keys and around the switches.
Step 3: The Deep Clean 🔧
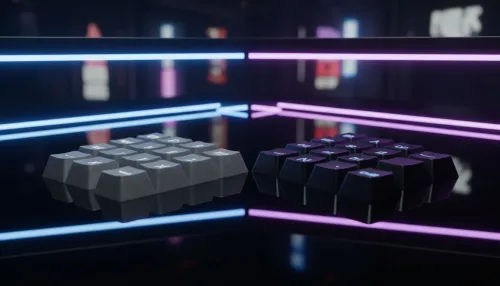
If the key is still sticking, it’s time to remove the keycap.
- Remove the Keycap: Use a keycap puller for the safest removal. If you don't have one, you can gently pry it off with two paperclips or a small, flat tool. Be gentle!
- Inspect and Clean: Dip a cotton swab in a small amount of isopropyl alcohol (at least 70%). Squeeze out any excess... you want it damp, not dripping.
- Wipe It Down: Carefully clean the switch mechanism on the keyboard and the inside of the keycap. This will dissolve any sticky residue.
- Dry and Reassemble: Let both parts air dry completely for a few minutes before snapping the keycap back into place. It should click securely.
What if the Key Still Won't Budge?
In rare cases, a simple clean might not be enough to fix a stuck key. This is more common with mechanical keyboards where the issue could be with the switch itself. For most membrane keyboards, the cleaning process above solves 99% of problems.
Whether you're running on team red with one of the latest AMD laptops on special or you're loyal to team blue, a fully functional keyboard is critical for performance. A persistent issue might mean the internal mechanism is worn out.
Preventing Future Jams and Knowing When to Upgrade
The best fix is prevention. Try to avoid eating over your keyboard and give it a quick dusting with compressed air once a month. This simple routine keeps your gear in top shape.
But let’s be real… sometimes, a keyboard has just reached the end of its life. If you’ve cleaned it thoroughly and the keys still feel off, it might be time for an upgrade. A flawless keyboard is essential, whether you're coding on powerful Intel laptops on special or climbing the leaderboards in your favourite shooter. Don’t let faulty hardware hold you back.
Time for a Flawless Upgrade?
If that sticky key just won't quit, maybe it’s a sign. Check out our awesome range of gaming laptops under R20k and get the crisp, responsive performance you deserve.