Tired of scrolling through five different streaming services just to find that one movie? Or maybe your epic collection of series and music is scattered across random hard drives. It’s time to take control. Imagine having your very own, beautifully organised Netflix… but stocked with all your media, accessible anywhere. That’s the magic of a Plex Media Server, and getting started is easier than you think. Let's dive in. 🚀
What is a Plex Media Server?
Think of a Plex Media Server as your personal media butler. It’s a piece of free software you install on a computer in your home. You point it to your folders of movies, series, music, and photos. Plex then scans everything, automatically downloading stunning artwork, cast information, episode summaries, and even theme music.
The result? A gorgeous, unified library that you can stream to practically any device:
- Your smart TV in the lounge
- Your smartphone during your commute
- Your gaming console (Xbox and PlayStation have apps)
- Your web browser at work (don't tell the boss)
It organises your digital life so you can just sit back and enjoy your content.
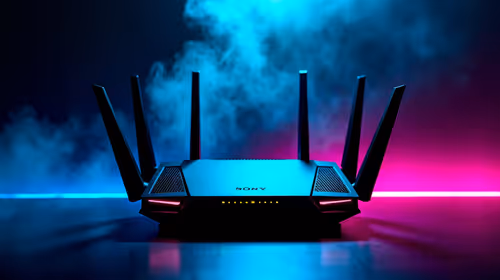
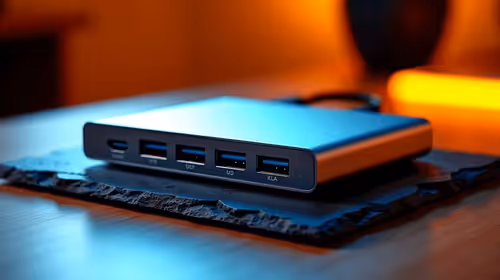
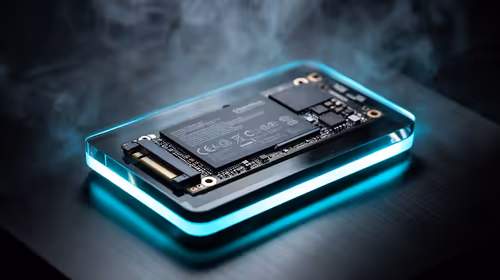
Choosing the Right Hardware for Your Plex Server
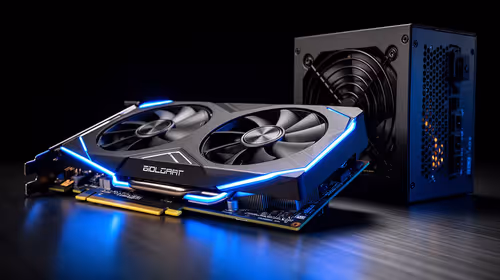
While you could run your Plex server on your main gaming rig, it's not the most efficient choice. Leaving a power-hungry PC on 24/7 will make your electricity bill weep, especially with load shedding schedules to worry about. An old laptop might work, but it could struggle with a crucial task: transcoding.
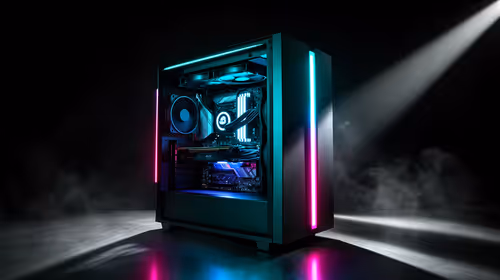
This is where dedicated, low-power hardware shines. For the perfect balance of performance, size, and energy efficiency, it's hard to beat the current generation of powerful yet compact Mini PCs. These little workhorses are quiet, sip electricity, and are more than capable of handling multiple streams. 🖥️
💡 Pro Tip: Understand Transcoding
Transcoding is when your server converts a video file on-the-fly to a format compatible with the device you're streaming to. A modern CPU with integrated graphics (like Intel's Quick Sync) can handle this effortlessly without needing a power-hungry dedicated GPU, making it perfect for a Plex Media Server.
A Quick Guide to Setting Up Your Plex Server
Once you've got your hardware sorted, the software side is surprisingly straightforward. You don't need to be a network engineer to begin your Plex Media Server journey.
Step 1: Install the Software
Head over to the official Plex website and download the "Plex Media Server" application for your operating system (Windows, Mac, or Linux). The installation is a simple click-through process.
Step 2: Organise Your Media
This is the most important step for a beautiful library. Create separate main folders like "Movies," "Series," and "Music." For the best results, name your files clearly. For example:
Movies/Avatar (2009).mkvSeries/The Witcher/Season 01/The Witcher - S01E01 - The End's Beginning.mp4
Step 3: Add Your Libraries
Once the server is running, it will open in a web browser. The setup wizard will guide you through creating your first libraries. Simply click "Add Library," choose the content type (e.g., Movies), and point it to the folder you created in Step 2. Plex will start scanning and building your catalogue. ✨
It’s that simple! You now have a foundational Plex server ready to go. As your collection grows, you might want to explore more powerful hardware options. When you're ready to upgrade, you can check out the full range of Mini PCs to find the perfect fit. Top-tier brands like Minisforum pack incredible performance into tiny chassis, perfect for a discreet and powerful media hub.
Build Your Ultimate Media Hub
Stop paying for subscriptions to watch content you already own. A dedicated Mini PC offers the perfect, low-power solution for your 24/7 Plex Media Server. Shop our range of Mini PCs at Evetech and start building your personal streaming empire today.