


PCIe 5.0 vs PCIe 4.0 for Video editing in 4k in SA
PCIe 5.0 vs PCIe 4.0 for video editing in 4k is mainly about fit, features, compatibility, cost, and upgrade path, not one automatic winner. SA buyers should match the choice to the setup.
Read moreR15K for a streaming musician covers a condenser mic, a small interface with instrument inputs, headphones for zero-latency monitoring and basic acoustic panels, leaving little room for a camera. Evetech's audio range fits that budget for live sets.
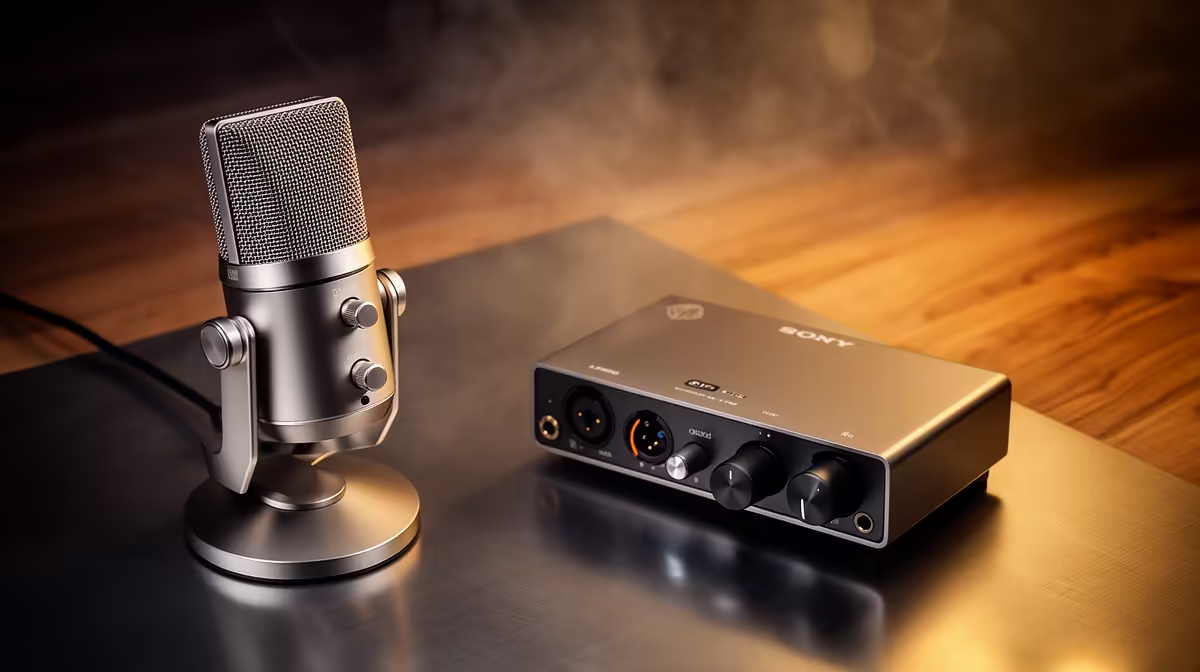
A live musician needs clean instrument and vocal inputs with monitoring that does not arrive late. A musician streaming kit should build around the performance signal first, then add video and room treatment as budget allows.
Build an R15,000 live-music streaming plan around the sources you must capture, not a generic shopping list. A solo singer with an instrument may need a two-input interface, suitable microphones or direct connections, headphones, stands, cables, and a basic camera. A full band needs more inputs and changes the budget completely.
Use the streaming essentials range to cost named microphones and signal-chain parts from current listings. Compare the webcam selection after the audio path is complete. The R15,000 ceiling is a planning constraint, not permission to assign unverified prices to categories.
Write one line for each vocal, instrument, backing track, and room microphone. Note whether it produces microphone level, instrument level, line level, USB audio, or sound inside the streaming PC. These are different signal types.
A singer with acoustic guitar might use one vocal microphone and one instrument input. A keyboard may provide stereo line outputs, consuming two interface inputs. An electric guitar can connect through an amp, microphone, modelled output, or supported instrument input, and each route changes the gear.
Do not choose a two-input interface because the headline says it is a starter tier. Choose it when the actual performance fits two inputs. If expansion is near, compare the cost and complexity of a larger interface against mixing some sources before the computer.
Keep spare capacity for talkback or a guest only when the show will use it. Unused channels can take budget from the microphones, stands, and room work heard in every set.
A condenser microphone can capture vocal or instrument detail and may pick up more of an untreated room. It also needs compatible powering when it is an analogue studio design. A dynamic microphone can suit close vocals and louder sources. Pattern, placement, room, and performance level decide more than microphone type alone.
For vocals, use a pop filter when breath hits the capsule and place the microphone to support good posture. For an acoustic instrument, move the mic while monitoring; pointing at one familiar visual spot can produce excess boom or string noise depending on the instrument.
Avoid one distant microphone for several sources unless the room and performance are arranged for that technique. Close microphones give you more control but use more inputs and stands. A stereo room pair adds space while increasing channel count and room sound.
Record a rehearsal before buying treatment. Curtains, a rug, and soft furnishings can reduce reflections. Thin decorative foam does not isolate traffic or neighbours. Schedule around external noise where possible.
The interface must provide the input types, gain range, powering, outputs, and driver support needed by the performance. Confirm whether inputs can be used at once and at the desired format. A connector count can include combinations that share channels.
Direct monitoring lets performers hear inputs before the round trip through streaming software. This reduces distracting delay, though the direct mix may not contain every software effect or backing track. Check how the device blends direct and computer playback.
If two performers need different headphone mixes, one headphone socket and a passive splitter may not provide the control required. A supported headphone amplifier or interface with multiple mixes may belong in the full plan.
Set gain from the loudest part of the set. Musicians play harder once the performance begins. Leave headroom and avoid relying on a limiter to catch constant clipping. Listen for preamp noise only after placement and source level are sensible.
Closed headphones reduce playback bleed into microphones. They also let you hear hum, clipping, dropped audio, and backing-track balance. Choose comfort for the full performance and use safe listening levels.
Speakers can be useful during setup but create feedback when live microphones hear them. Mute or lower them during the broadcast unless the room and routing are designed for live reinforcement. Headphones are the simpler starting route.
Monitor the programme output as well as the direct inputs. A clean direct signal does not prove that the stream mix contains every source. Use a second authorised device or private test to check what reaches the platform, accounting for normal delay.
One webcam on a stable wide shot can carry a solo performance. Put it near eye level, frame the instrument and hands, and light the performer with one soft source. Lock exposure and white balance after the set is lit.
Check USB bandwidth when the interface and camera share the PC. Start with direct supported ports. Run the full audio channel count and video format for longer than the planned set to expose heat, driver, or disconnect problems.
A second camera adds editing or switching options and more PC load. Leave it for the next tier unless the show format depends on a close instrument angle. A good wide shot with clear sound is a complete first broadcast.
Camera audio can serve as a sync or emergency reference for a local recording, but do not leave it mixed with the main microphones by mistake. Echo and phase problems appear when delayed copies of the same sound combine.
Start a live current basket with the exact interface, source microphones, stands, cables, and headphones needed. Add a webcam only after every audio source has a stable route. Then account for lights, storage, power, and software terms.
Reuse safe equipment you already own. A working camera, sturdy stand, or suitable headphones can protect the budget. Do not reuse a damaged cable or unknown power supply to save a small amount in a live signal chain.
Keep an unassigned reserve for the connector, stand adapter, longer cable, or storage demand discovered during rehearsal. Current availability and named product prices as of July 2026 should determine what fits; a fixed category allowance cannot.
If the complete audio path exceeds the ceiling, reduce source count or simplify the performance rather than buying incompatible parts. A mono keyboard output or one well-placed instrument microphone may suit the first show when the music supports it.
Run the exact set with lights, camera, interface, backing tracks, overlays, local recording, and network output. Check the PC for dropped audio or video frames. Confirm that power and USB cables cannot be kicked.
Mark microphone, chair, instrument, and light positions. Save the interface and software settings. Label each cable at both ends so setup can be restored without tracing it on show day.
Create a safe scene and a talk microphone route for troubleshooting. Keep keyboard fallbacks for mute and stop. Record a local multitrack version when the system and consent process support it; isolated sources give the edit more options.
Test the upload over Ethernet where practical and leave bitrate headroom. A great local mix cannot compensate for a route that drops packets throughout the set.
It can be a workable ceiling for a focused solo or small-source setup when you already own a suitable PC and some supporting gear. Cost named current items and the complete cable, stand, light, storage, and monitoring path.
Count every simultaneous vocal, instrument, stereo device, and room source. Confirm the interface can use those exact input types at once and leave expansion room only when the next show has a defined need.
Complete the audio capture and monitoring route first. One stable wide camera shot can support a live set, while clipped or missing music defeats the point of the broadcast.
Count every source in your live set, build its complete audio route, and add the camera only after the rehearsal proves the music arrives cleanly.
It can be a workable ceiling for a focused solo or small-source setup when you already own a suitable PC and some supporting gear. Cost named current items and the complete cable, stand, light, storage, and monitoring path.
Count every simultaneous vocal, instrument, stereo device, and room source. Confirm the interface can use those exact input types at once and leave expansion room only when the next show has a defined need.
Complete the audio capture and monitoring route first. One stable wide camera shot can support a live set, while clipped or missing music defeats the point of the broadcast.
PCIe 5.0 vs PCIe 4.0 for video editing in 4k is mainly about fit, features, compatibility, cost, and upgrade path, not one automatic winner. SA buyers should match the choice to the setup.
Read more
Wi-Fi 7 vs Wi-Fi 6e for competitive esports comes down to router support, latency goals, device compatibility, and coverage. SA buyers should match the choice to the real network setup.
Read more
ATX 3.1 vs ATX 3.0 for mMO and live-service games buyers - what changes is mostly about compatibility, budget, upgrade path, and setup fit. SA buyers should check device support and real needs before expecting a clear win from either option.
Read more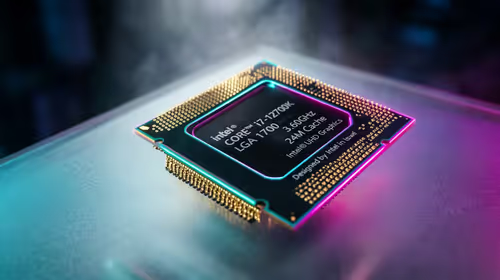
LGA 1851 vs LGA 1700 can affect Twitch and YouTube streaming when gaming and encoding share CPU resources. For SA creators, the real-world difference depends on encoder choice, memory support, motherboard cost, thermals, and upgrade plans.
Read more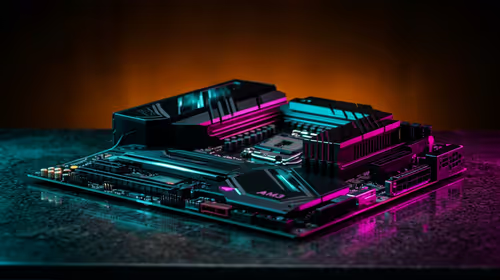
X870E vs X670E for aaa single-player gaming is mainly about fit, features, compatibility, cost, and upgrade path, not one automatic winner. SA buyers should match the choice to the setup.
Read more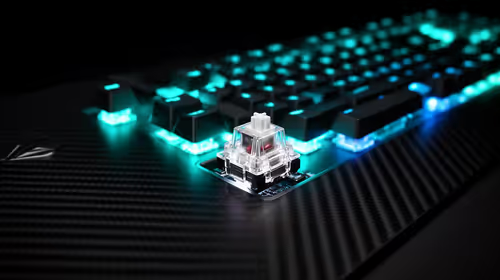
Hall Effect switches vs Mechanical switches for mMO and live-service games is mostly about compatibility, budget, upgrade path, and setup fit. SA buyers should check device support and real needs before expecting a clear win from either option.
Read more
A fake 113GB GTA VI ISO reportedly used empty padding around a small malware payload. SA gamers should delete unofficial builds, keep Windows security active and wait for official channels.
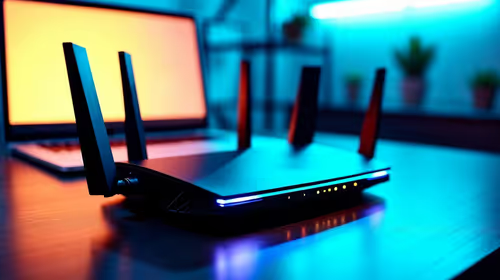
Wi-Fi 6E vs Wi-Fi 6 matters for 4K video editing when files move across a network. The real-world difference between Wi-Fi 6E and Wi-Fi 6 for video editing in 4K depends on NAS access, cloud uploads, router range, and SA creator workflows.
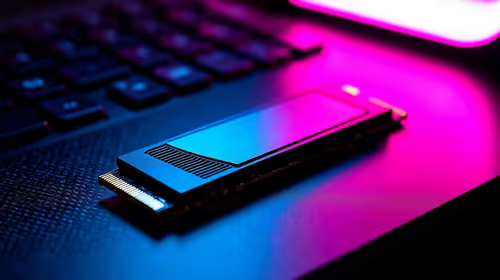
The difference between PCIe 5.0 and PCIe 4.0 for SA gamers is mostly bandwidth headroom. Compare GPU slot needs, NVMe speed, motherboard support, and upgrade timing before paying extra for a newer platform.
Gaming PC stuck pixel checks in South Africa should confirm the monitor fault first. Use colour tests, screenshot comparison, cable swaps, display menu checks, and clear photos before deciding on support.

Shokz OpenFit Air 2 earbuds weigh 7.2g each and use a redesigned dual-driver open-ear layout. SA buyers should choose them for comfort and awareness, not maximum isolation.

AMD's current driver now lists a Radeon RX 9050 4GB, while product coverage details a narrowed memory system. SA buyers should weigh the low VRAM ceiling against current local Radeon options.

Samsung Display has demonstrated a 16-inch 2.5K OLED laptop panel running at 300Hz. SA buyers should wait for a named notebook, full panel specifications and a local price before planning an upgrade.

Microsoft says some Windows 11 game crashes after recent updates are linked to RGB-related drivers. Affected SA gamers should confirm the update and driver before using the published registry workaround.
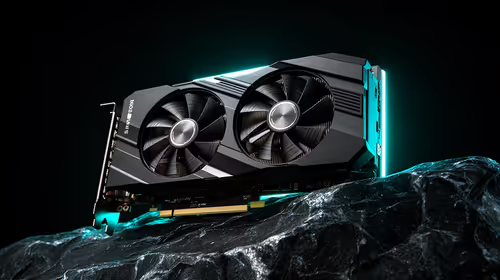
RTX 5090 on a 650W PSU is a tight pairing with very limited headroom. For SA gaming PCs, focus on total system draw, PSU quality, connector support, CPU choice, and avoid OC plans unless the full build is carefully power-limited.
PCIe 5.0 vs PCIe 4.0 for video editing in 4k is mainly about fit, features, compatibility, cost, and upgrade path, not one automatic winner. SA buyers should match the choice to the setup.
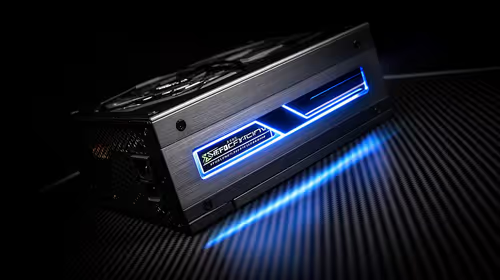
850W PSU safety for RTX 5090 is plausible with a quality unit and balanced parts. In SA, confirm connector support, CPU power draw, case airflow, PSU age, and spare capacity before building around 850W.
Wi-Fi 7 vs Wi-Fi 6e for competitive esports comes down to router support, latency goals, device compatibility, and coverage. SA buyers should match the choice to the real network setup.