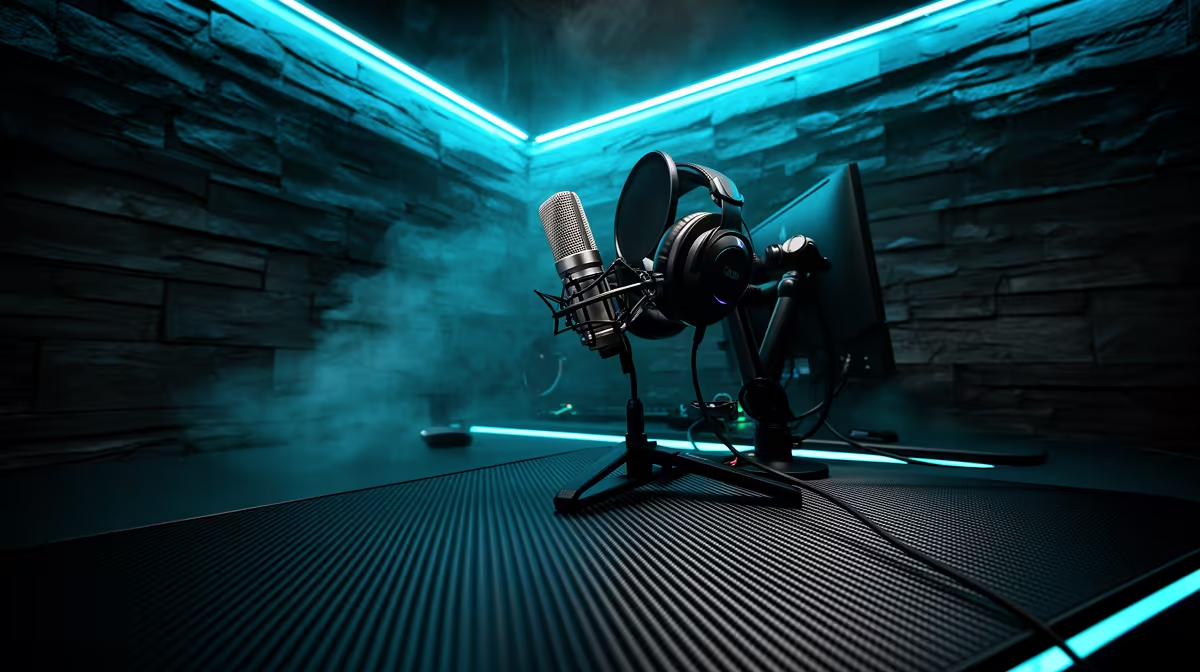
A faceless channel lives or dies by the voice track, room sound and a workflow you can repeat. A budget YouTube voice-over kit starts with a suitable USB mic, close placement and basic treatment around the narrator.
Quick Answer
For a voice-over kit under a R3,000 ceiling, put the microphone close to your mouth, record in the quietest soft-furnished space you have, and use headphones to catch noise before it reaches the edit. A USB microphone can keep the signal path compact because it does not need a separate audio interface.
Compare current named options in the streaming essentials collection. The webcam range is useful only if your faceless channel also needs desk demonstrations or a presenter angle; do not let a camera consume a narration budget when the video format does not use one.
Choose the microphone around the room
A USB condenser microphone can capture a clear voice, but it may also reveal fans, traffic, a bare wall, and keyboard noise. A USB dynamic microphone used close can reduce the level of the room relative to your voice. Neither type removes noise by itself.
Check the pickup pattern and speak into the correct side or end. A cardioid pattern rejects some sound from behind the capsule, so point its least sensitive area towards the main noise where the design allows. Read the exact microphone manual because visual shape can be misleading.
Use the current sample rate and bit depth supported by your recording software and microphone. For spoken YouTube work, a clean stable recording matters more than chasing the largest number. Avoid changing formats halfway through a project.
Confirm that the microphone includes a stand and cable. If the supplied desk stand places it too far away, reserve budget for a compatible arm or taller support. Check thread size, weight capacity, and desk-clamp clearance.
Spend zero rand on placement first
Place the capsule about a hand span from your mouth as a starting point, then move it off the direct blast of breath. Aim it towards the corner of your mouth rather than sitting in front of the lips. This can reduce plosive pops while preserving a strong voice level.
Keep the distance steady. Turning towards a script on another screen changes tone and level. Put the script near the microphone and at comfortable eye height. Mark the chair and stand positions when you find a repeatable setup.
Set input gain while speaking at the loudest level the script will contain. Leave headroom for emphasis. If the waveform clips, lowering it in the editor will not restore the missing peaks. If the signal is tiny, moving closer may help more than adding gain that raises room noise.
Switch off fans or appliances you can pause safely. Keep the PC far enough from the microphone to lower fan noise while maintaining short, reliable USB routing. Do not block the computer's ventilation to make it quiet.
Use the room you already have
Record away from bare parallel walls when possible. Curtains, a filled bookshelf, a rug, and soft furniture can reduce strong reflections. A hanging duvet can help when it is secure, clean, and kept away from lights, heaters, and ventilation.
A wardrobe full of clothing may provide a dry recording spot, but comfort and airflow matter. Never close yourself into a space without ventilation. Test the sound from outside the wardrobe first, facing the soft material.
Small acoustic foam tiles are not a complete isolation system. They may change high-frequency reflections but will not block taxis, dogs, or building work. Schedule around predictable noise and record a short room sample before each take.
Listen for electrical hum as well as echo. Disconnect unnecessary devices one at a time, use supported ports, and keep microphone cables away from power bricks where practical. A laptop running on battery for a short diagnostic test can help identify a power-related path, provided its use remains safe.
Add only the accessories that solve a problem
A pop filter helps when breath hits the capsule despite off-axis placement. A foam windscreen can serve a related role, but check how it changes the microphone tone. Use one because your test needs it, not because every studio photo shows one.
A boom arm frees desk space and lets the microphone sit close. It can also carry desk vibration when clamped to the same surface as a keyboard. Mount it on a solid section and avoid touching the desk during takes.
A shock mount reduces certain vibrations when it fits the exact microphone. It will not remove footsteps, traffic, or fan noise. Compatibility is physical: diameter, thread, weight, and control access all matter.
Closed headphones help you hear hum, mouth clicks, clipping, and room echo. Use a pair you already own if it connects to the monitoring path. Direct monitoring through the microphone can reduce distracting delay when the feature is available.
Record a clean take before reaching for effects
Use a simple editor and save an unprocessed original. Record at least ten seconds of room tone with nobody speaking. It can help you judge the noise floor and make natural gaps during editing.
Speak in short sections rather than forcing a ten-minute perfect performance. Pause after a mistake, repeat the sentence, and leave a visible gap in the waveform. This speeds up editing and keeps delivery relaxed.
Apply high-pass filtering, equalisation, compression, and noise reduction with restraint. A strong noise-reduction pass can create watery artefacts. Fix distance, gain, and room sound first, then make small processing moves while comparing with the original.
Match loudness across videos during the final edit rather than recording into a limiter that hides every problem. Check the finished narration on headphones, laptop speakers, and a phone. Speech should remain clear without painful peaks.
Keep the R3,000 plan honest
Use the ceiling as a complete-kit limit, not a claim that every suitable microphone costs a particular amount. Cost one named microphone from the current July 2026 listing, then add only the stand, pop control, cable, or headphones that are absent and required.
Avoid spending on a mixer when the single USB microphone and software can provide the controls you need. An interface becomes relevant when you choose an analogue microphone, want several inputs, or need a specific monitoring route.
Do not buy a second microphone as a backup before the first setup works. A spare cable or a written recording checklist may prevent more failures. Keep project files backed up on a separate storage path.
If the room defeats every placement test, consider recording at a quieter time or in a different location before raising the equipment budget. More sensitive hardware can capture the same problem with greater detail.
A ten-minute setup routine
Close noisy applications and confirm the correct input. Put the microphone at the marked distance, set the script position, and record normal speech plus the loudest line. Check peaks and listen through headphones.
Record room tone, then a thirty-second sample with the same delivery planned for the video. Listen for echo, fan changes, cable noise, and mouth sounds. Move one item and repeat if needed.
Save the project with a clear version name and keep the raw file. Once the setup repeats well, take a photo and note gain, distance, and room arrangement. That consistency is what makes a modest narrator kit sound dependable from one upload to the next.
FAQ
Is a USB microphone enough for YouTube voice-over?
Yes. One supported USB microphone, sensible placement, a quiet recording area, and basic editing can produce clear narration. An interface is optional unless your chosen microphone or workflow needs one.
Do I need acoustic foam?
No. Begin with microphone distance, off-axis placement, curtains, rugs, soft furnishings, and a quieter time. Test the echo before buying treatment, and remember that thin foam does not block outside noise.
How should I divide a R3,000 ceiling?
Price the exact microphone first, then reserve the remainder for missing essentials such as a stable mount, pop control, or monitoring. Current named product prices should drive the split rather than a generic category estimate.
Build your voice-over kit around close mic placement and a quieter room, then spend the remaining budget on the one accessory your test proves necessary.