So, you’ve just unboxed that shiny new DDR5 RAM, ready to supercharge your rig. You slot it in, hit the power button... and nothing. Just a black screen and the sinking feeling of a failed POST. Before you start panicking, take a breath. Many common DDR5 RAM installation mistakes are surprisingly easy to make, and even easier to fix. Let's walk through the main culprits and get your PC roaring to life. 🚀
Mistake #1: Ignoring Your Motherboard's QVL
Before you even add a kit to your cart, this is the first check you should make. The QVL, or Qualified Vendor List, is your motherboard manufacturer's official list of tested and guaranteed-to-work RAM kits. With DDR5's high speeds and tight tolerances, compatibility is more critical than ever.
Ignoring the QVL is a gamble. A non-listed kit might work, but it could also lead to instability, crashes, or a complete failure to boot. This is one of the most frequent DDR5 RAM installation mistakes we see. Always check your motherboard's support page first to ensure the kit you want, from the latest and greatest kits on the market, is on that list.
Mistake #2: Incorrect DIMM Slot Population
Got a two-stick kit? Your motherboard has four slots. So, which two do you use? This isn't a fifty-fifty guess. For optimal dual-channel performance, most motherboards require you to use the second and fourth slots (usually labelled A2 and B2).
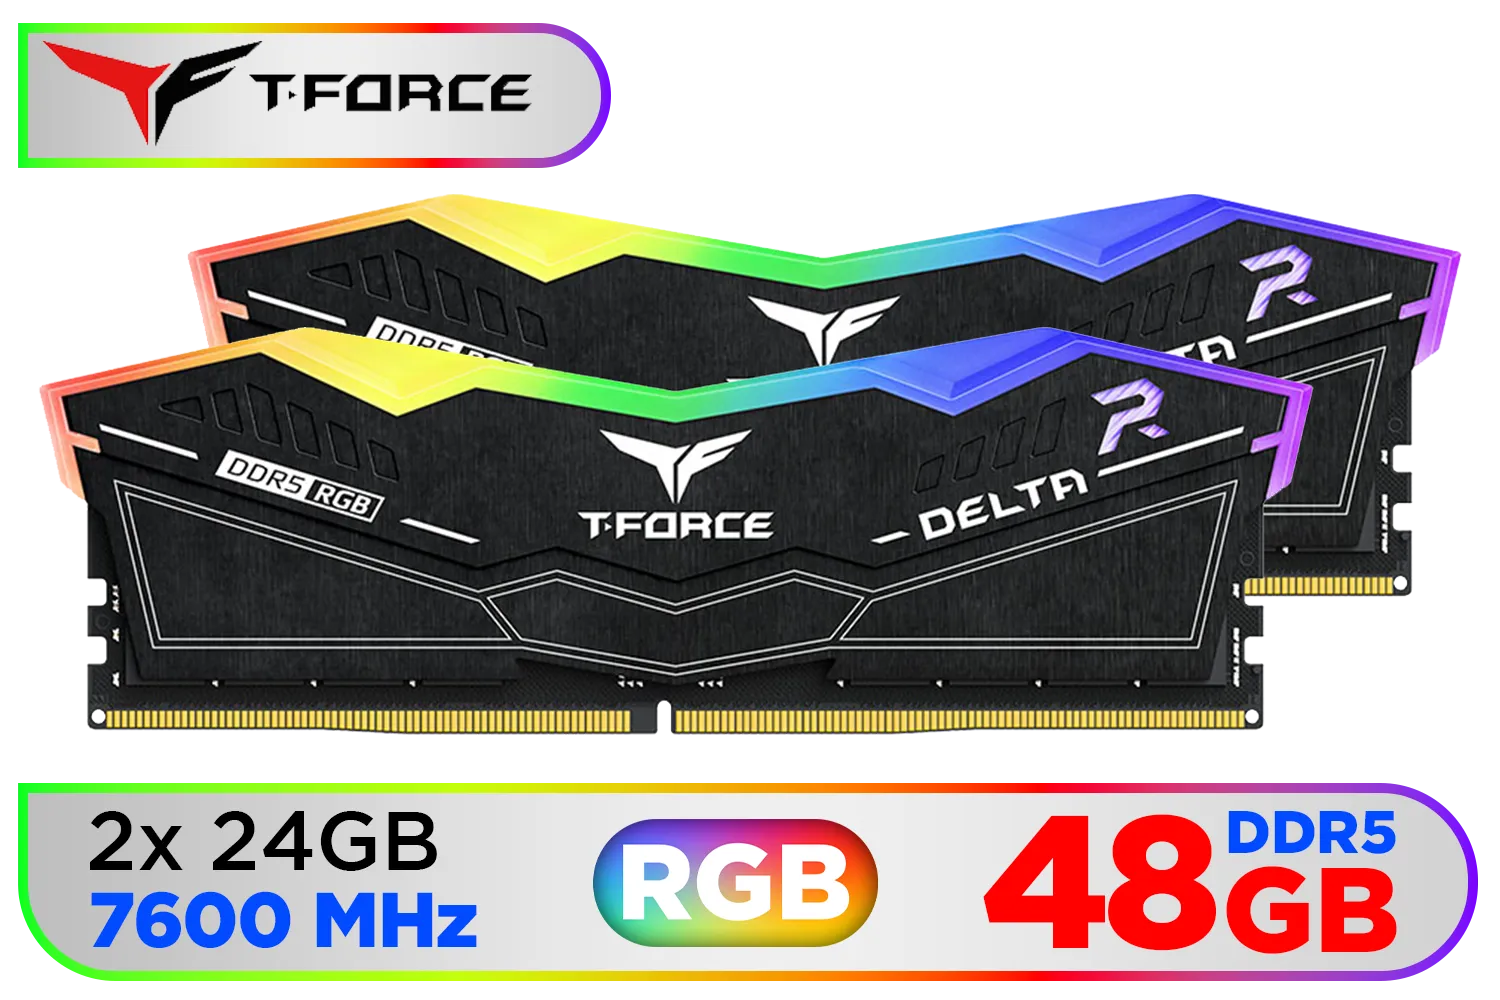
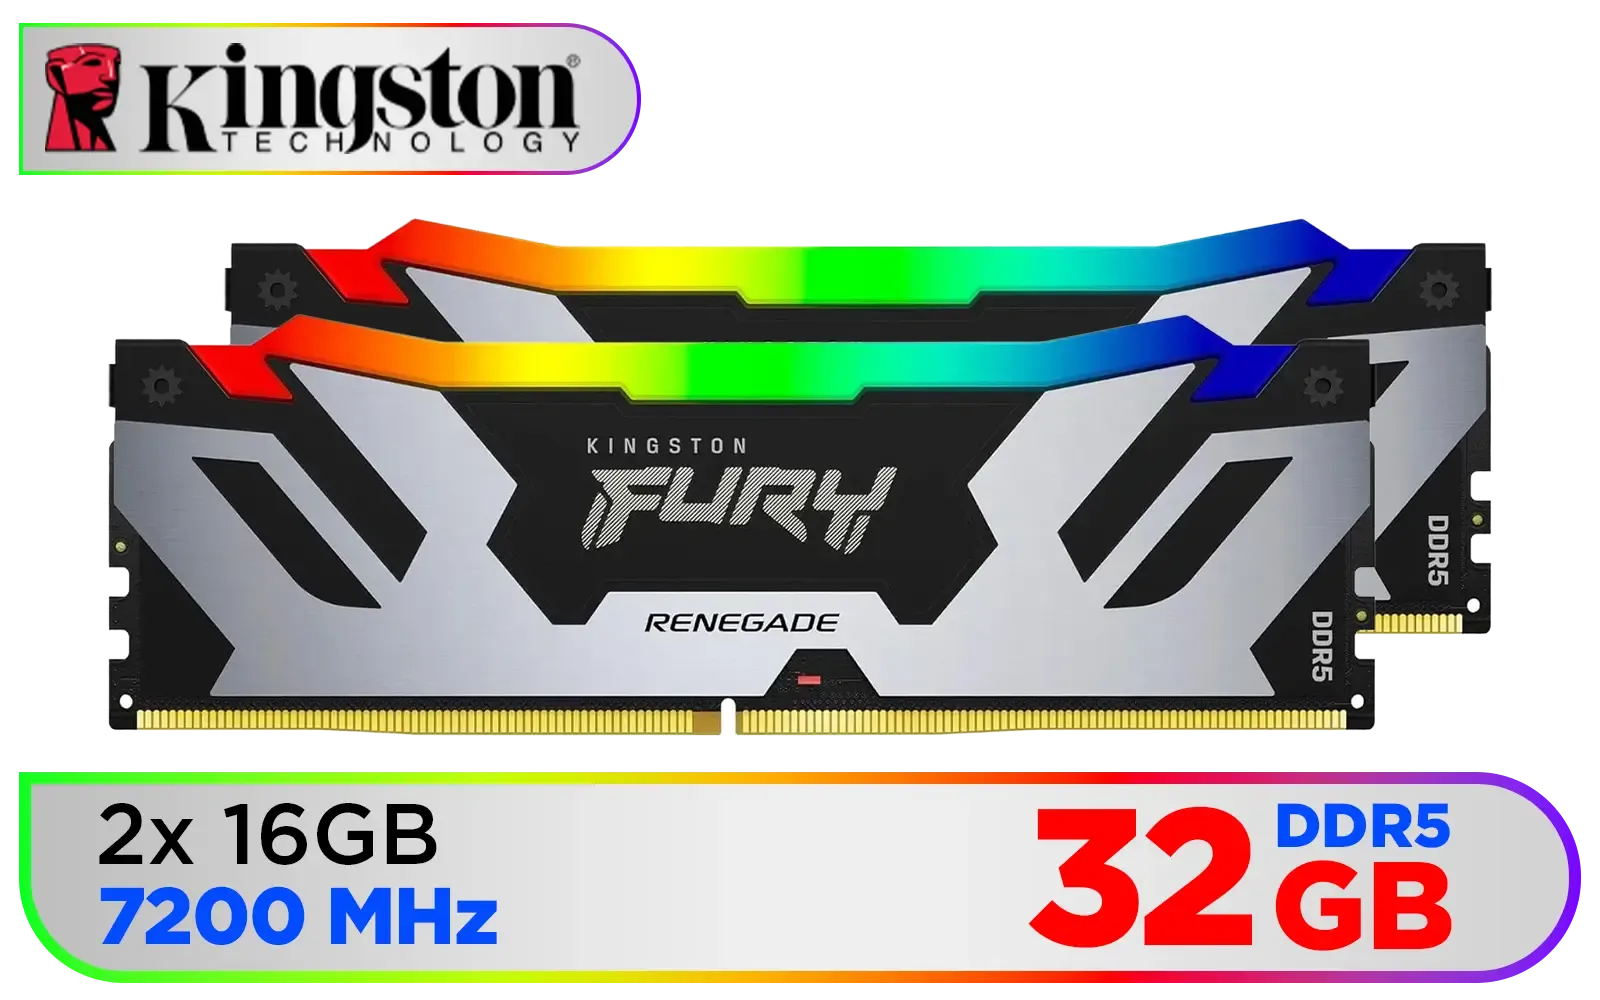
I remember a late-night build where I spent an hour troubleshooting, only to realise I’d used A1 and B1 out of habit. It’s a classic blunder that prevents your system from running in its faster dual-channel mode. Using the wrong slots means you're leaving a huge amount of performance on the table, especially when a high-performance DDR5 6000MHz kit won't run at its full potential. Always consult your motherboard manual! ✨
Mistake #3: Applying Uneven or Insufficient Pressure
This one feels simple, but it trips up even seasoned builders. DDR5 modules require a surprising amount of force to seat correctly compared to DDR4. The key is to apply firm, even pressure with your thumbs on both ends of the module simultaneously until the retention clips on both sides click audibly into place.
If only one clip engages, the module isn't seated properly and your PC won't boot. Don't be afraid to give it a solid push, but never force it at an angle. This is especially true when you're pushing the limits with a blazing-fast DDR5 7200MHz module, as a poor connection can cause major stability issues.
The Two-Click Rule 🔧
When installing DDR5, listen for two distinct clicks as the retention clips on both ends of the DIMM slot snap into place. Apply firm, even pressure with your thumbs on both ends of the stick simultaneously. If one side clicks but the other doesn't, gently reseat it. Never force a module; it should slide in smoothly before you apply pressure.
Mistake #4: Forgetting to Enable XMP or EXPO
Here’s a heartbreaker: you've finished your build, it boots perfectly, but your expensive 6000MHz RAM is running at a sluggish 4800MHz. What gives? By default, all DDR5 RAM runs at a standard, safe speed set by JEDEC.
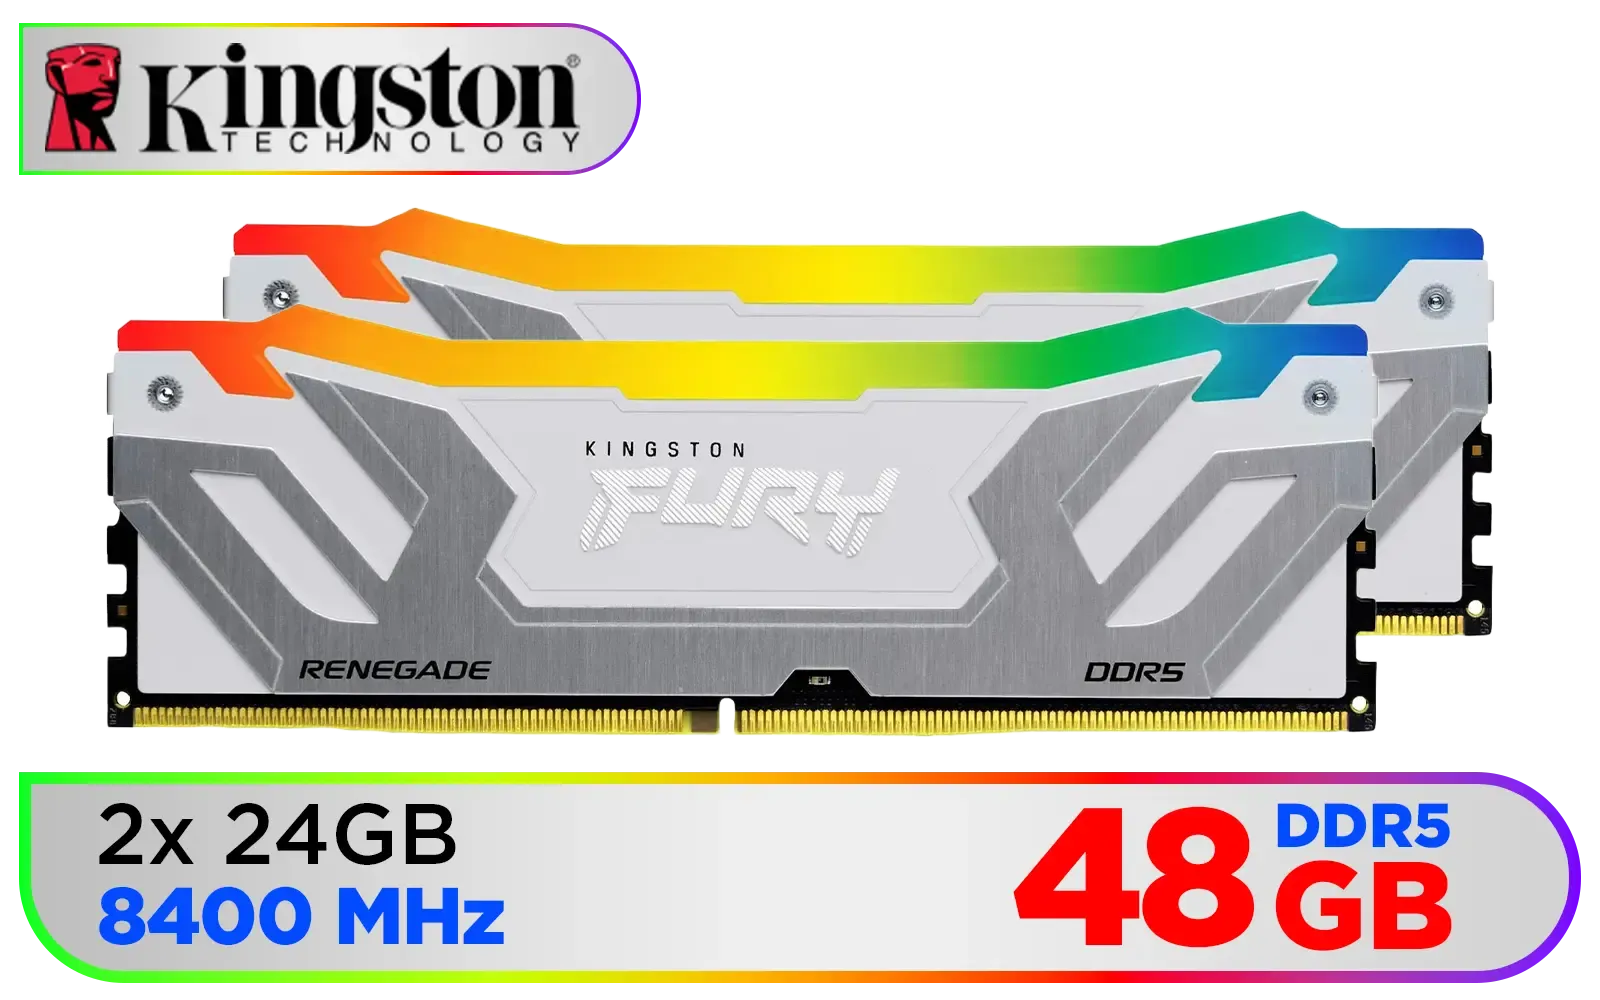
To unlock the speed you paid for, you must enter your PC’s BIOS/UEFI and enable the memory profile. For Intel systems, this is called XMP (Extreme Memory Profile), and for AMD, it's EXPO (Extended Profiles for Overclocking). It's usually a one-click setting on the main BIOS page. Renowned brands like Kingston put a massive amount of engineering into these profiles, so make sure you use them.
Mistake #5: Running an Outdated BIOS
DDR5 is still a relatively new technology, and motherboard manufacturers are constantly releasing BIOS updates to improve memory compatibility and stability. If you're experiencing crashes or instability after a seemingly successful DDR5 RAM installation, an outdated BIOS is a likely culprit.
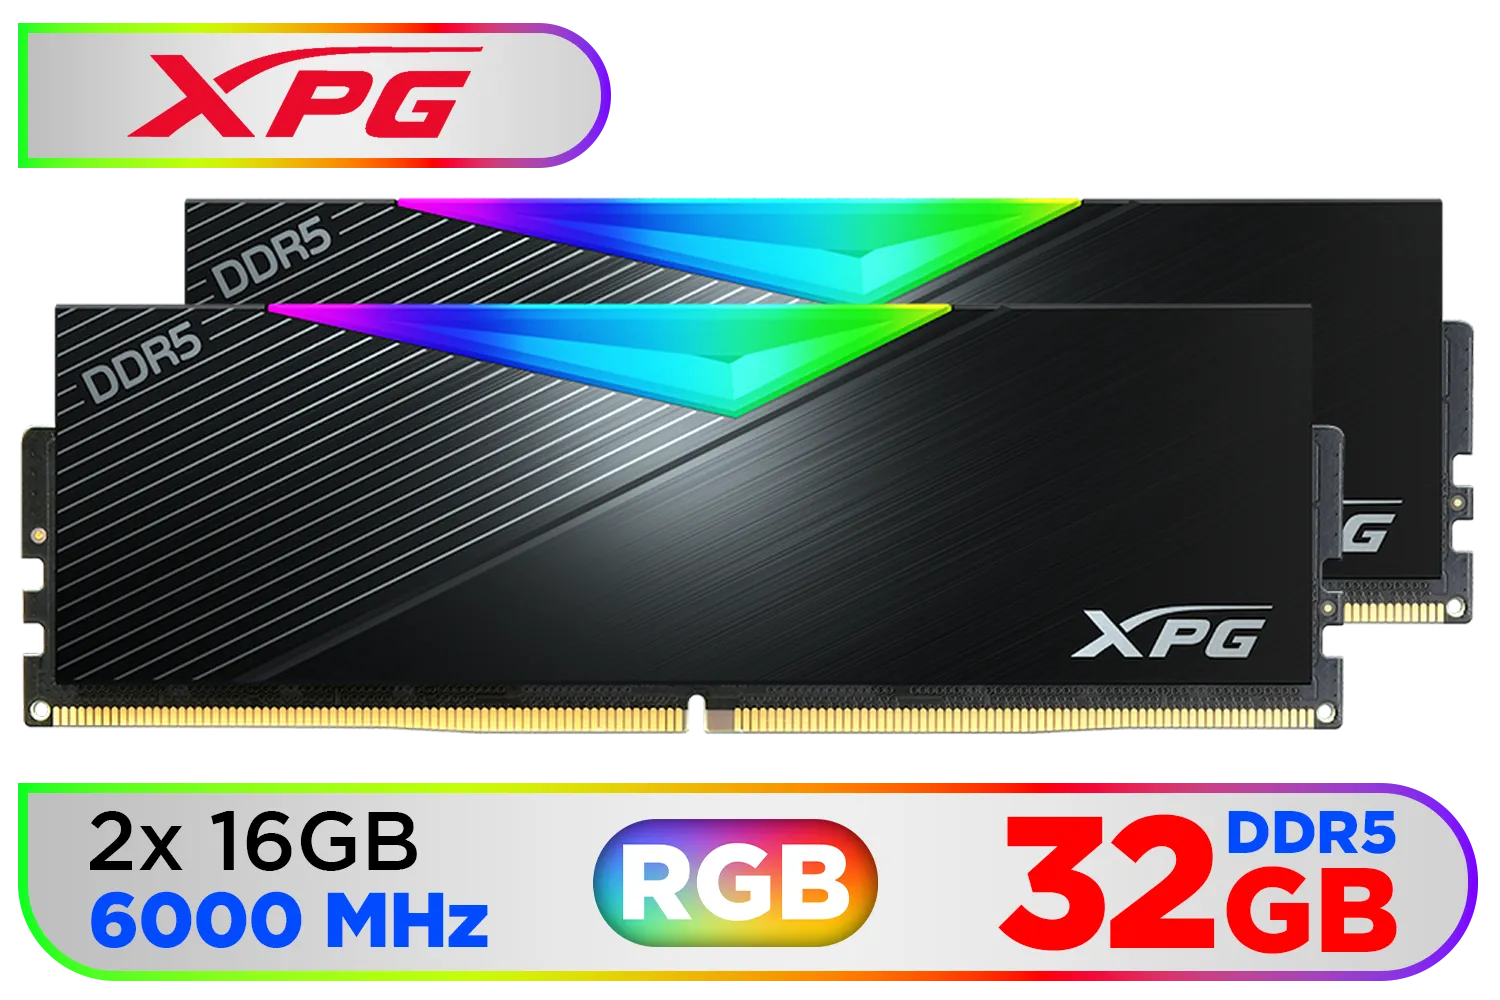
Before you start blaming the hardware, visit your motherboard's support page and flash the latest BIOS version. This simple step often resolves a host of mysterious memory-related issues. A successful DDR5 installation relies on both the hardware and the firmware being up to date, whether you're looking at a kit from ADATA or another top manufacturer.
Ready to Unleash True Next-Gen Speed?
Avoiding these common DDR5 installation mistakes is the key to unlocking flawless performance. If you're ready to make the jump or upgrade your current kit, we've got you covered. Explore our massive range of DDR5 RAM and find the perfect modules for your build.