You hit the power button on your newly built PC, ready for glory... and get nothing. No beep, no splash screen, just the sad whir of fans. It’s a moment every South African PC builder dreads. Before you start pulling your hair out, take a breath. The problem often lies with the motherboard, the central nervous system of your rig. This guide offers practical gaming motherboard troubleshooting steps to get you back in the game. 🔧
MSI Pro X870-P Wi-Fi AMD Motherboard / AM5 Socket / Supports AMD Ryzen™ 9000/ 8000/ 7000 Series Desktop Processors / 4x DDR5 UDIMM / ATX Form Factor / 911-7E47-001
R5799.00In Stock
MSI PRO B850-P WIFI Motherboard, ATX - Supports AMD Ryzen 9000/8000 / 7000 Processors, AM5 - DDR5 Memory Boost (8200+ MT/s OC), PCIe 5.0 x16 & 4.0 x16, M.2 Gen5, Wi-Fi 7, 5G LAN / 911-7E56-002
R4599.00In Stock
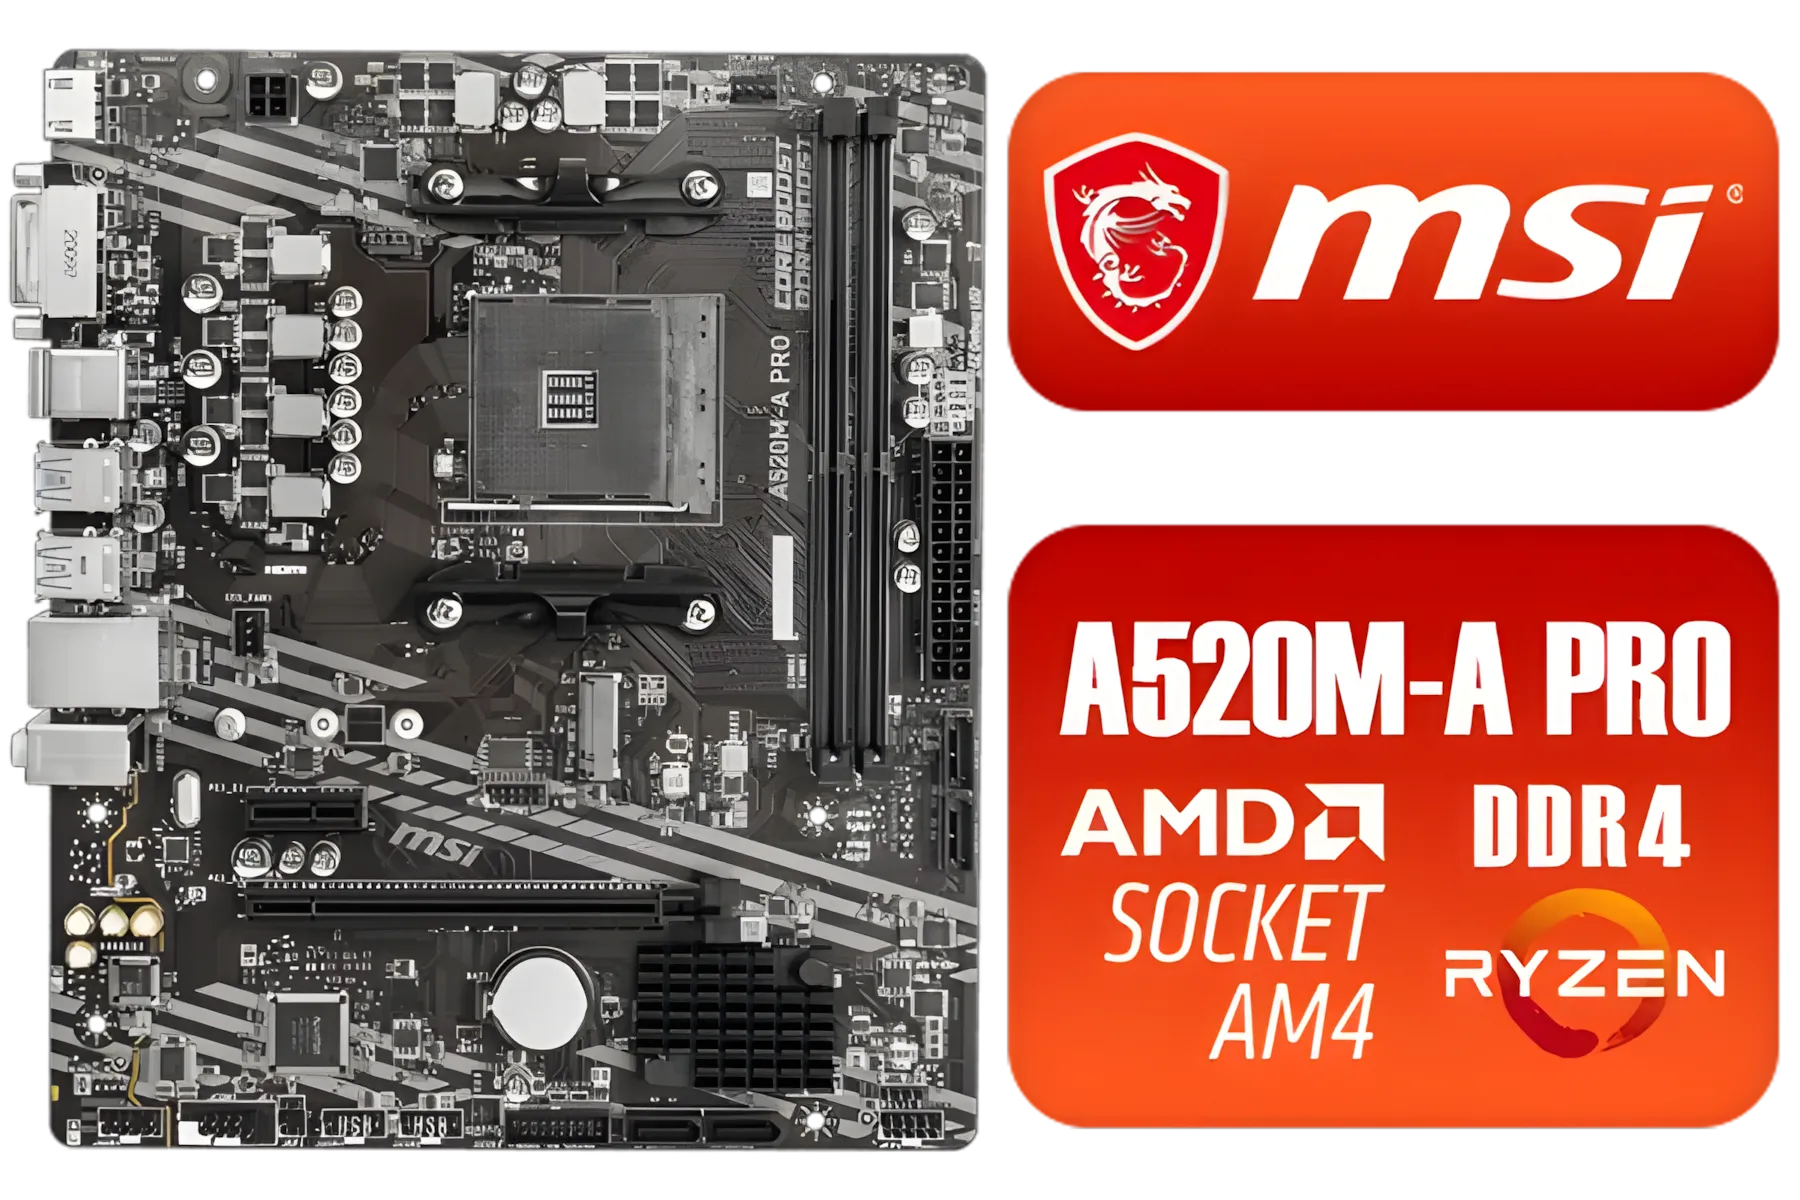
MSI A520M-A PRO AMD Ryzen M-ATX Motherboard / 3rd Gen AMD Ryzen Desktop Processors / Supports AMD Ryzen 5000 Series, 5000 G-Series, 4000 G-Series, 3000 Series, 3000 G-Series, / Supports DDR4 Memory, up to 4600(OC) MHz / AMD Socket AM4 / AMD A520 Chipset / Studio Grade Sound Quality / A520M-A-PRO
R1399.00In Stock
ASRock X870 Steel Legend WIFI AMD Ryzen Motherboard / Supports AMD Socket AM5 Ryzen™ 9000, 8000 and 7000 Series Processors / AMD X870 Chipset / USB4 Type-C (10Gbps) Connectivity / 90-MXBPJ0-A0UAYZ
R5999.00In Stock
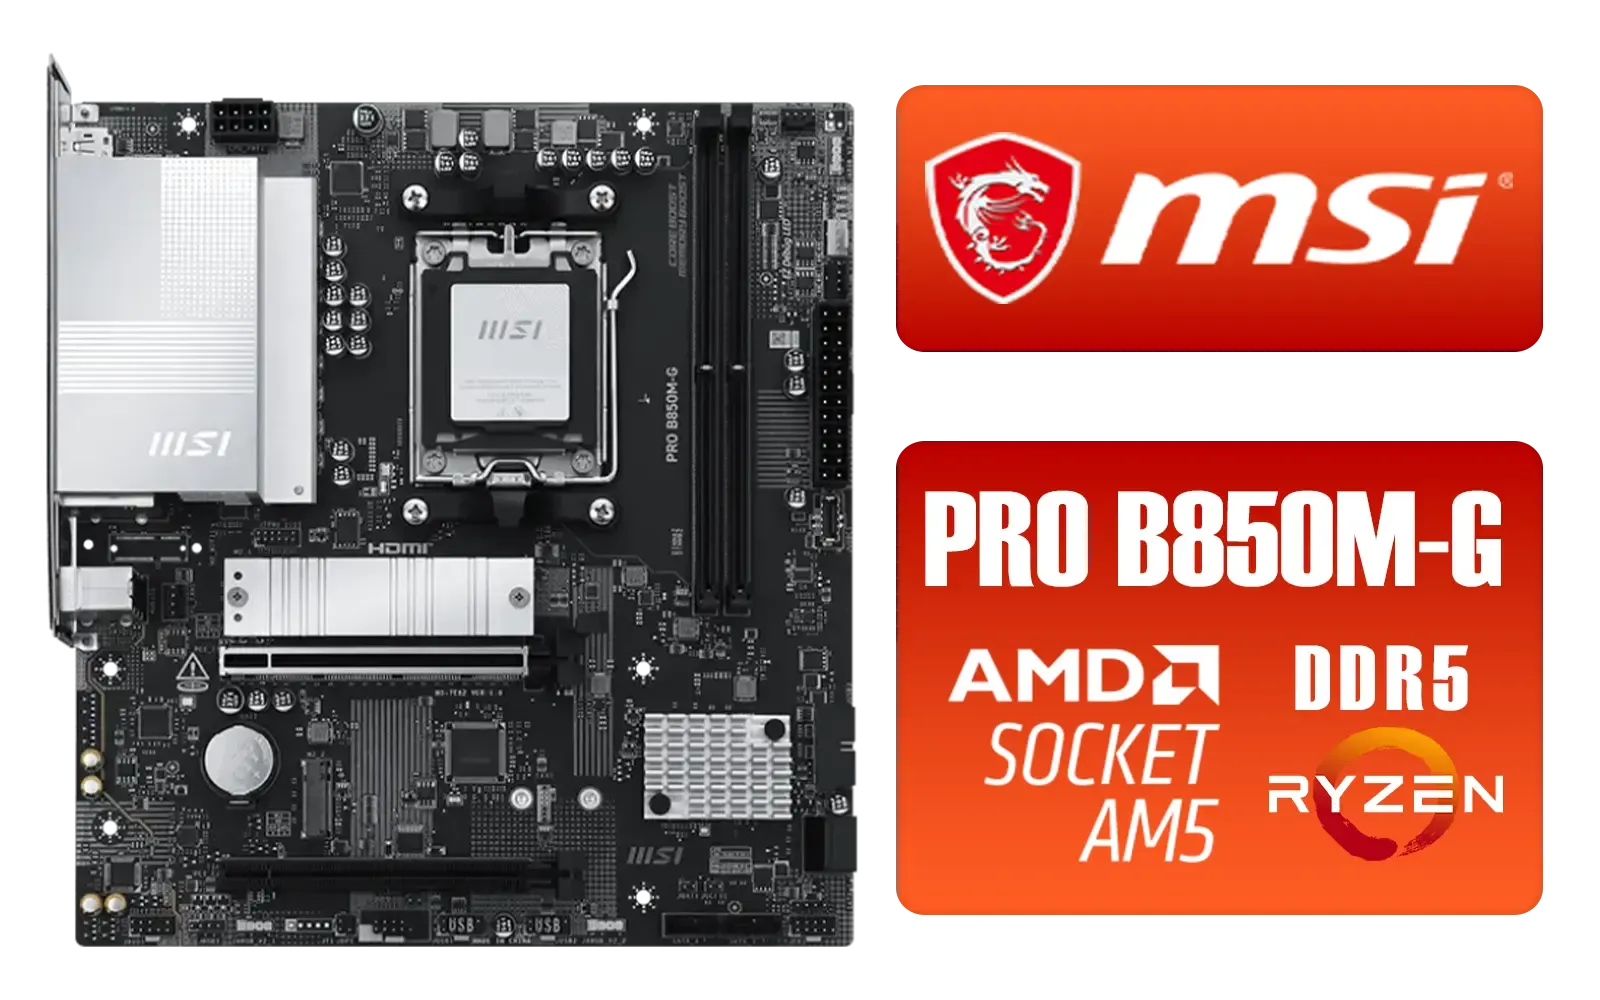
MSI PRO B850M-G AMD Motherboard / Supports AMD Ryzen™ 9000 / 8000 / 7000 Series / Dual Channel DDR5-8200+ (OC) / Direct 7+2+1 Power System (P-PAK) / Lightning Gen 5 x4 M.2 / 5G LAN / 911-7E82-001
R2999.00In Stock
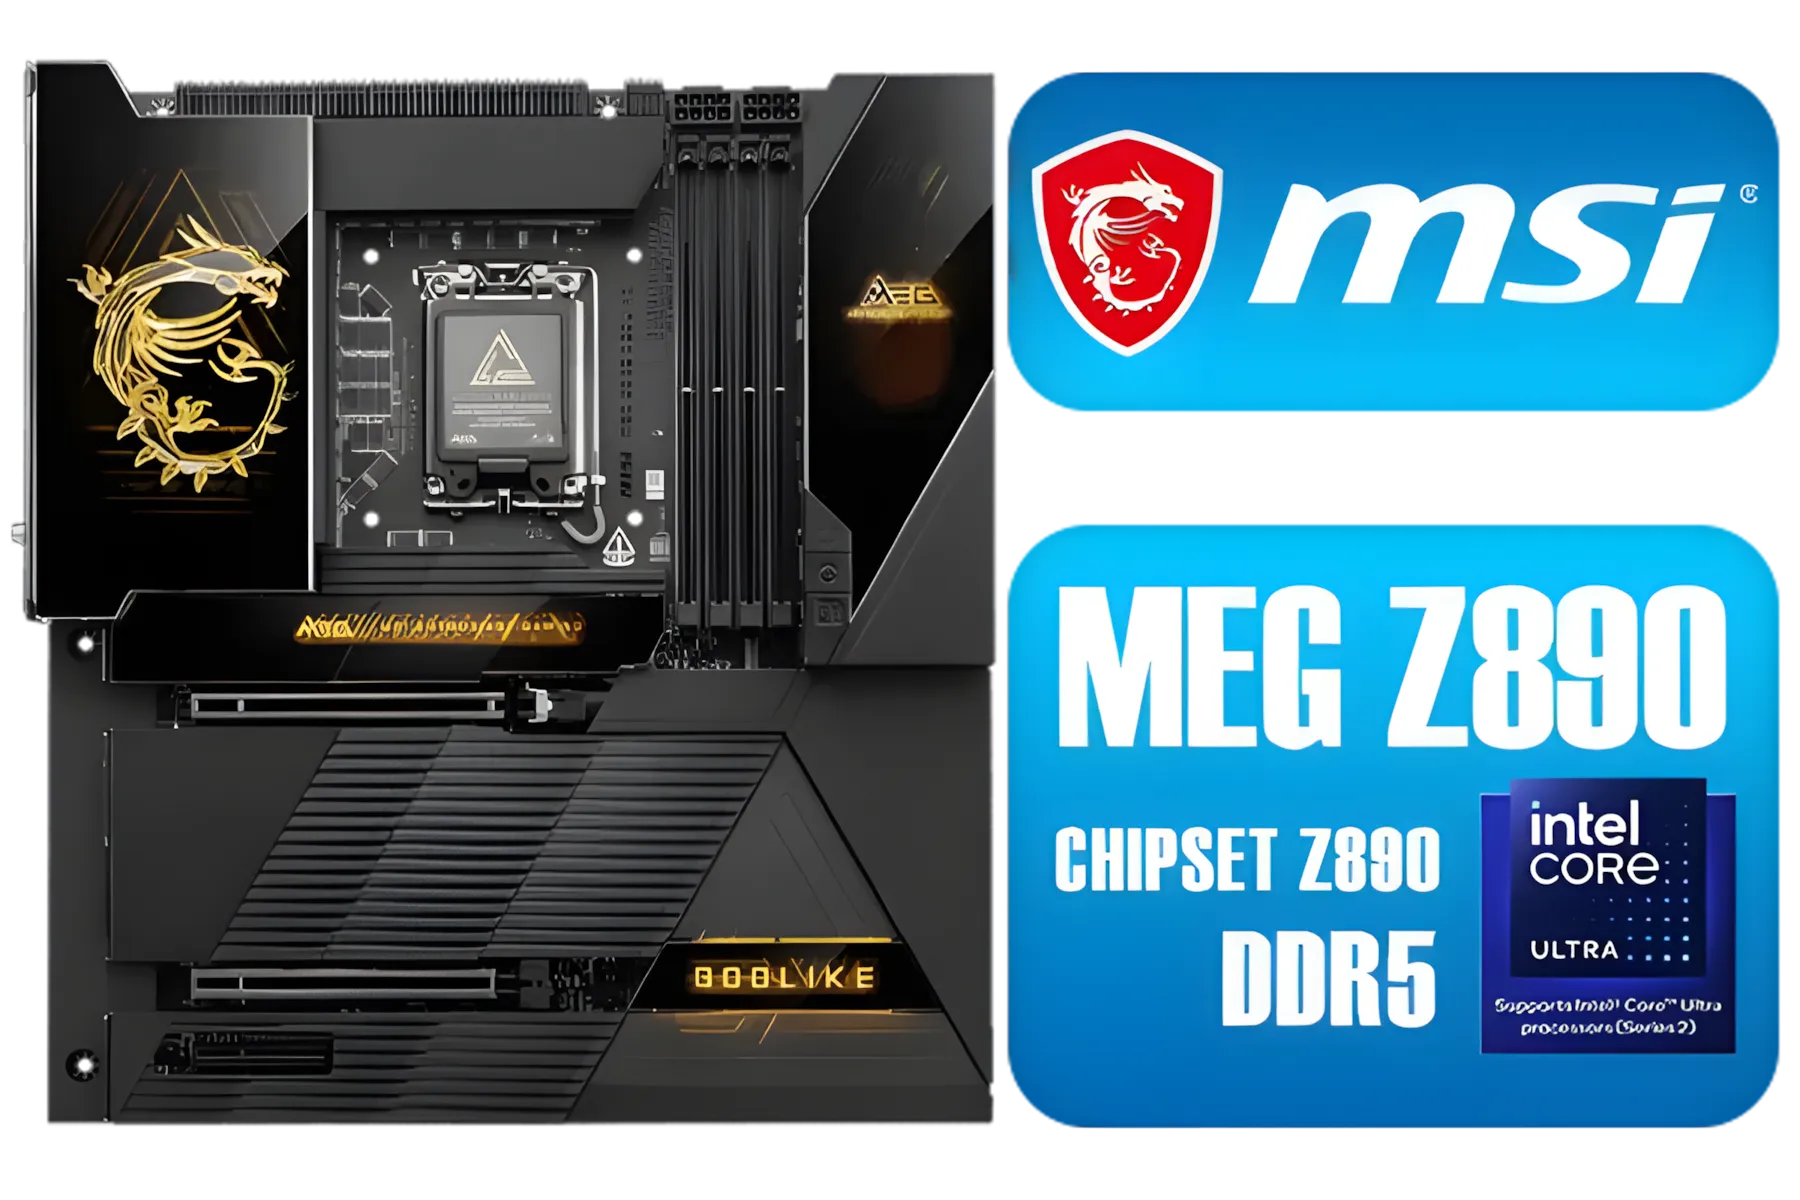
MSI MEG Z890 GODLIKE, E-ATX - Supports Intel Core Ultra Processors (Series 2), LGA 1851 - Dynamic Dashboard III, EZ Slide M.2, DDR5 (9200+ MT/s OC), M.2 & PCIe 5.0, Thunderbolt 5, Wi-Fi 7, 10G LAN / 911-7E21-002
R29999.00In Stock
First Steps in Gaming Motherboard Troubleshooting
Before you assume the worst, let's cover the basics. More often than not, a simple oversight is the culprit behind what looks like a dead board. This initial phase of motherboard troubleshooting is all about double-checking your work.
Check Your Connections
It sounds obvious, but even seasoned builders make mistakes. Ensure these are seated correctly and fully clicked in:
- 24-Pin ATX Power: The main power connector for the board.
- 8-Pin (or 4+4 Pin) CPU Power: This is essential! Without it, your CPU gets no power, and your PC won't boot. It's a common miss.
- Front Panel Connectors: The tiny power switch, reset switch, and LED pins. Check your motherboard manual to confirm they're in the right spot.
The Magic of Reseating
Computer components can sometimes look connected but aren't making perfect contact. Power down completely, unplug the PC, and then carefully reseat the following:
- RAM Sticks: Remove them and click them back into their slots until the side clips lock. Try booting with just one stick of RAM to isolate a potentially faulty module.
- Graphics Card: Ensure it's fully seated in the PCIe slot.
Many modern motherboards have "Debug LEDs" or a small digital display showing POST (Power-On Self-Test) codes. If your board has these, they are your best friend. A quick search for your motherboard model plus the code (e.g., "ASUS B550 error code 55") will tell you exactly where the problem is.
Diving Deeper into Motherboard Issues
If the basics didn't solve it, it's time for some more advanced gaming motherboard troubleshooting. These steps involve interacting directly with the board's firmware and components.
The Classic CMOS Reset
Your motherboard's BIOS/UEFI settings can sometimes get corrupted, preventing a boot. Clearing the CMOS resets these settings to factory defaults.
Pro Tip: Clearing CMOS ⚡
The safest way to clear your CMOS is with the PC powered off and unplugged. Locate the two or three pins on your motherboard labelled JBAT1, CLR_CMOS, or similar. Briefly short the two pins with a screwdriver or use the jumper cap provided with your board for about 10 seconds. This is often faster and more reliable than removing the CMOS battery.
Isolate the Problem
A faulty component connected to your motherboard can make the board itself seem broken. Unplug everything that isn't essential to boot: all USB devices, extra drives, and case fans. Try to boot with just the CPU, one stick of RAM, and your GPU (or use integrated graphics if your CPU has it). If it boots, one of the disconnected components is the issue. This process of elimination is a core part of fixing motherboard issues. On many modern Intel motherboards, bent CPU socket pins can also be a cause for no-POST scenarios, so inspect the socket carefully if you've recently installed a CPU.
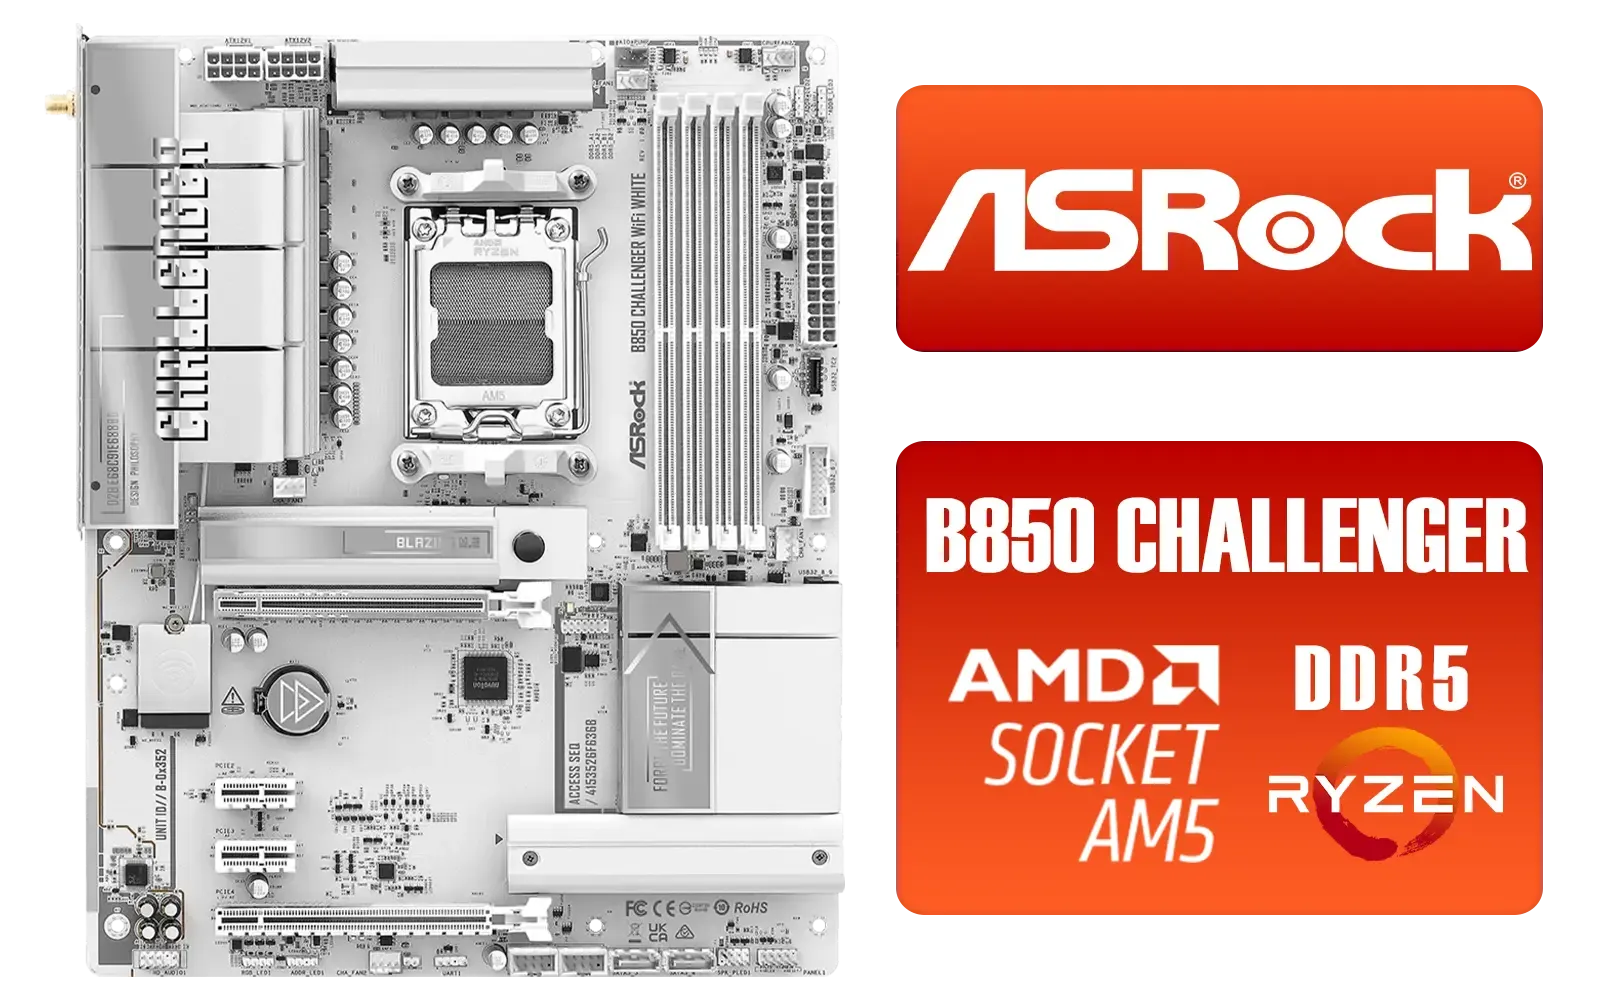
ASRock B850 Challenger WiFi AMD Motherboard - White / Supports AMD Socket AM5 Ryzen™ 9000, 8000 and 7000 Series Processors / AMD B850 Chipset / PCIe Gen5 (Graphics, M.2) / Dual Channel DDR5 / 90-MXBTF0-A0UAYZ
R4199.00In Stock
MSI H810M Gaming Wi-Fi 6E Intel Motherboard - White / Supports Intel® Core™ Ultra (Series 2) / Dual Channel DDR5-6400+ (OC) / 6 P-PAK Power System / Lightning Gen 4 x4 M.2 / USB 20G Type-C / Realtek® 2.5G LAN / Wi-Fi 6E / 911-7E64-002
R3499.00In Stock
ASRock Z890 LiveMixer WiFi Intel Motherboard / ATX Form Factor / Supports Intel® Core™ Ultra Processors (Series 2) / LGA 1851 CPU Socket / 4x DDR5 DIMM Supporting up to 256GB / 90-MXBPE0-A0UAYZ
R5999.00In Stock
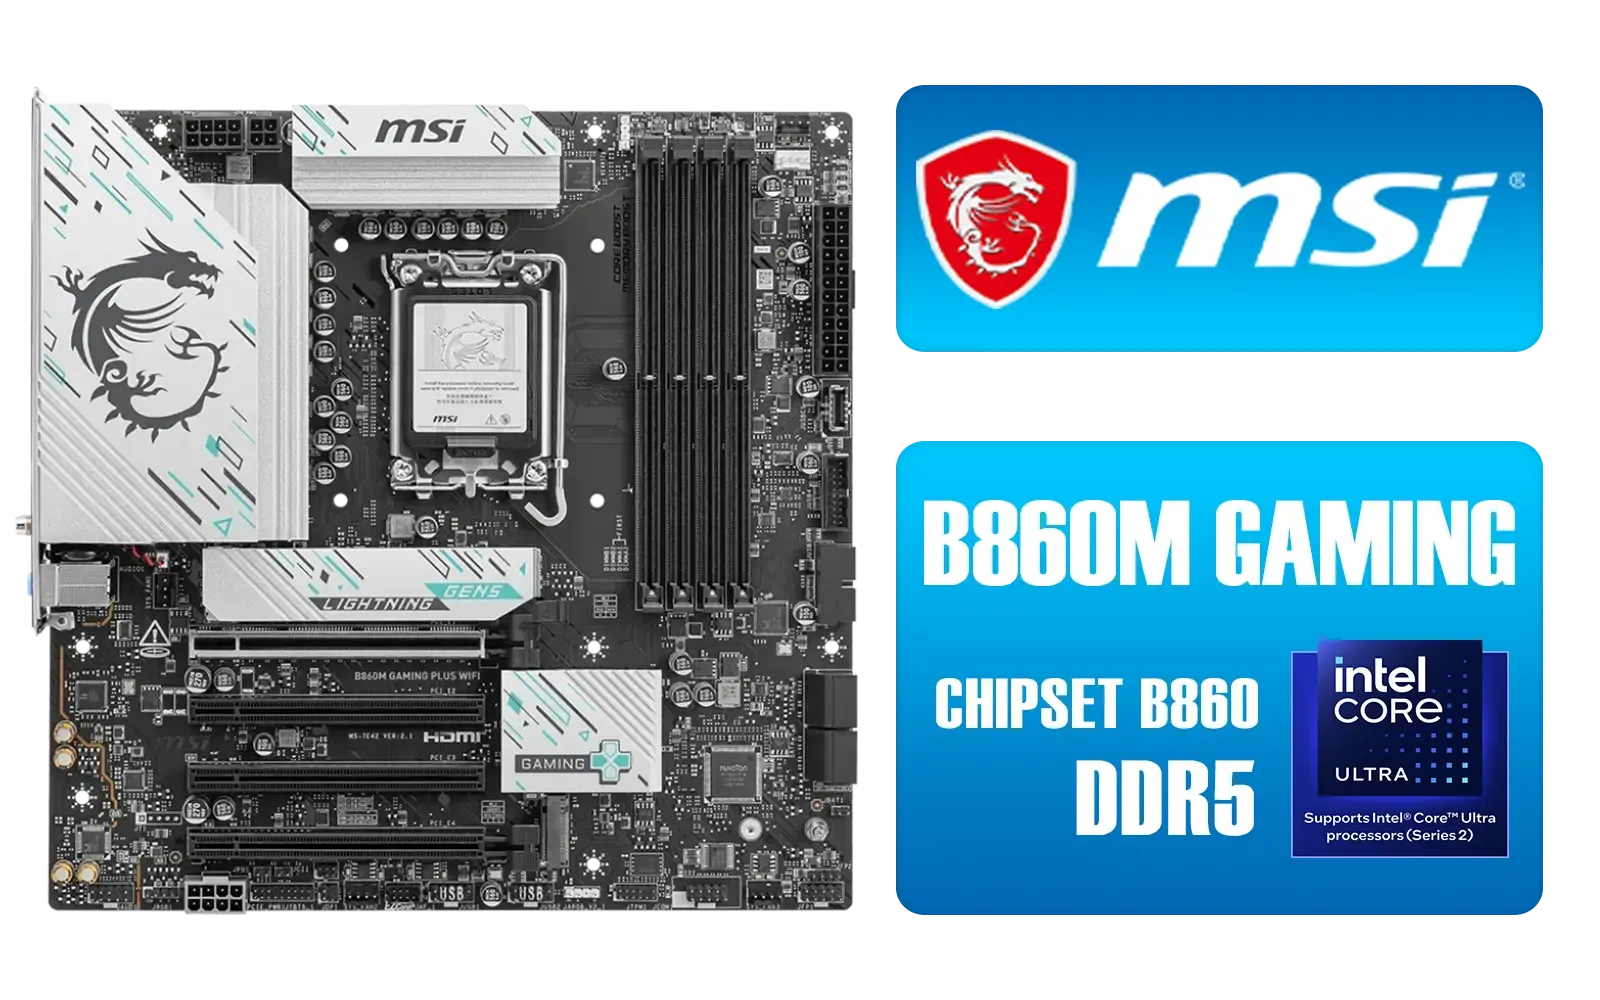
MSI B860M Gaming Plus WiFi Intel Motherboard / Micro-ATX Motherboard / Supports Intel® Core™ Ultra (Series 2) / Dual Channel DDR5-8800+ (OC) / 12+1+1+1 Duet Rail Power System with P-PAK / Intel® Killer™ 5G LAN & Wi-Fi 7 / PCIe 5.0 Slot / Lightning Gen 5 x4 M.2 / Front USB Type-C / 911-7E42-003
R4699.00In Stock
MSI PRO B860M-A WIFI Motherboard, mATX - Supports Intel Core Ultra Processors (Series 2), LGA 1851-12 DRPS, DDR5 Memory Boost (8600+ MT/s OC), PCIe 5.0 x16 & 4.0 x16, M.2 Gen5, Wi-Fi 7, 5G LAN / 911-7E42-002
R4299.00In Stock
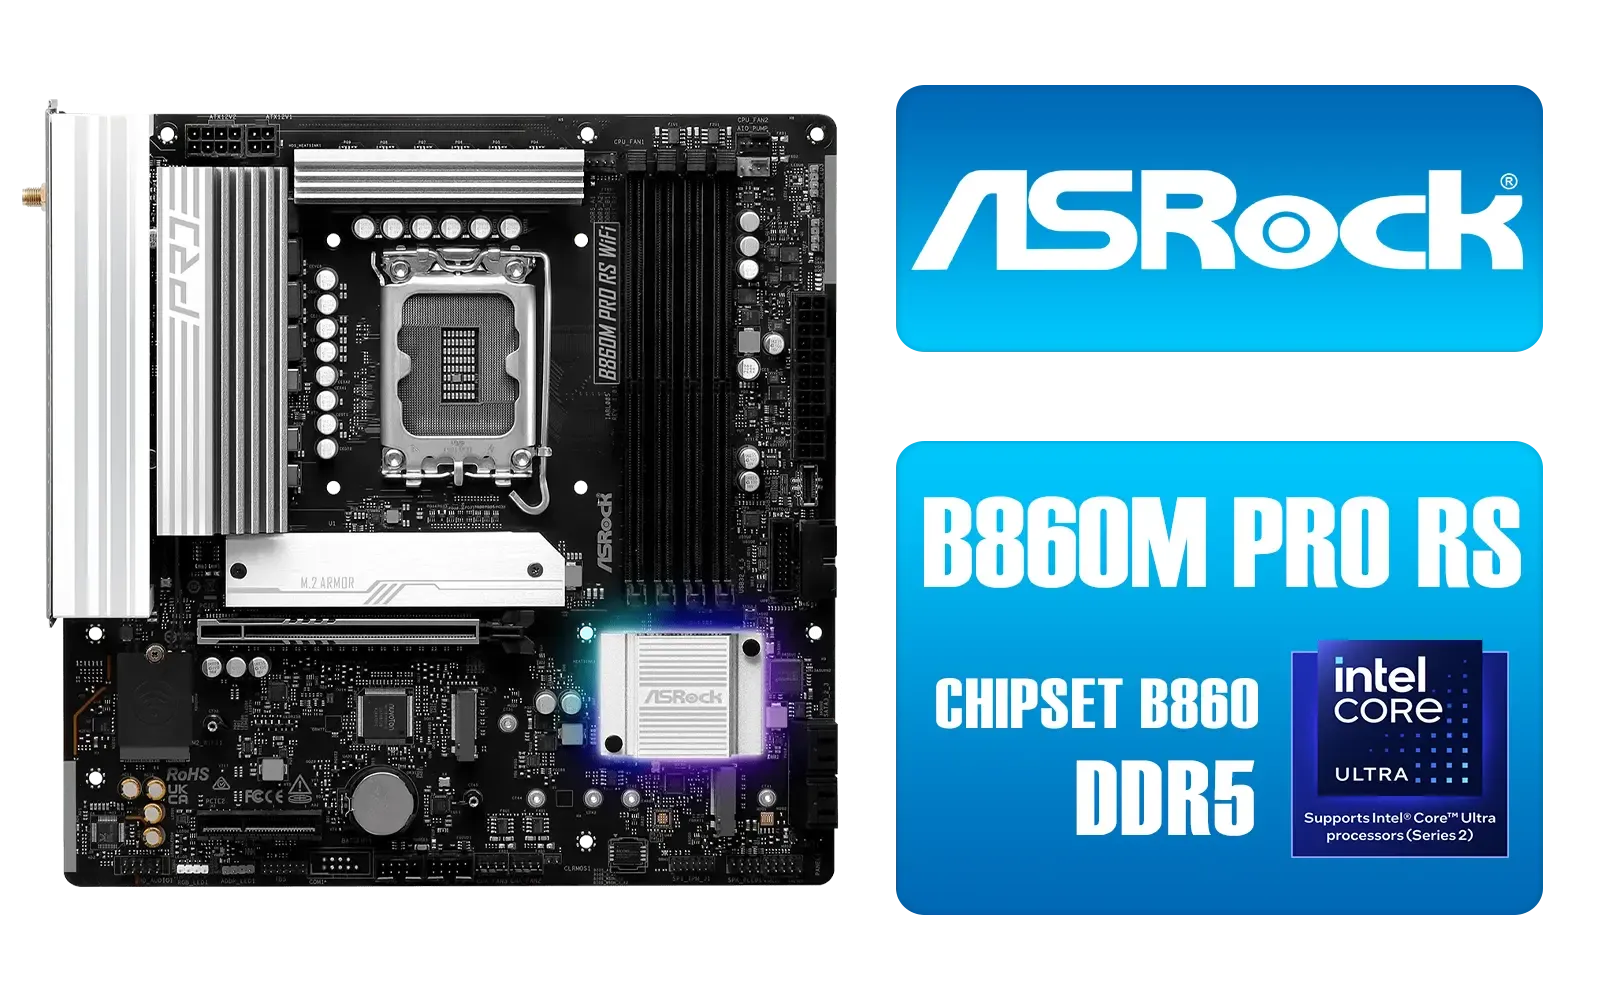
ASRock B860M Pro RS WiFi Intel Motherboard / Micro-ATX Form Factor / Supports Intel® Core™ Ultra Processors (Series 2) / LGA 1851 CPU Socket / PCIe Gen5 (Graphics, M.2) / Dual Channel DDR5 / 2.5G LAN & Wi-Fi 6E / 90-MXBRQ0-A0UAYZ
R3599.00In Stock
Knowing When to Upgrade Your Motherboard 🤔
Sometimes, despite your best troubleshooting efforts, the motherboard is truly dead. Physical damage like a blown capacitor (a small bulging cylinder on the board) or burn marks are clear signs. If the board won't power on at all (no lights, no fan spin) even after testing your power supply, it might be time to call it.
Repairing a motherboard is rarely cost-effective in South Africa. The labour and component costs can quickly approach the price of a brand new, more capable board. Instead of sinking money into an old platform, see it as an opportunity. Upgrading gives you access to new features like PCIe 5.0, more M.2 slots, and better power delivery for your components. Whether you're looking at the latest AMD motherboards for a Ryzen build or seeking a budget-friendly option, you can often find great value on new motherboards that revitalise your entire system. 🚀
Ready for a Rock-Solid Upgrade?
Sometimes, troubleshooting confirms it's time for a fresh start. A new motherboard isn't just a fix; it's an opportunity for better features, faster speeds, and future-proofing your rig. Don't let a faulty board hold your gaming back. Explore our massive range of PC components and build the stable, high-performance rig you deserve.